The Cub project
Page 1 - The Cub
Project
Page 2 - Fabric
Page
3
- Firewall Forward
Page
4 - Firewall Forward (page 2)
Page
5 - O-320
Overhaul (for the Cub)
Page 6 -
Final Assembly (2010)
Page
7 - Final Assembly (2011 page 2)
Page
8 - Final Assembly (2011 page 3)
Page 9 - Completed
Aircraft
Page 10 - Later Updates and
Modifications
Page 11 - MOGAS vs
Composite Fuel Tanks
POH
for Scott Grizzly Cub N143W
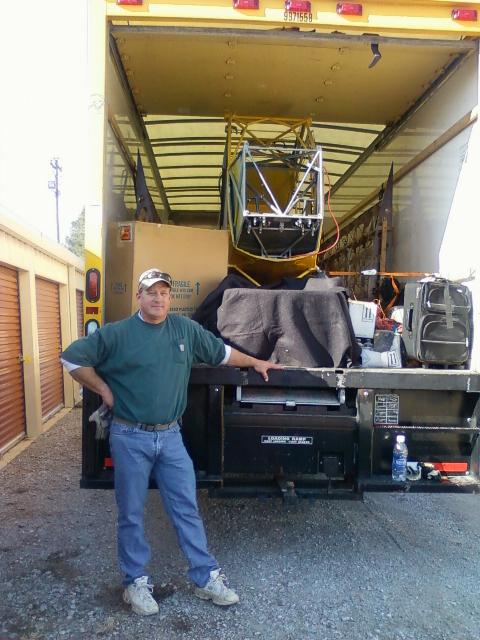
Jan 15, 2010 - Scott Wilson getting ready to say good bye to
his
daddy's project. Scott's father Roger
started this Super Cub
project based on the Wag Aero Sport Trainer plans.
Unfortunately,
Roger passed
away before finishing his plane. I
acquired
this project from Roger's son Scott. We had just finished loading
it for the
move from Rutherford, TN to Los Alamos, NM.
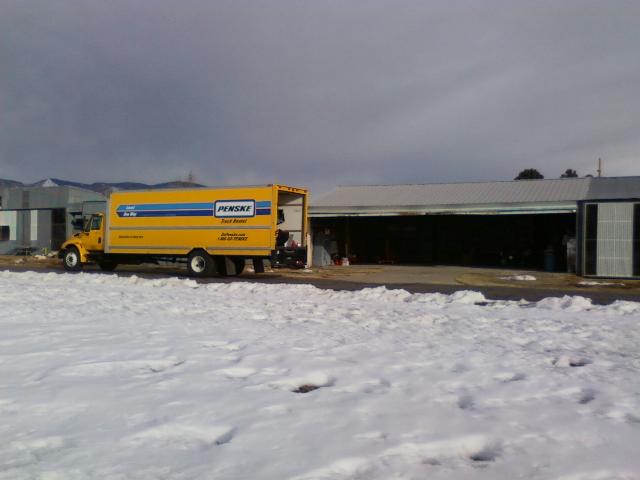
1/17/10 Big truck and an empty hangar. Jeff must be
getting geared up for
another project. What better place
for the Cub project to
move to?
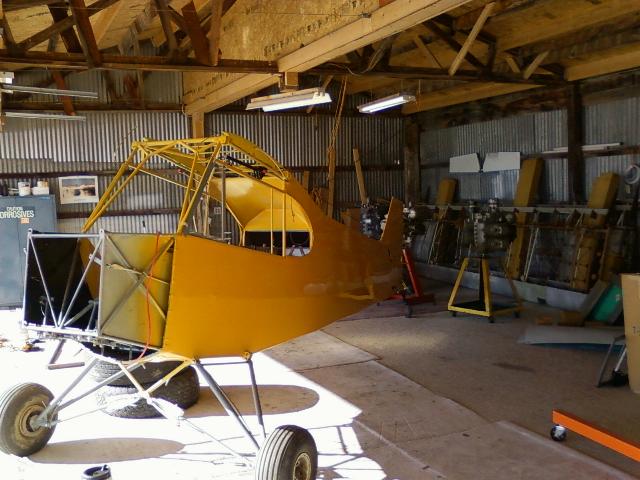
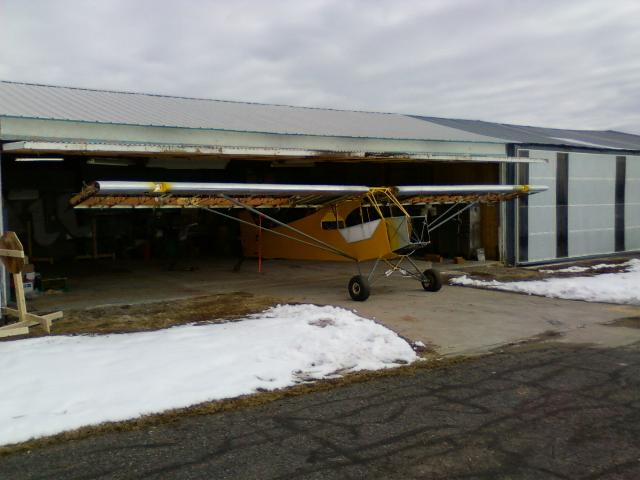
1/17/10 The Cub in it's new home. Yes, it
is living in a carpeted
hangar! The wings are leaning against the
back wall and one
of
those engines on the stands back behind it will eventually power it
power it into flight.
For now, I am assessing the condition
of
the project and trying to figure out where to start.
Update: I bought another engine to go on the Cub. An O-320-E2G
that I'll overhaul for it.
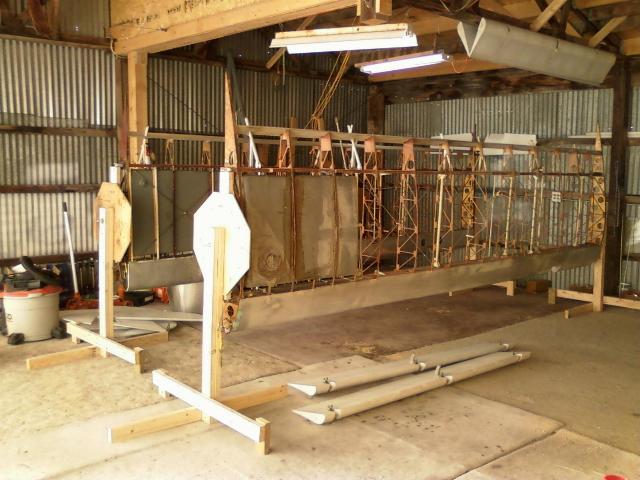
1/23/10 Rotating wing racks. These are configured
so the
wings can be rotated to any position. These should
come in
pretty
handy for covering the wings.
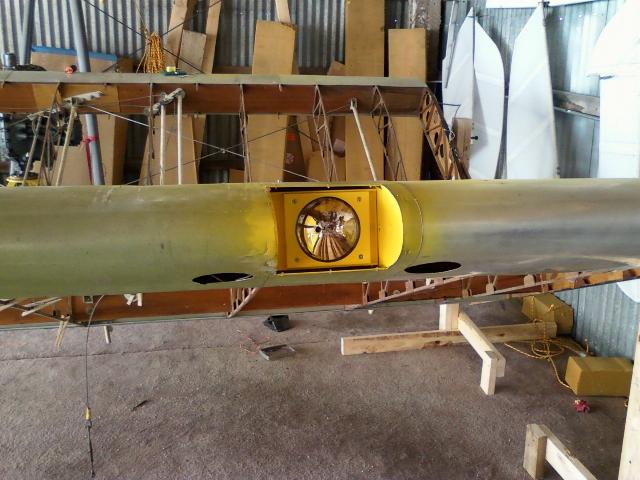
1/30/10 Installed aircraft landing lights into wings and pulled
aircraft grade wiring though the wings for landing
lights, tip lights, and strobes. Eventually changed to
AR 111/PAR 36 type LED lighting.

2/6/10. Today was assembly day. I really
needed to put the plane together so I could check the rigging of
the wings and so I can install and rig all the controls.
I also want to find any issues with the wing or control
surfaces before I cover the wings. Yesterday I reamed all of the
landing gear fittings and installed the gear
with the AN bolts. We also reamed all of the wing and lift strut
fittings to size in preparation for mounting
the wings. There was some misalignment of the wing attach
fittings, so the holes were aligned a bit better and
drilled and reamed from 5/16" to 3/8" .
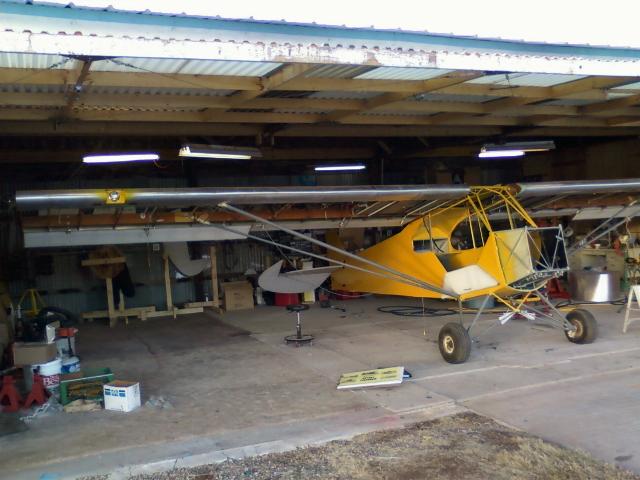
As the day went on, I kept adding the control surfaces.
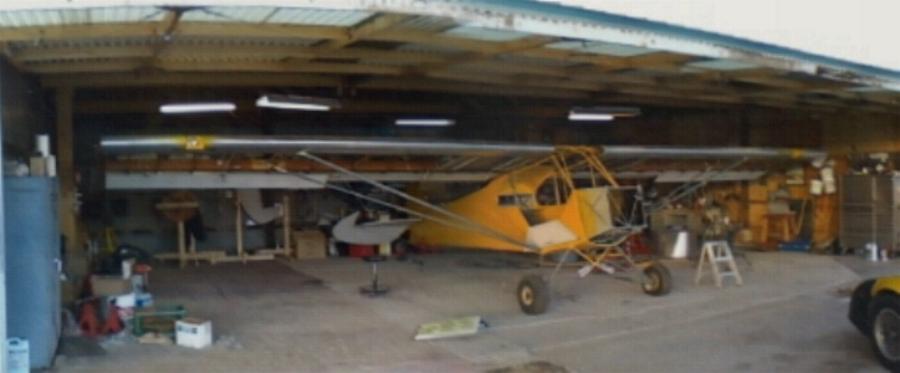
Boy, this plane has some wing span!
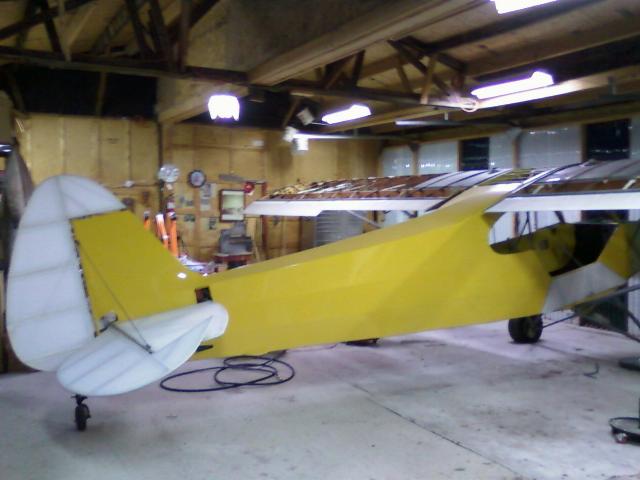
Tail feathers and control surfaces installed.
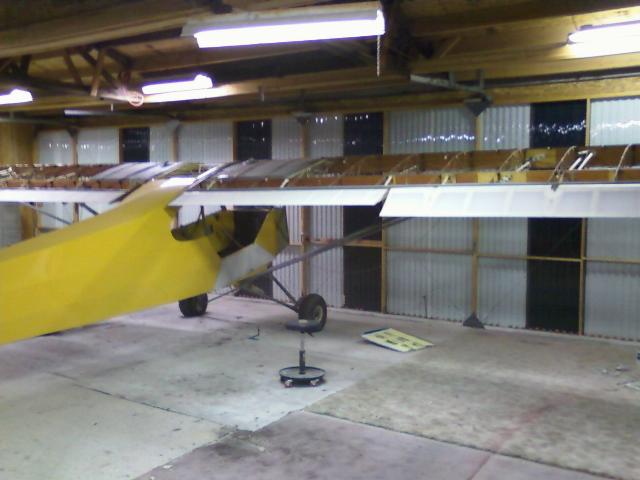
Wings from behind.

Side view.
Other side.
2/20/10 - I've been rebuilding the swing out windows. The right
window had a lot of heavy stuff on it that I
cut away, then bent some light weight aluminum to hold the windows onto
the frame. I wasn't happy with the
fit of the left side window, so built a new window frame. Here
you see the new window frame hooked to the
latch I built onto the wing today.
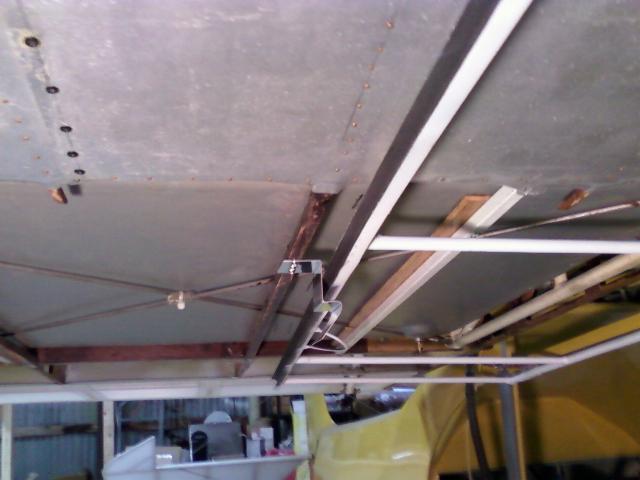
This is the rebuilt right side window and the wing latch. Note
that the hinges on both sides currently have Clecos
holding the hinges to the airframe. These will be replaced with
steel pulled rivets after I prime the hinges.
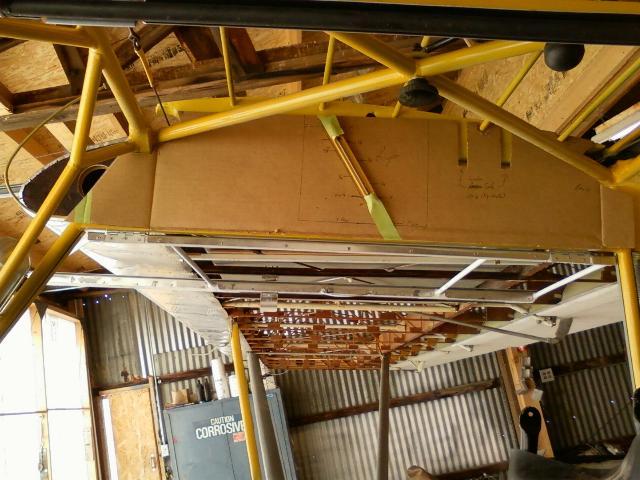
Update: I decided not to trust pulled rivets for this and used AN
grade #8 machine screws nutted on the inside to
hold the upper panels in place.
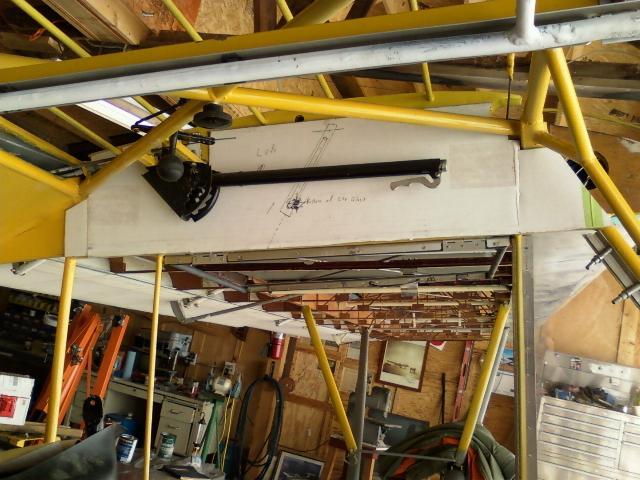
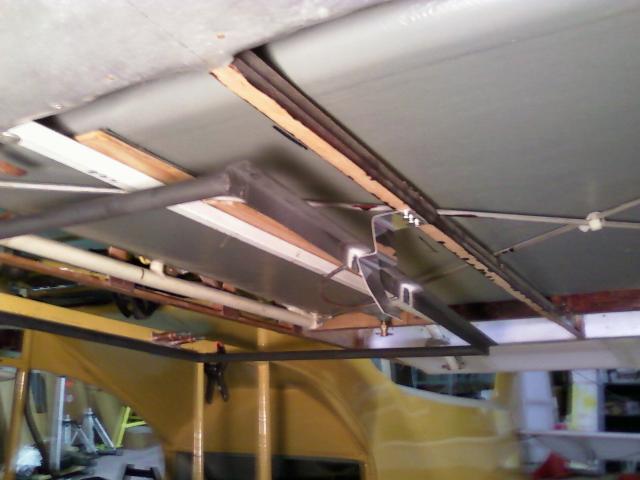
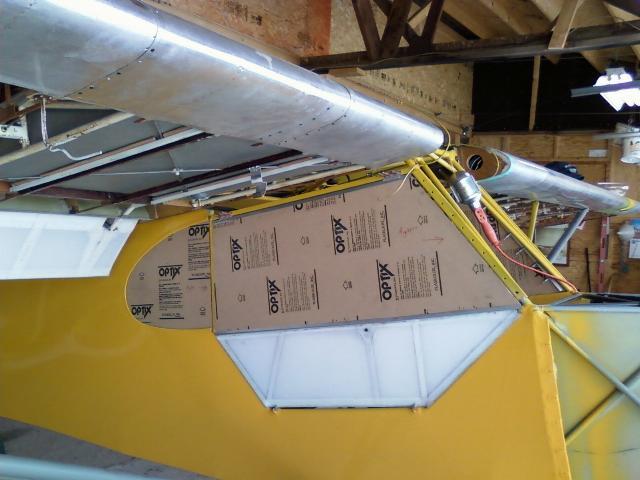
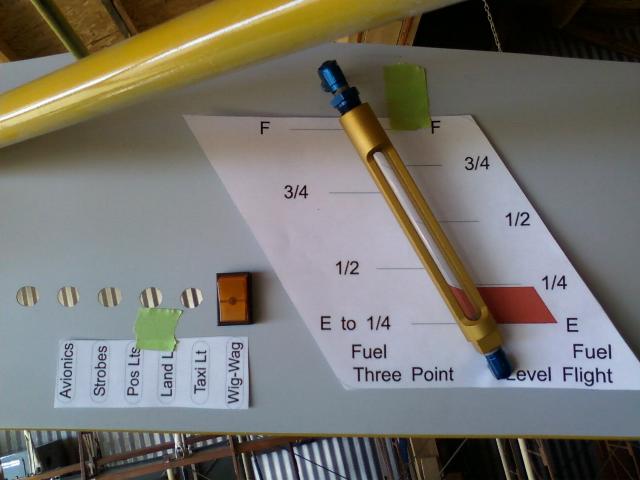
Design of the left overhead panel with the fuel sight gauge drawn in
just behind the flap handle. That other black knob
up there is the trim. Unlike the original Pipers, this plane has
a trim tab like a Champ rather than a trim jackscrew.
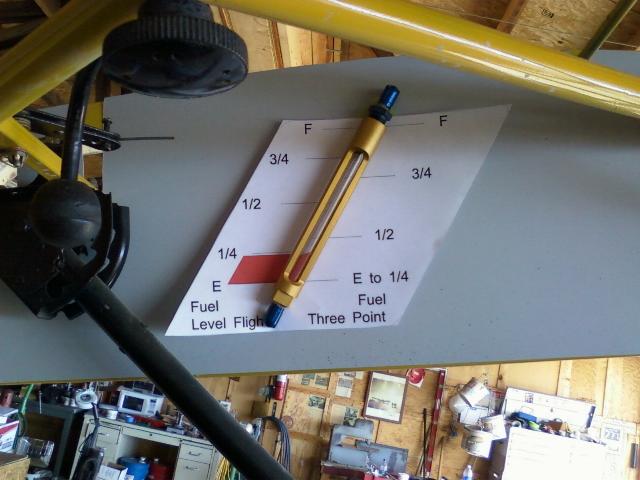
Right overhead panel with fuel sight gauge taped into place.
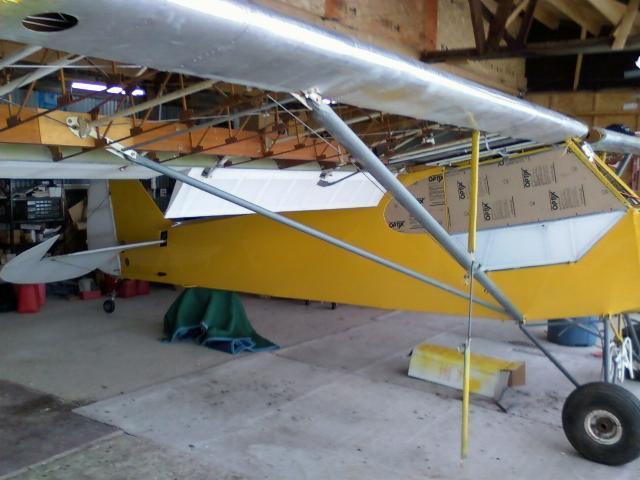
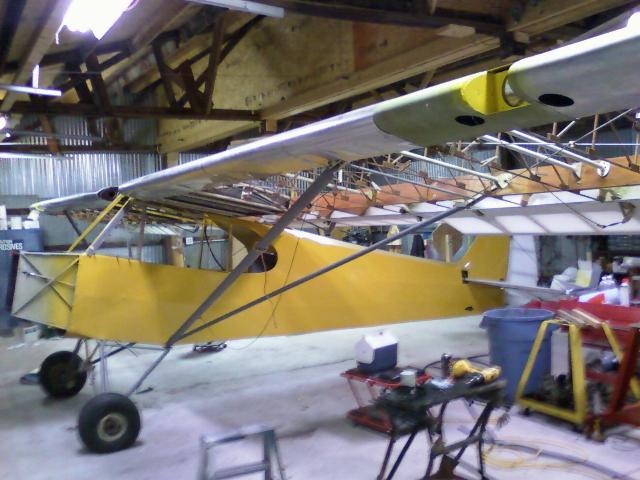
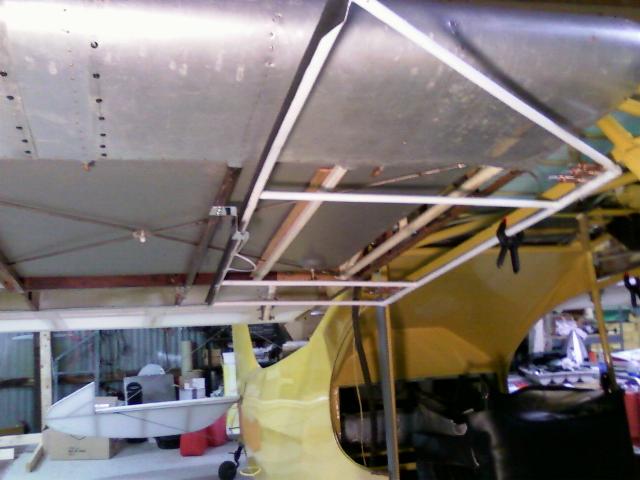
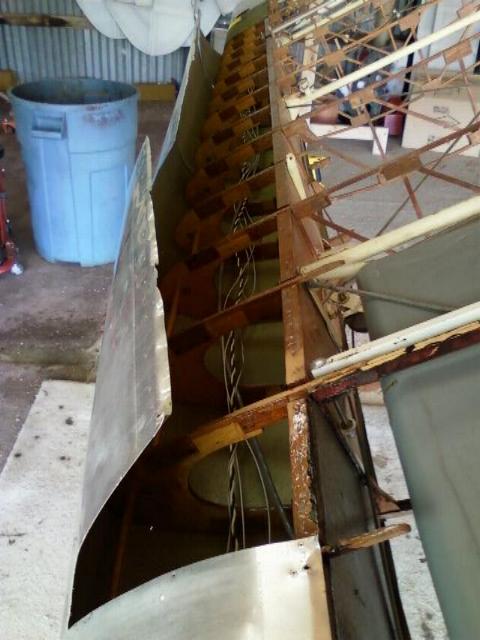
45 degrees of flaps. Now that's some serious flaps! These
wings are extended 18" on either side, so the
ailerons were moved outboard 18" and the flaps are 18" wider than a
normal SuperCub.

The left side window plexiglas still covered with the protective paper
finish for now.
Note the deficiency in the aft jury strut. Roger redesigned the
lift struts which made a slight change to the geometry
of the struts. The consequence is that the aft jury strut is just
a tad bit short. It's not a bit problem to fix. I bought
some streamlined 4130 strut material from Wicks and will measure the
correct length when the wings go back on,
then build a new jury strut to fit.
Second note: When I switched the jury struts around and
mounted
to front strut on the front and the back strut
on the back, everything fit much better.

Right side windows. Plexiglas covered with protective paper.
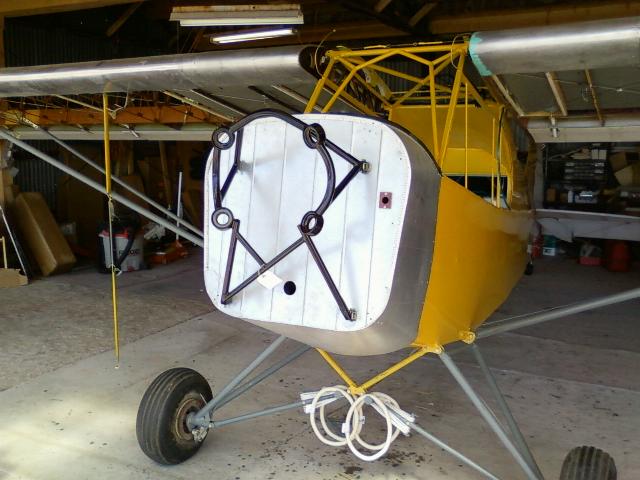
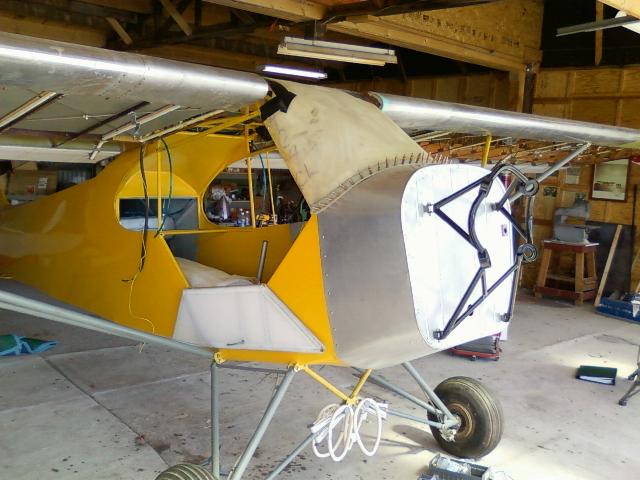
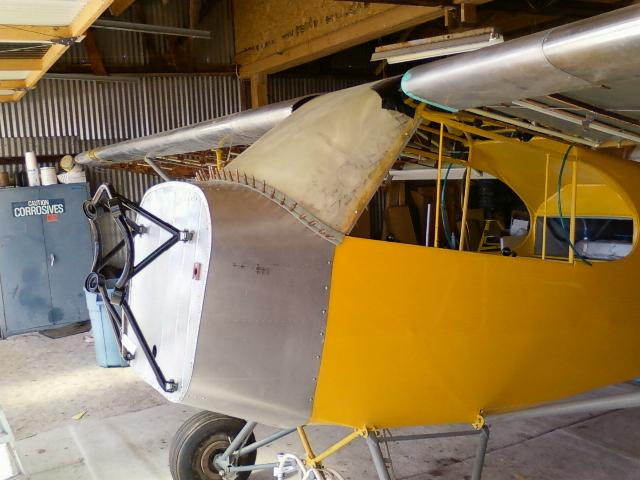
3/13/10 - The engine finishing kit arrived from Wag Aero
yesterday. As expected, it didn't quite fit. The right
bottom
mounting bracket was off by 3/16". I fabricated a new bracket and
added a couple of shims behind the upper left bracket
to get the mount to fit correctly. I figured I might as well see
if I can get the boot cowl fitted as long as I had the mount
to hold it in place.
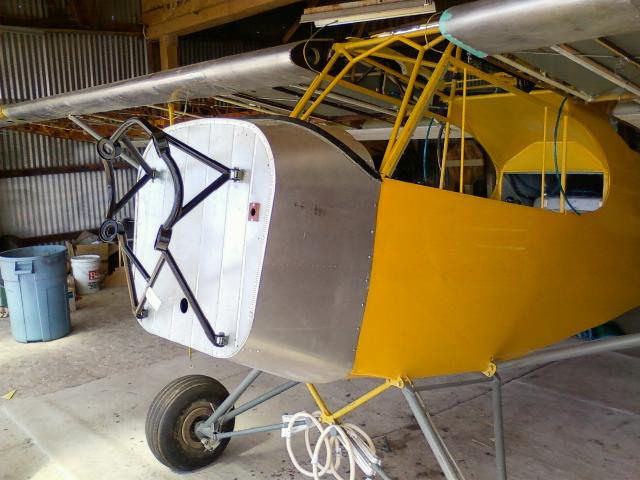
As long as I was on a roll, I figured I might as well get the
windshield out of the box and see if I could get it fitted
as well. It all fit together very nicely.
I didn't capture a picture of it, but also checked the interface
between the windshield and the skylight. It was
also a very nice fit.
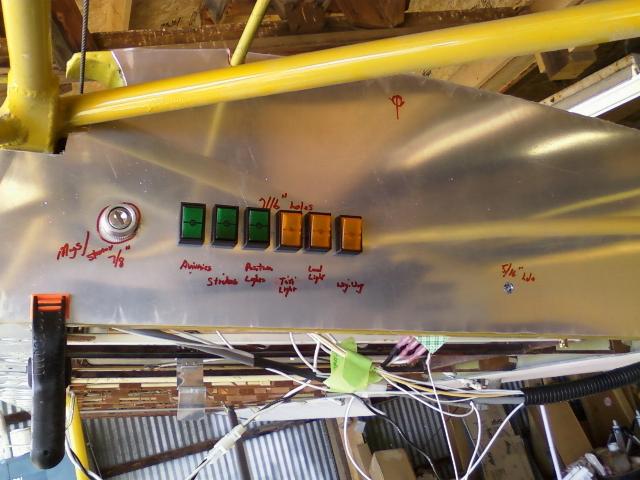
3/28/2010 - This is the overhead switch panel on the upper right side.
The hole behind the switches and the mark
above the swiches is where the fuel gauge goes throught the panel.
This is a long way from being done as it's
still covered with plastic. It will get an alodine treatment,
primer, painted yellow to match the plane, then vinyl
graphics for the switches. Why put the mags and switches in the
overhead area? I'm equipping this plane so it
can be flown solo from either seat. I've also found a radio with
a remote head so it can be controlled from either
seat. Xcom Radio. Nice unit.
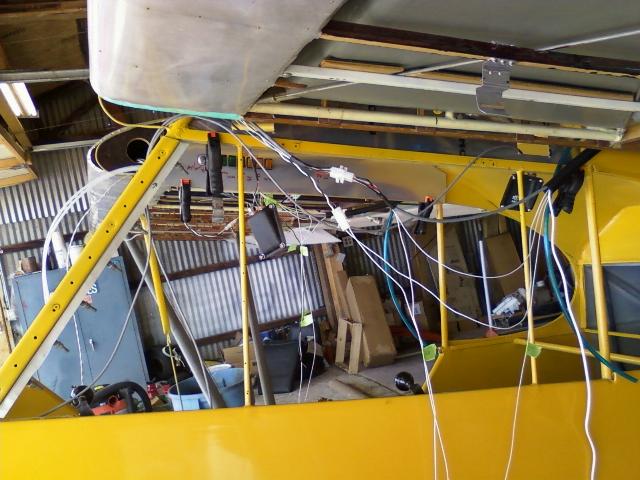
Wiring Spaghetti. I'm installing the wiring for the lights
landing
lights, and strobes. It looks like a mess, but really
will clean up nicely.

More Spaghetti! Looking across at the left side. The two
square boxes hanging down are recessed plugs for the
headsets. The blue lines are the header tank vent return lines.
4/9/2010 - I pulled the wings off the plane today. Next time
they go back on will be to fly. I wasn't happy
with the slack that was in the sheet metal on the leading edge of the
left wing. I pulled most of it loose and
mounted it all over again..
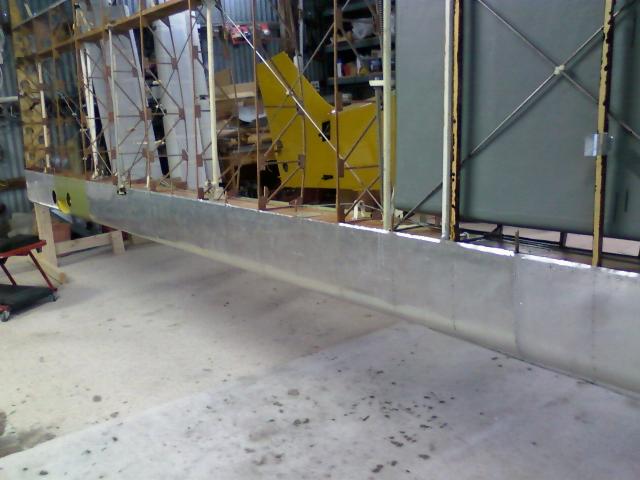
The leading edge is tacked back down to the ribs. It looks better
now, but isn't as tight as I wanted.
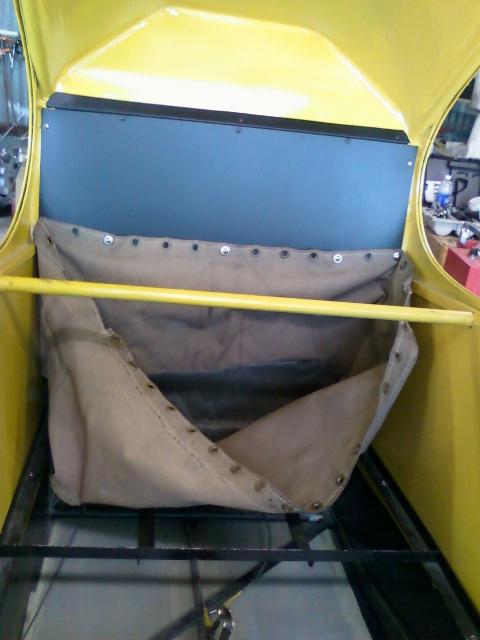
Back panel and baggage sack.
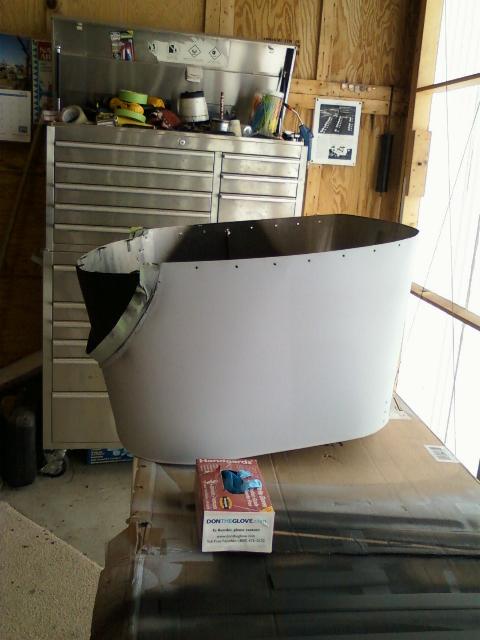
Boot cowl in primer. Note that the glareshield area is now black.

Overhead panels and various pieces of the trim after priming and
painting the trim. The overhead panels
will end up getting painted yellow to match the plane.
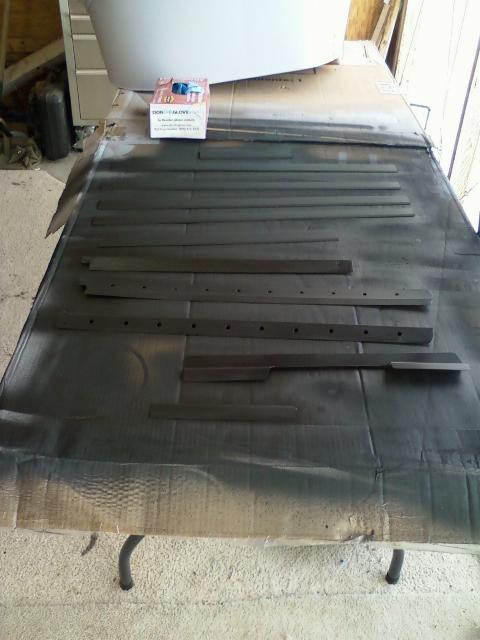
More of the trim painted black.
4/26/2010 Fitting the graphics for the fuel gauges and overhead
switch panel.
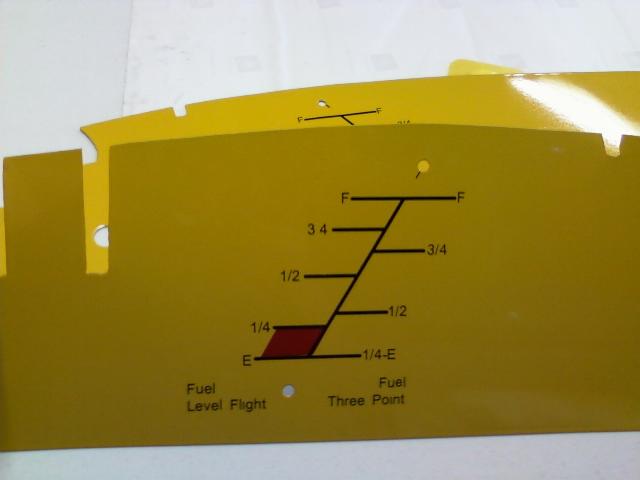
Left side overhead panel with fuel gauge graphics.
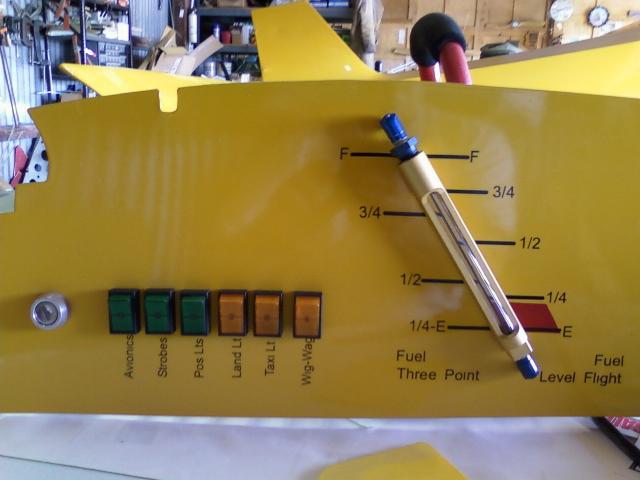
Aug 29, 2010 - The real deal for the fuel gauge. Graphics
courtesy of Cameron at Ultra Industries. Right side
overhead panel with fuel gauge and switch panel.
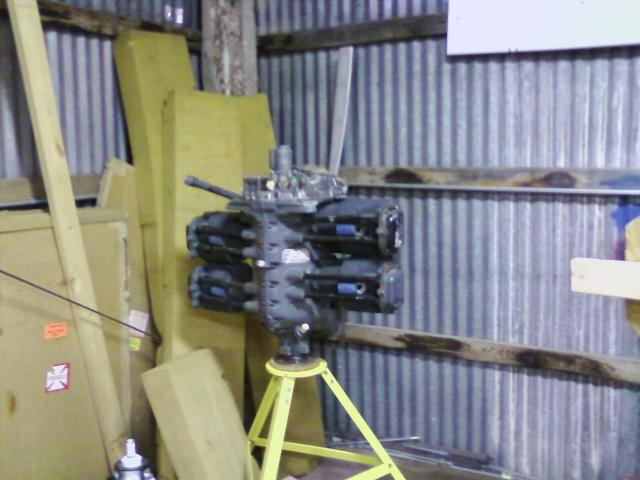
And here's the engine. This is a Lycoming O-235-L2C (118 HP
@2800 RPM). It sat for a while before I
bought it and has some internal corrosion problems. I bought
this engine as a spare to rebuild for my Tomahawk,
but never needed to use it. I'll overhaul it and mount it
on the Cub. I may rebuild it as a high compression
O-235-L2C-M, which would make it 125 HP @ 2800 RPM. The upgrade
requires different pistons, different
spark plugs for clearancing reasons, and the addition of an oil cooler.
Note: I used this engine to fit up the cowling, but then ran across an
O-320-E2G that I'm now planning to use. More
on the Firewall Forward page.
Page 1 - The Cub
Project
Page 2 - Fabric
Page
3
- Firewall Forward
Page
4 - Firewall Forward (page 2)
Page
5 - O-320
Overhaul (for the Cub)
Page 6 -
Final Assembly (2010)
Page
7 - Final Assembly (2011 page 2)
Page
8 - Final Assembly (2011 page 3)
Page 9 - Completed
Aircraft
Page 10 - Later Updates and
Modifications
Page 11 - MOGAS vs
Composite Fuel Tanks
POH
for Scott Grizzly Cub N143W
Page 1 - The Cub
Project
Page 2 - Fabric
Page
3
- Firewall Forward
Page
4 - Firewall Forward (page 2)
Page
5 - O-320
Overhaul (for the Cub)
Page
6 -
Final Assembly (2010)
Page
7 - Final Assembly (2011 page 2)
Page
8 - Final Assembly (2011 page 3)
Page 9 -
Completed
Aircraft
Page 10
- Later Updates and
Modifications
Page
11 - MOGAS vs
Composite Fuel Tanks
POH
for Scott Grizzly Cub N143W