Fabric Work
Page 1 - The Cub
Project
Page 2
- Fabric
Page
3
- Firewall Forward
Page
4 - Firewall Forward (page 2)
Page
5 - O-320
Overhaul (for the Cub)
Page 6 -
Final Assembly (2010)
Page
7 - Final Assembly (2011 page 2)
Page
8 - Final Assembly (2011 page 3)
Page 9 - Completed
Aircraft
Page 10 - Later Updates and
Modifications
Page 11 - MOGAS vs
Composite Fuel Tanks
POH
for Scott Grizzly Cub N143W
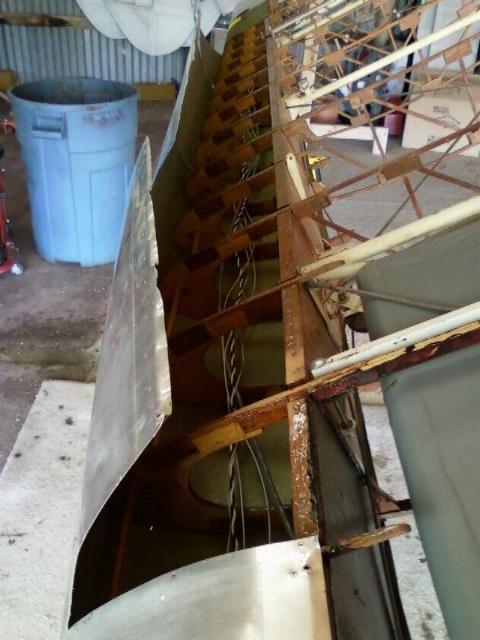
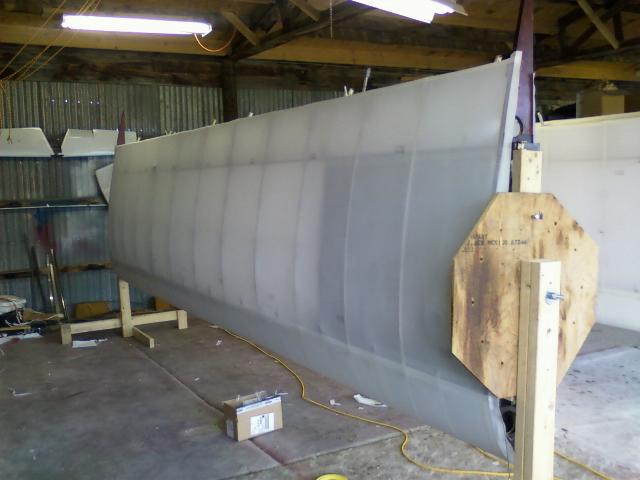
4/9/2010 - I pulled the wings off the plane today. Next time
they go back on will be to fly. I wasn't happy
with the slack that was in the sheet metal on the leading edge of the
left wing. I pulled most of it loose and mounted
it again.. I can't say that I'm really happy with it yet,
but it 's an improvement.
The leading edge is tacked back down to the ribs. It looks better
now, but isn't as tight as I wanted.
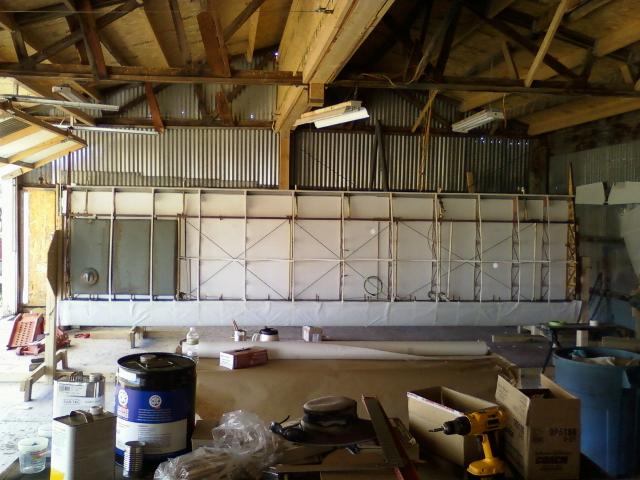
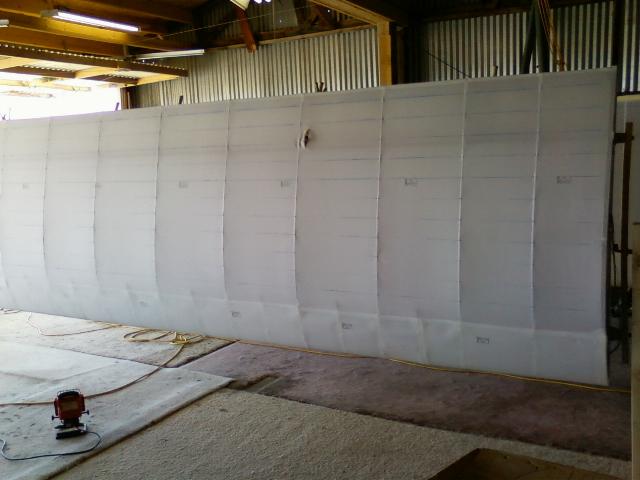
This photo shows the inter rib bracing for both wings. The
interrib bracing is the X configured lacing that runs
between the center of the ribs and is used to pull the ribs up straight
in preparation for the fabric. Once the
fabric is on and the rib
stitching completed, the bracing isn't really necessary.
The white tape you see on the tops of the ribs and covering all the
nails and rivets is simple athletic tape. It's
there to keep the fabric from abraiding on the sharp edges.
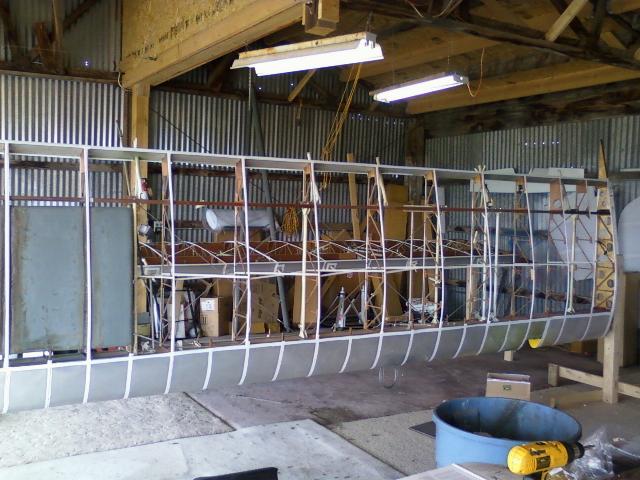
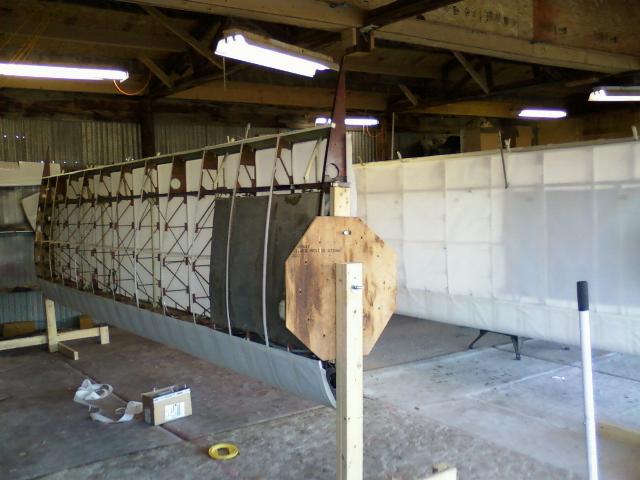
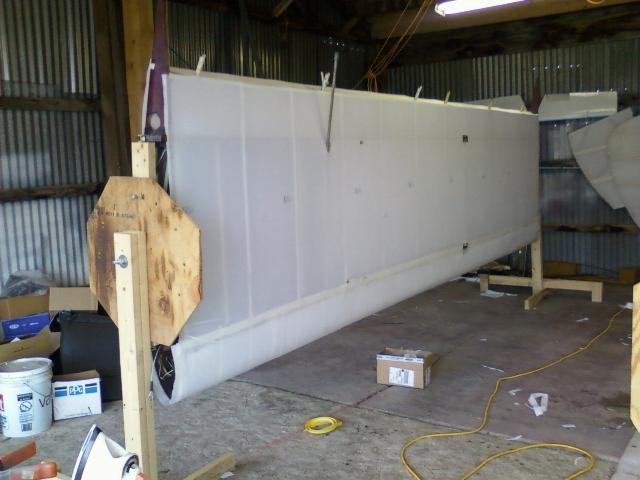
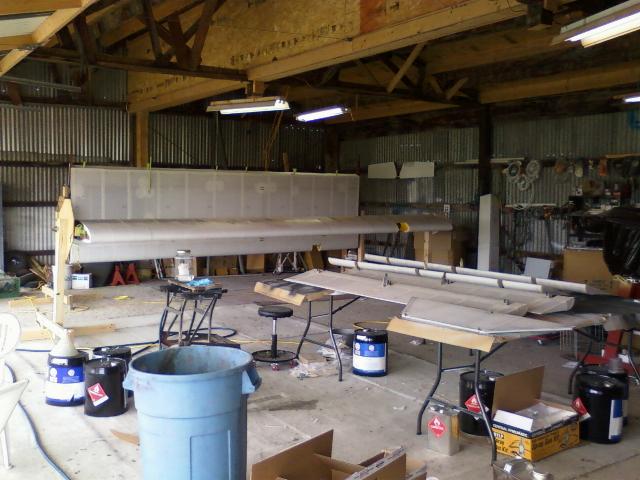
July 5, 2010. Finally getting rolling on the fabric work.
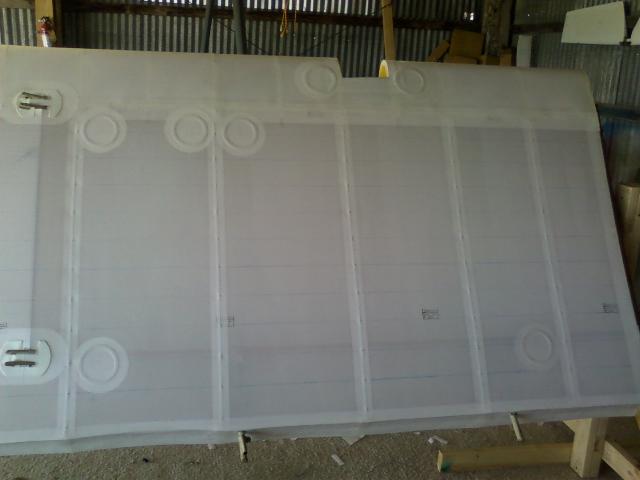
For future reference, here's the wing lay out. A little different
from most Cubs as the wings are squared off
instead of using wing tip bows and the ailerons have been moved 18"
outboard.
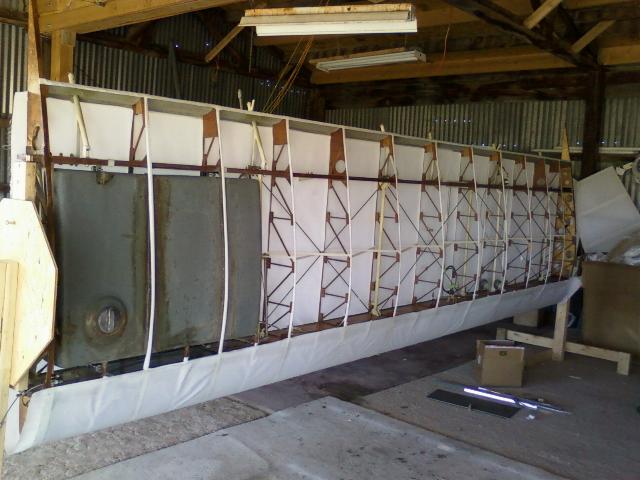
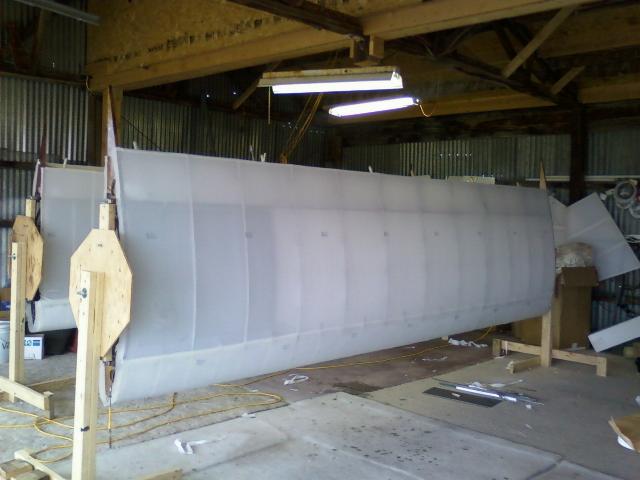
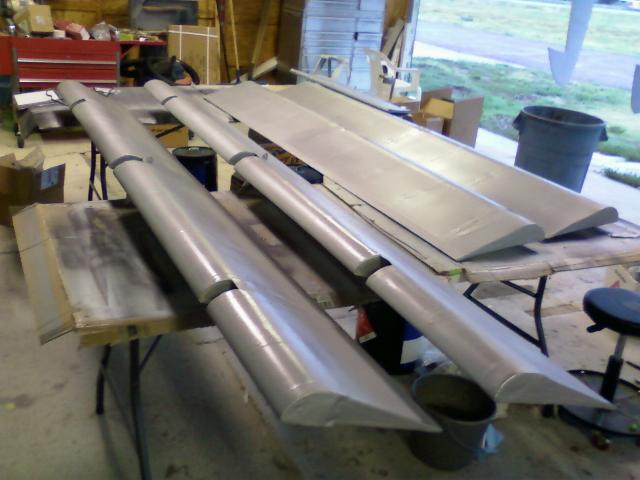
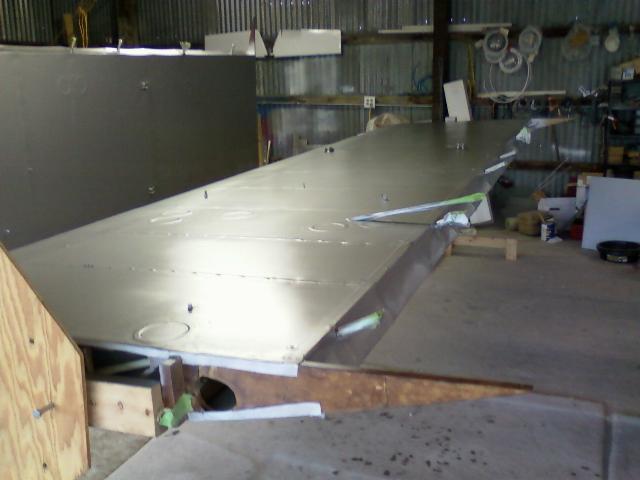
I've got the bottom of both wings covered and partially glued.
I need to shrink the leading edge to get rid of the
wrinkles before covering the top. So far, it's going well and
looking good.
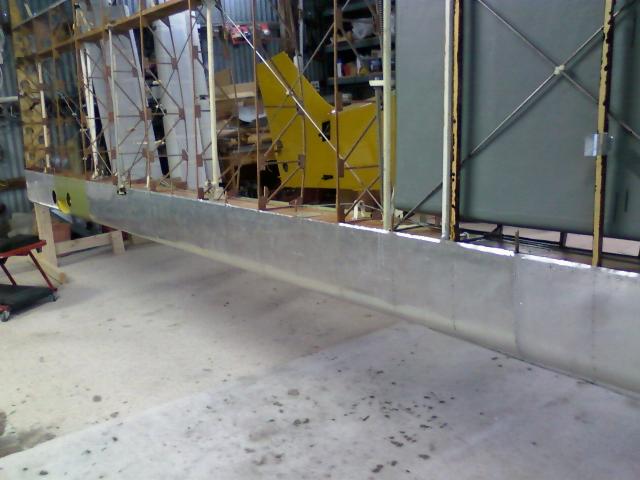
Note how nice and straight the trailing edge is here.
Unfortunately, it wasn't tough enough and shrinking the fabric
really bent it creating a scaloping effect to the trailing edge.
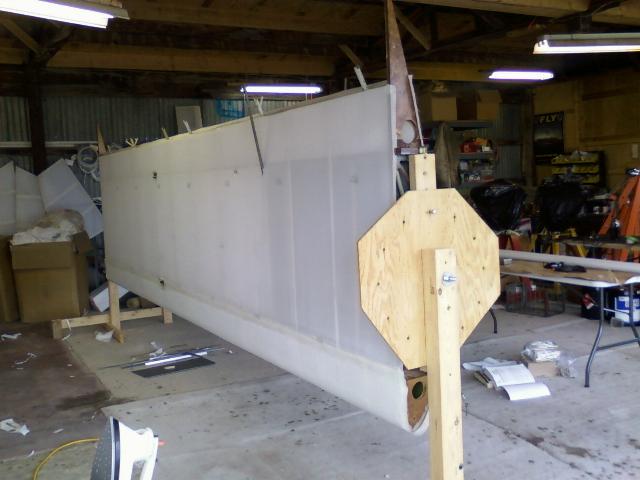
July 11, 2010. More fabric work. I covered
the top of the wings and shrank all of the fabric. There is still
a
great deal more to do, but this is a good start.
July 17, 2010 - About an hour to relearn the Modified Seine Knot, then
an evening of stitching and a half day
on Saturday, and the wings are stitched. 3 1/2 inches per stitch
per the Ceconite STC. Yes, I did snap chalk
lines on the wing to guide the rib stitching. I'll wipe it down
with a damp cloth before I start spraying the dope.
The chalk won't disolve and migrate through the dope like ink, so it's
safe to use on the fabric.

The inboard ribs over the fuel tanks have an aluminum shell, so PK
screws were used to attach the fabric.
Inboard the fabric is attached at 2 1/2 inch intervals. Notice
the reinforcement tape on the top of the ribs. It
is a polyester tape that is under the PK screws and rib stitching to
keep the fabric from tearing if it happens
to lift up.
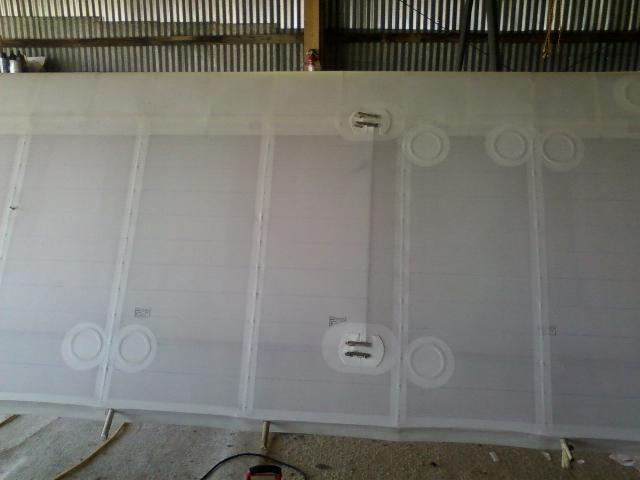
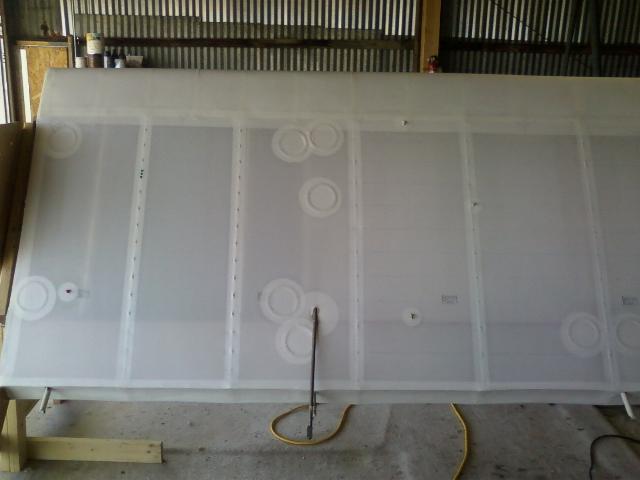
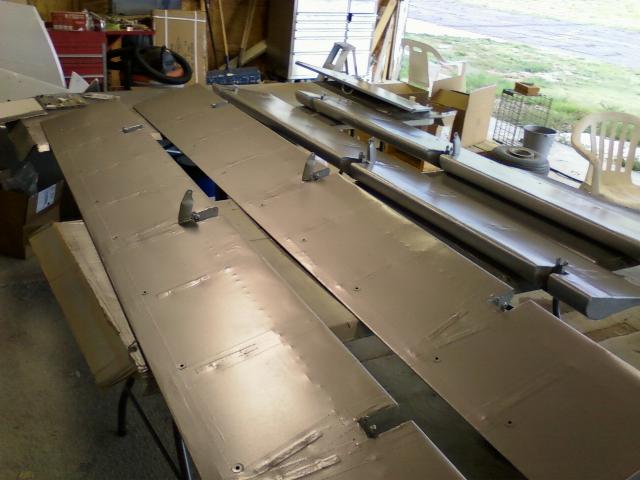
July 19, 2010 - This and the following few pictures show the
access panels and re-inforcements for the fabric
on the bottom and top of the left wing. The right wing is done
exactly the same.
Note: Notice the bending of the trailing edge in this picture. It
gets worse as the dopes taughten the fabric. I
did use non-taughtening dopes, but they will still cause some
taughtening of the fabric.
The three small screws in the inboard ribs are there to mount the clip
that holds the left window up against the
wing. There are three more screws in about the same position on
the right wing to mount the clip to hold the
upper door open as well.
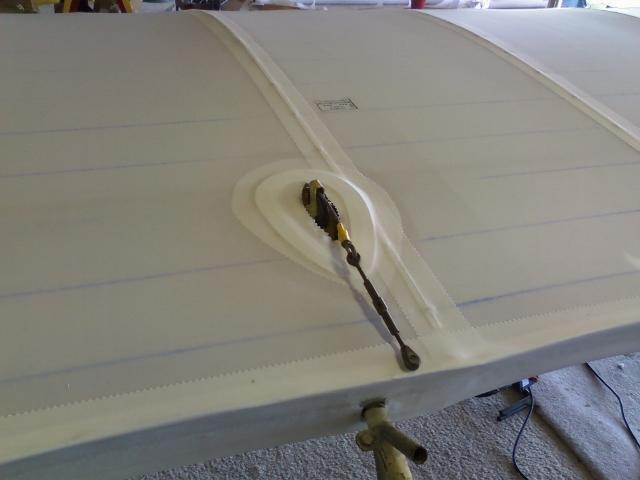
Top aileron cable where it exits the wing. That's a plastic
re-inforcement under the patch for attaching the
blister fairing that covers this pulley and cable exit.
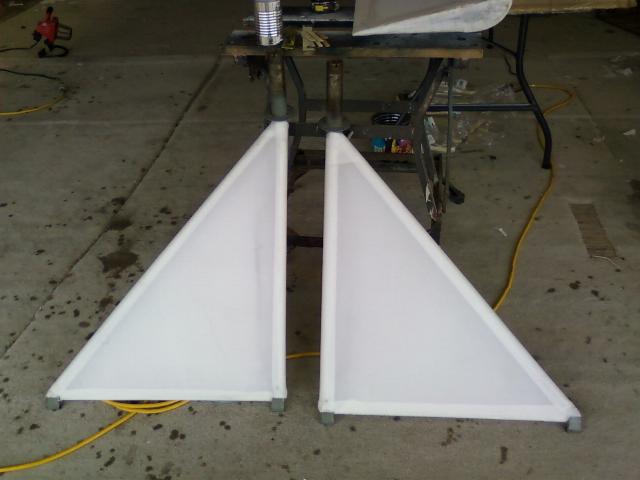
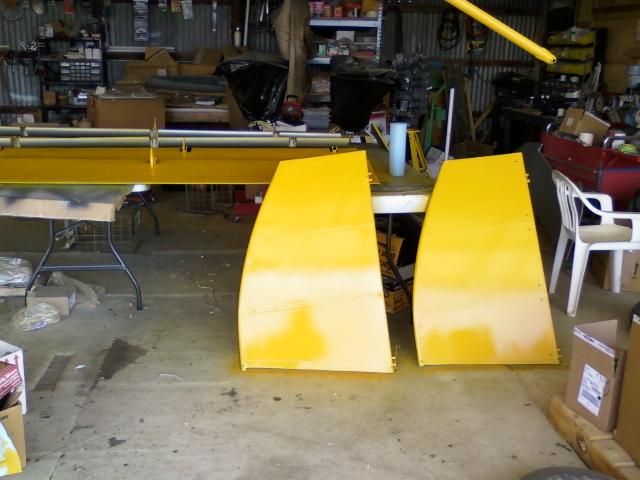
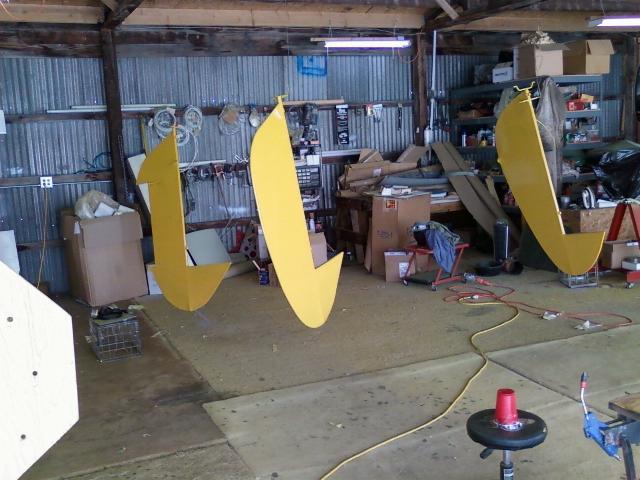
July 20, 2010 - Covered Gear legs.
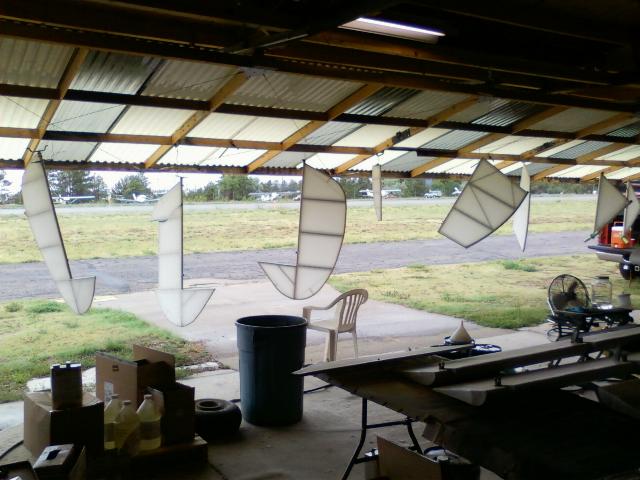
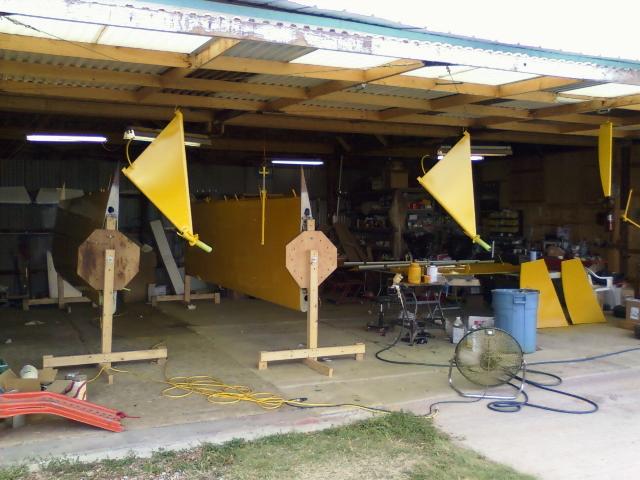
July 24, 2010 - I was accused of having my laundry hanging from the
hangar door. Actually, the tail feathers
and gear legs are hung from the hangar door so I can shoot them with
dope.
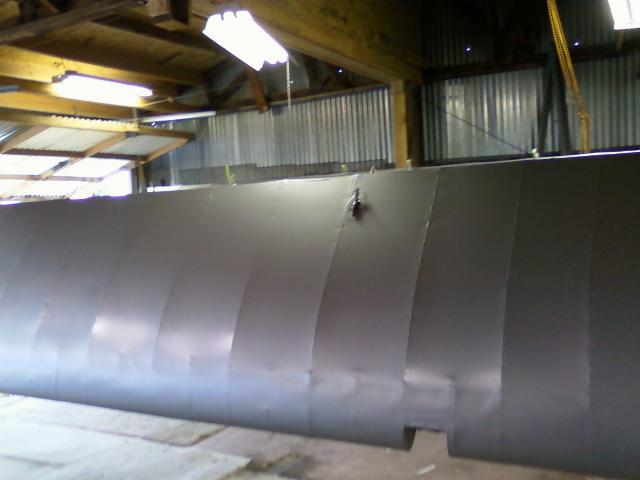
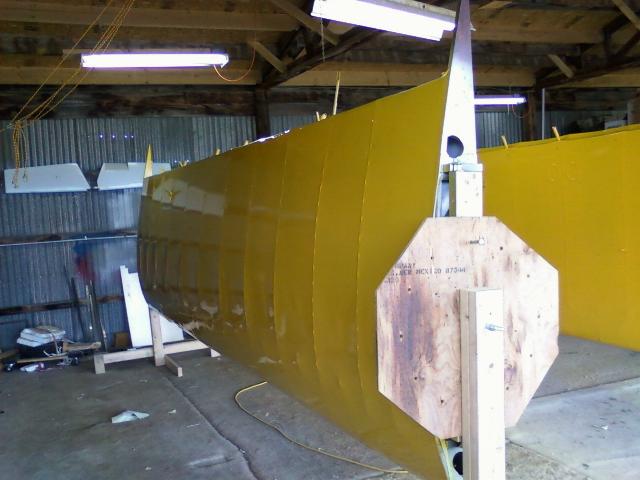
July 25, 2010 - You can tell by the sheen on the wings that the wings
and controls have been sprayed with
butyrate dope. At this point, I have shot 5 coats of Nitrate and
5 coats of butyrate dope.

July 25, 2010, end of day. Just getting started with the silver
coat. After three 12 hour days in the hangar, all
of the fabric surfaces were shot with 3 coats of Nitrate dope, all the
tapes sanded, shot with 2 more coats of
nitrate, then 5 coats of clear butyrate dope. I just got started
with the silver butyrate, so shot everything except
the main surface of the wings. That's where I ran out of dope
that I had mixed, so will pick up there next time.
The surfaces all need to be sanded once more with 320 wet, then finish
shooting the silver coat. Then at last
I'll be ready for that Cub yellow paint.
Notice the scalloping that has developed along the trailing edge of the
wing in the photo above. The fabric pulls
with a great deal of force as it shrinks. The aluminum
trailing edge wasn't strong enough to hold against the force
of the shrinking fabric and dopes, which creates the scalloped effect.
It's not a structural problem, but will create
more of a gap between the control surfaces that mount here and the
trailing
edge of the wing than desired. Not much
to do about it at this time unless I want to go to the trouble to
create
some type of gap seal to close up the gap.
July 25, 2010 - Control surfaces are now all silver. More coats
of silver to go.
July 31, 2010 - Control surfaces after 5 coats of silver dope.
In person, these were
really shiny silver.
OK, all this silver is the culmination of two weeks or spraying.
5
coats of clear nitrate, 5 coats of clear butyrate,
and 5 coats of silver dope. So that's 2 hours spraying per coat,
so 30 hours with the spray gun in my hand.
Another way to look at it, is that I went through 4 1/2 gallons of
nitrate and 4 1/2 gallons of nitrate thinner.
Then I used 9 gallons of butyrate, 9 gallons of butyrate thinner, and 2
gallons of butyrate blush retarder. That
makes 29 gallons that I shot through my spray gun.... 1 pint at a time.
Yet another way to look at is is that
I burned through almost $2400 in covering supplies this month.
Whew! And now we get into the expensive
paint!
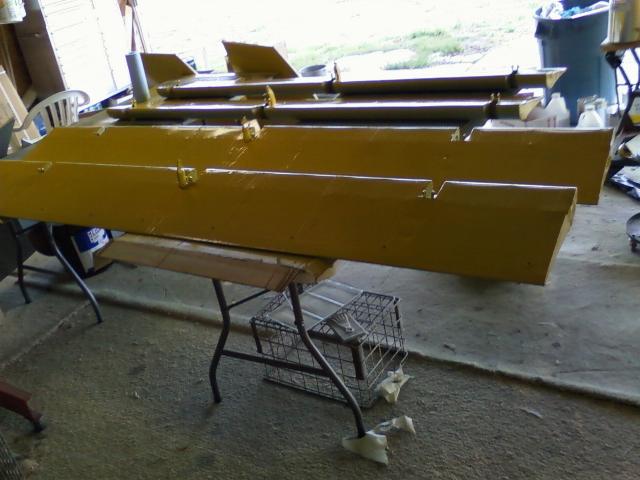
Aug 1, 2010 - Finally, I'm onto the color coat. I did the gear
legs first so I can get them back on the plane,
which will enable me to pull off the boot cowl for painting. I
really need my bungee tool which is on back order
from Wag Aero so I can put the bungees on the gear when I install them
this week.
The horizontal stabs.
I shot the bottom side of the flaps and ailerons. I'll flip them
over and paint the top sides sometime this week
when I mix paint again.
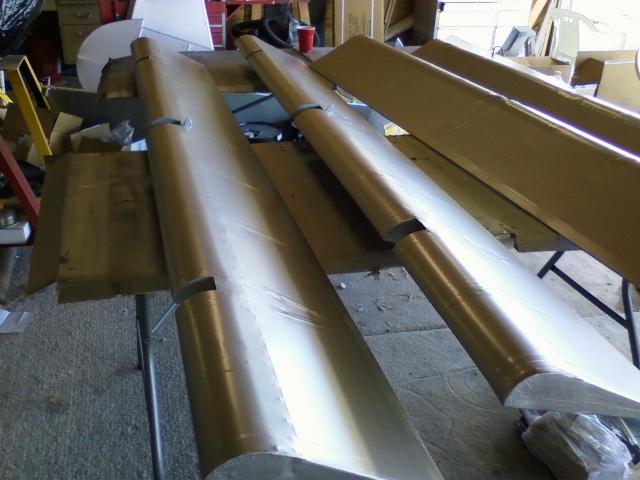
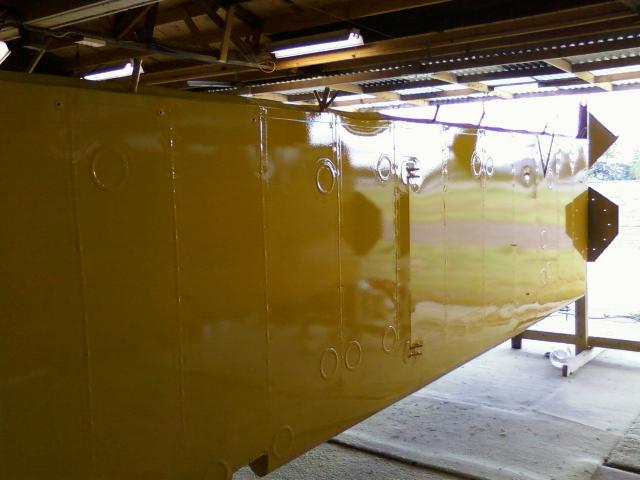
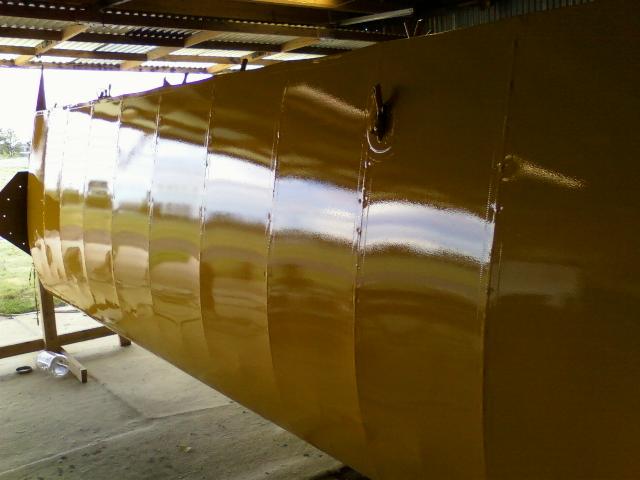
The wings have their finish coat of yellow completed. I normally
would have shot them with pigmented dope.
However, since when Roger shot the fuselage he used PolyUrethane paint
to get that nice wet look shiny finish,
I had the paint matched and also used PolyUrethane for the color coat.
I do have to say, it is very shiny.
Now these are nice shiny surfaces. Unfortunately, they weren't
done. After a close inspection, there was still
some silver showing through the yellow finish making it appear dark so
it didn't match the fuselage. I shot one
more coat and hosed it. I added some accelerator to the paint and
it started curing while I was shooting. Made
a real mess out of the paint. I cleaned it up as best I could,
then shot a 20th coat. (5 nitrate, 5 clear butyrate,
5 silver butyrate,
and 5 polyurethane color coat). Painting isn't easy and isn't a
lot of fun.
You can see the orange peel effect in the paint after shooting with
overcatalyzed paint.
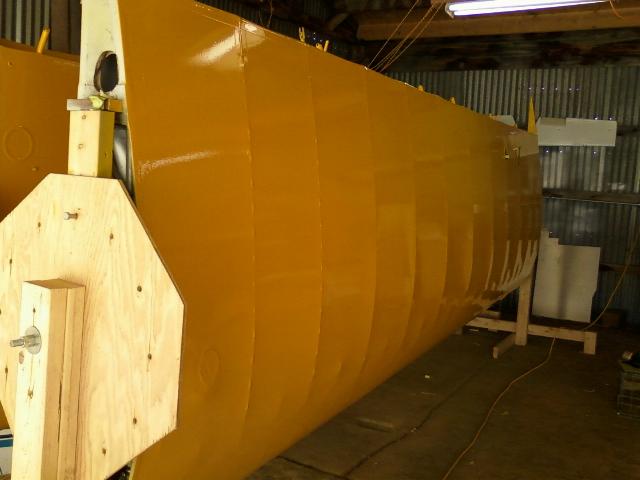
Aug 7, 2010 - Finished wings (orange peel and all) after 20 coats.
Finished tail feathers.
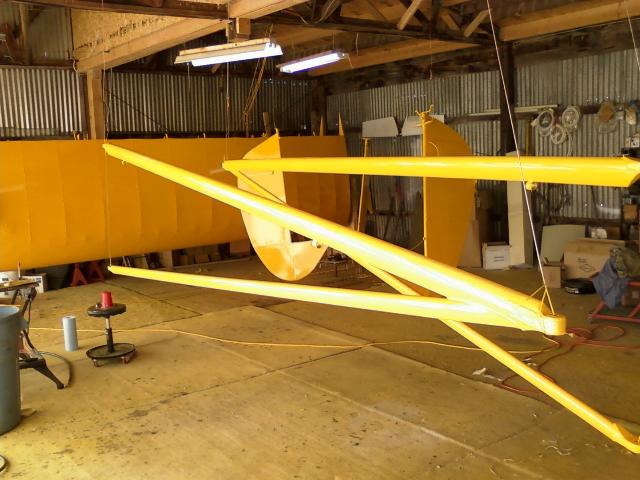
I also shot the lift struts today.
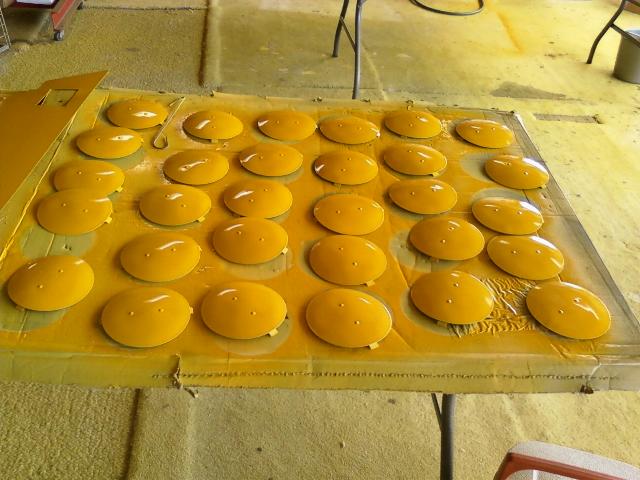
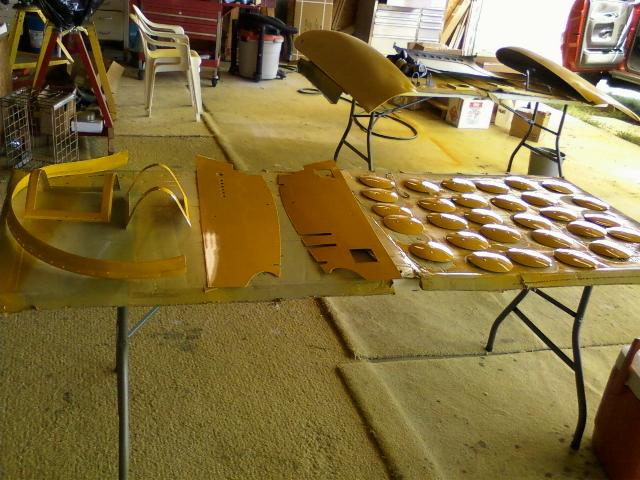
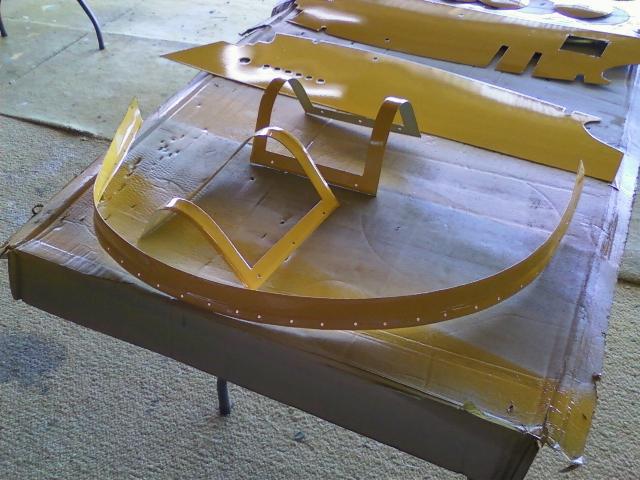
Aug 15, 2010 - Painted the inspection covers, overhead trim panels,
windshield trim, landing light trim, wing
tips, sunroof. and a few other parts. At the end of the day, we
had quite a rainstorm blow up and had rain
blow in on the cowling top, and wing tips while the paint was wet, so
they will have to be wet sanded and shot
again.
Page 1 - The Cub
Project
Page 2
- Fabric
Page
3
- Firewall Forward
Page
4 - Firewall Forward (page 2)
Page
5 - O-320
Overhaul (for the Cub)
Page 6 -
Final Assembly (2010)
Page
7 - Final Assembly (2011 page 2)
Page
8 - Final Assembly (2011 page 3)
Page 9 - Completed
Aircraft
Page 10 - Later Updates and
Modifications
Page 11 - MOGAS vs
Composite Fuel Tanks
POH
for Scott Grizzly Cub N143W