Firewall Forward 2
Page 1 - The Cub
Project
Page 2 - Fabric
Page
3
- Firewall Forward
Page
4 - Firewall Forward (page 2)
Page
5 - O-320
Overhaul (for the Cub)
Page 6 -
Final Assembly (2010)
Page
7 - Final Assembly (2011 page 2)
Page
8 - Final Assembly (2011 page 3)
Page 9 - Completed
Aircraft
Page 10 - Later Updates and
Modifications
Page 11 - MOGAS vs
Composite Fuel Tanks
POH
for Scott Grizzly Cub N143W
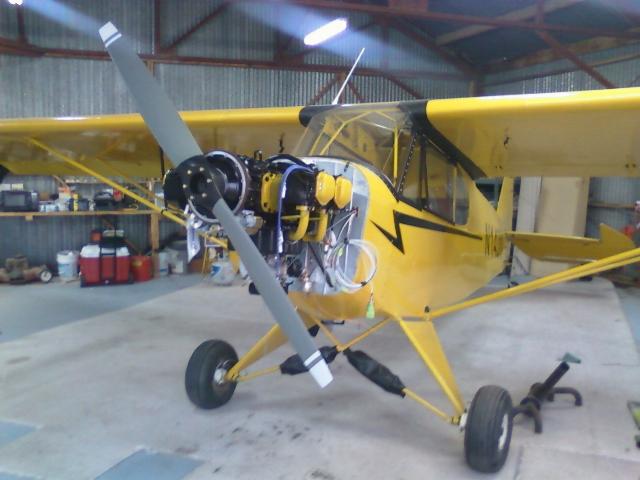
April 23, 2011 - The engine is on the plane. Time to start a
new firewall foreward page to finish this out.
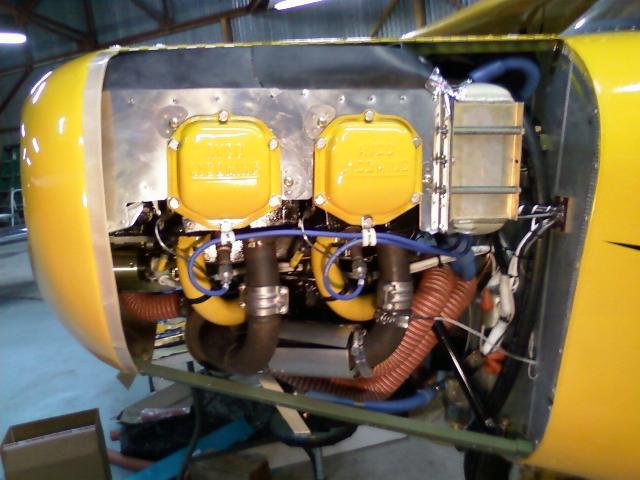
April 29, 2011 - Time to build that pesky cooling baffling. I
bought Van's baffling for an O-320 on an RV-7.
I'll have to cut it down quite a bit to get it under a Cub cowling, but
it's good stuff, well fitted to the engine, and
not very difficult to build.
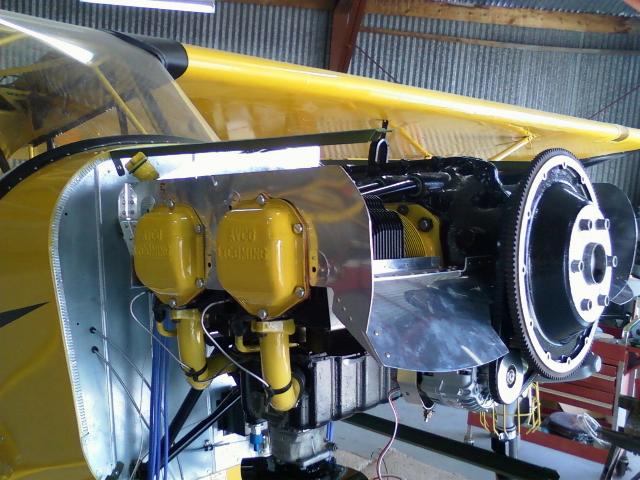
April 30, 2011 - I riveted the baffling together yesterday and
today. I had to trim a little bit more around this
front edge, but it fits pretty well.
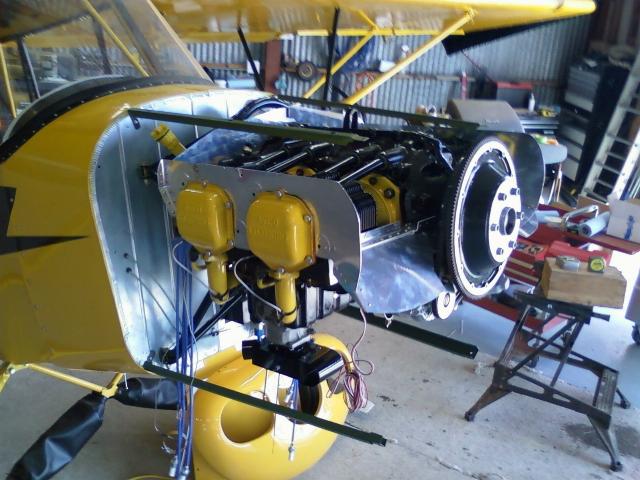
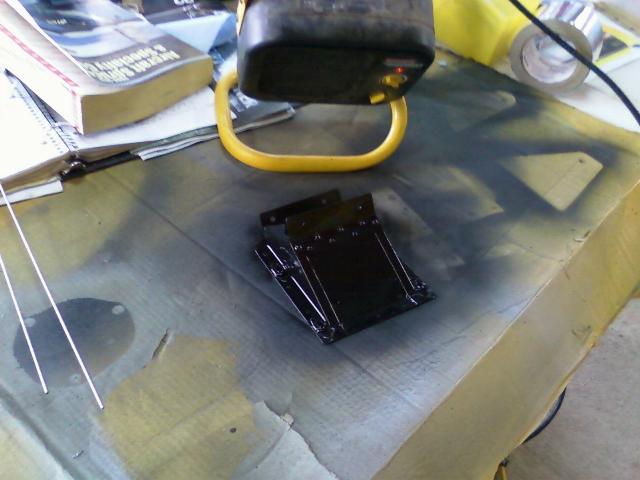
Oil cooler mounted to the rear baffling. I beefed up this rear
section a bit to hold the oil cooler.
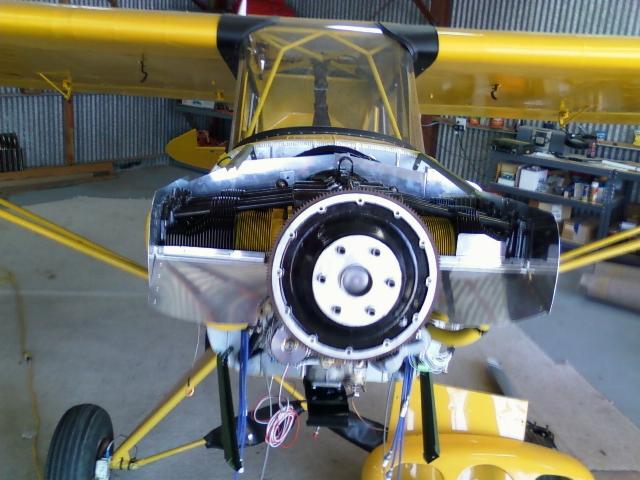
The nose bowl with upper and lower cowl panels mounted.
This part is going to fit OK. Since I took the
excessive down thrust out of the engine mount after I built the cowl,
the lower braces had to be replaced and
the sides will need to be built new. But this also gave me the
opportunity to fix a few things, so the cowl now
fits much better.
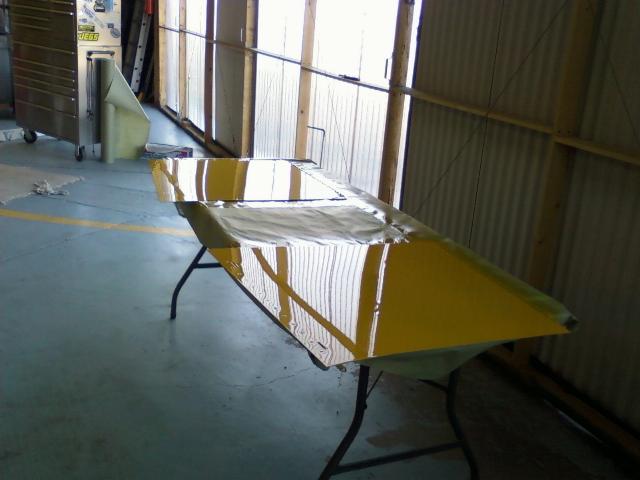
Prototyping the cowl sides with construction paper.
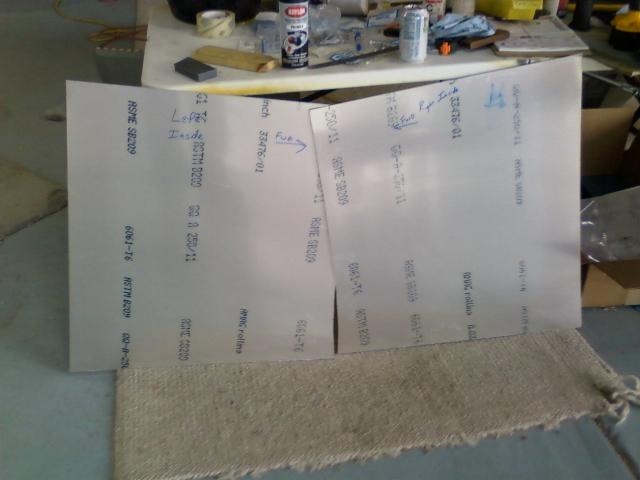
May 1, 2011 - The paper mock ups of the cowl cheeks from the
previous photo are now done in aluminum.
The cheeks are .032" 6061-T6.
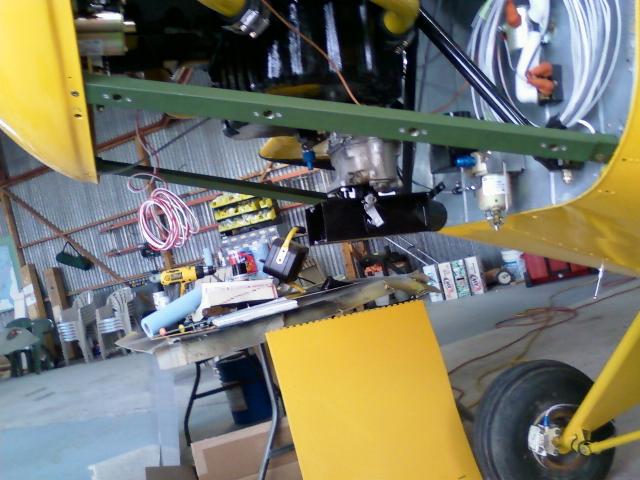
With the down thrust now set at the correct angle (4
degrees), I had to replace the lower cowl braces. I
installed the Southco fasterner sockets into the cowl braces today.
Also note that the front is missing from
the air box. I used a PA-17 air box, but the front of it isn't
right. I cut off an old air box that I'll marry to the
front of this air box so it fits the cowl properly and can use a
standard Bracket air filter.
Here's the front of the air box that will mount onto the existing box.
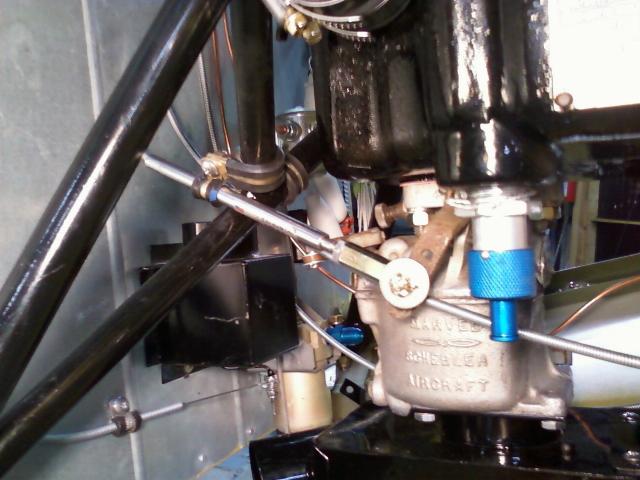
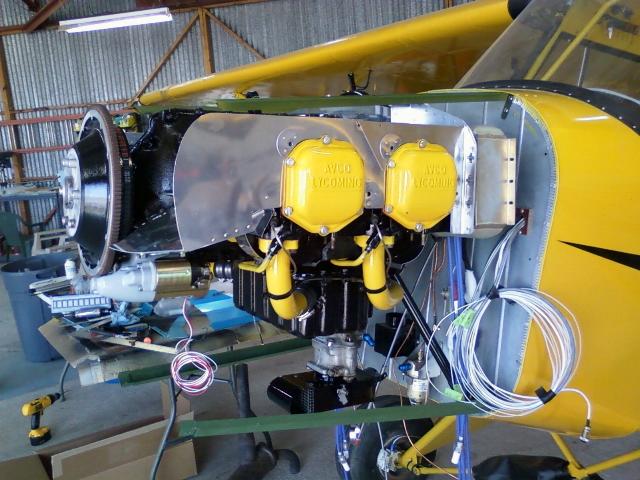
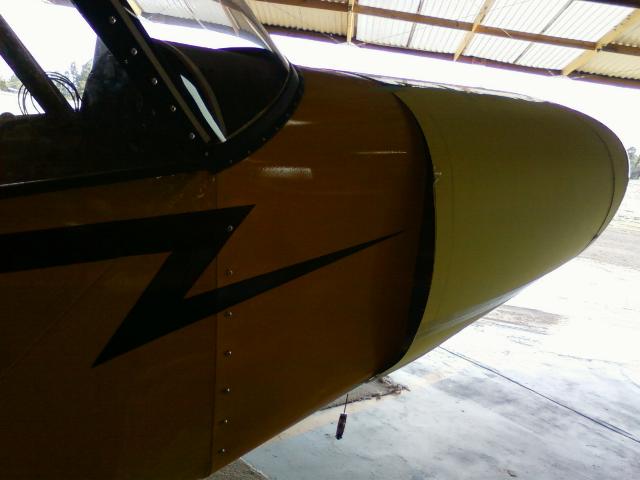
May 6, 2011 - Throttle and mixture hooked up.
Fitting up the cowl cheeks.
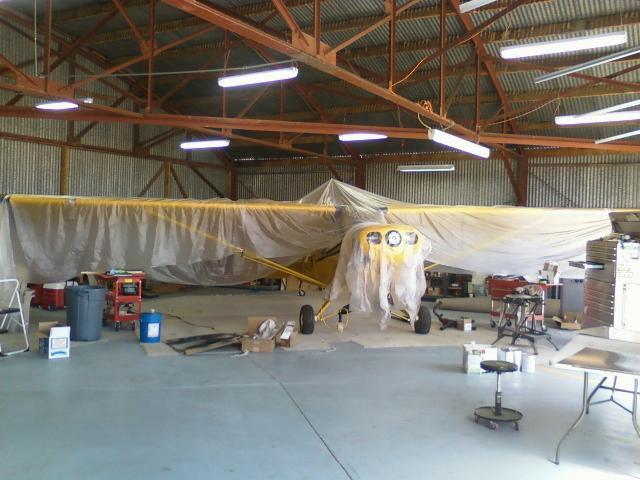
Plane covered so I can paint the cowl cheeks.
Painting the cowl cheeks. Unfortunately, they need to have one
more coat shot to get the color right. The
yellow paint doesn't cover very well.
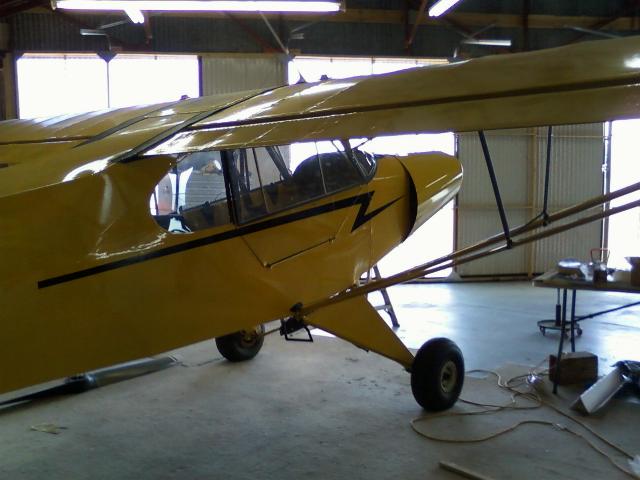
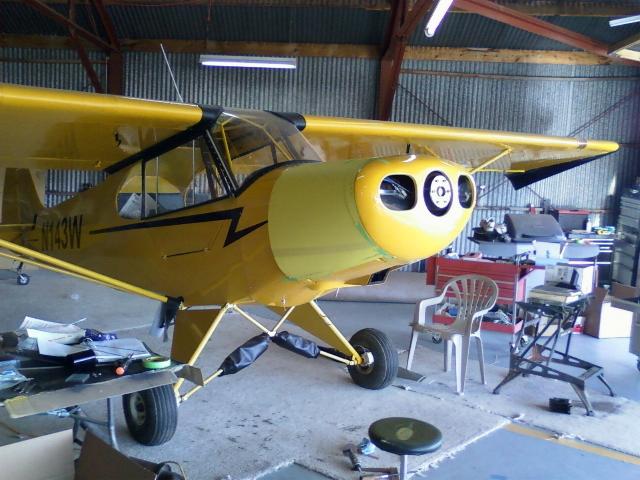
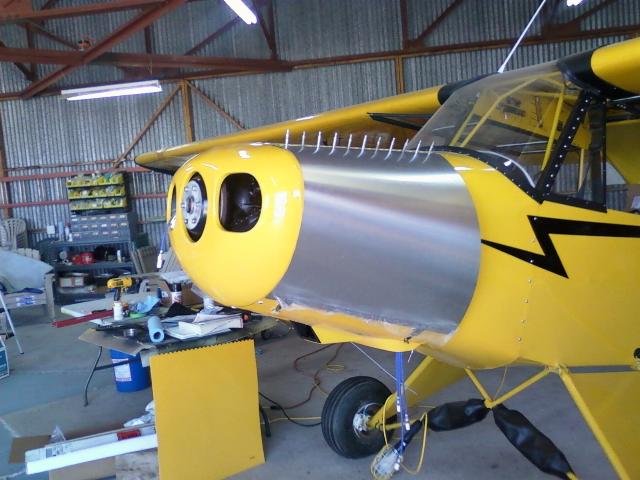
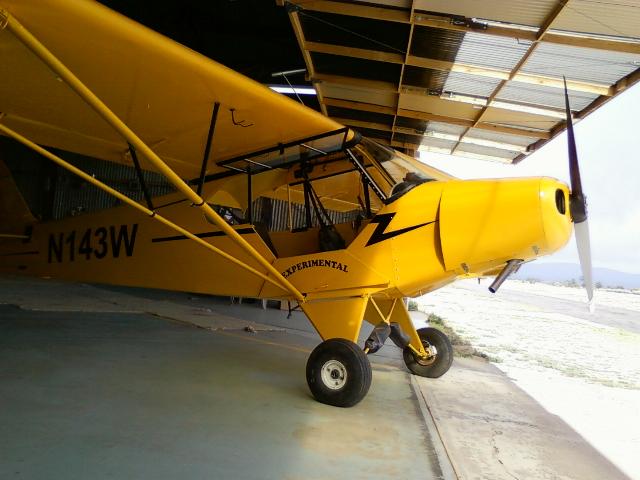
May 8, 2011 - Cowl cheeks installed. I opened up the sides a bit
for better cooling. The cowl cheeks open
up to 4 inches at the side.
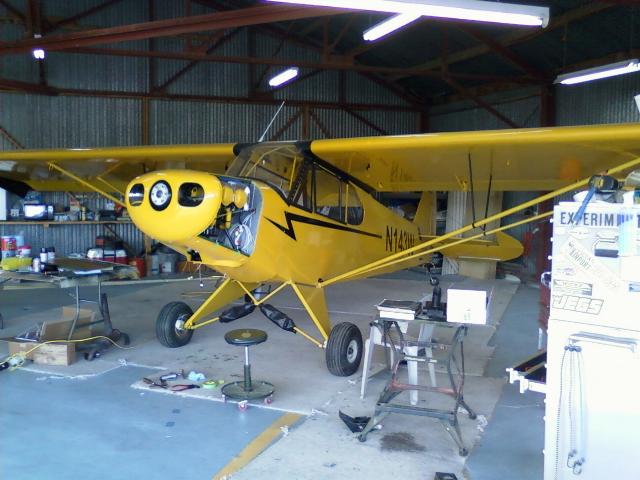
Plane with cowling.

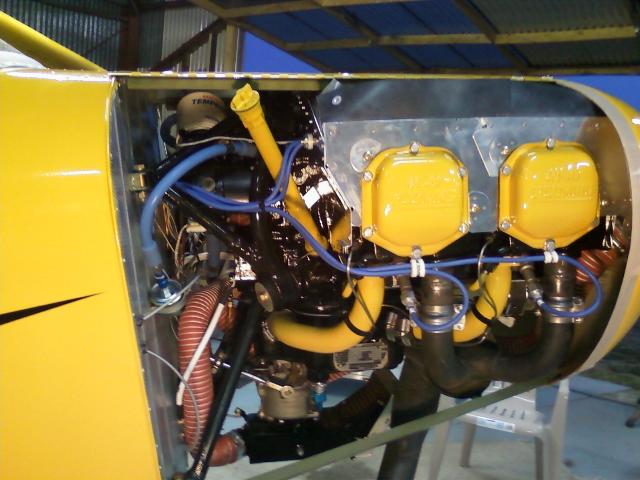
Fitting up the exhaust. This is a used exhaust from a Grumman
Cheetah. I need to see the local machine shop
to have 1" removed from either the exhaust stubs or the header pipes.
You can see that removing 1" will
bring the #4 header to just over 1/2" from the intake rubber.
I'll have to make a shield and keep a close eye
on it.
The red arrow shows the problem. The elbow on the header for #1
cyl extends outside of the cowl . Having
the headers cut down by an inch will get the exhaust inside the cowl,
although the header pipes may still be
close enough to cause some burning of the paint on the cowl. If
this exhaust doesn't work out, I'll have to
build a custom exhaust.
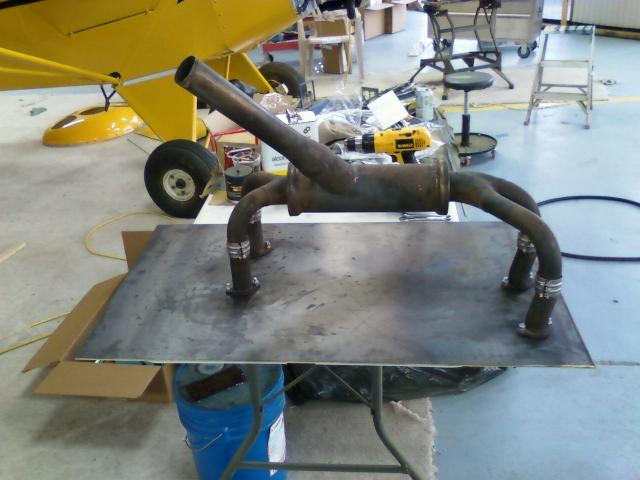
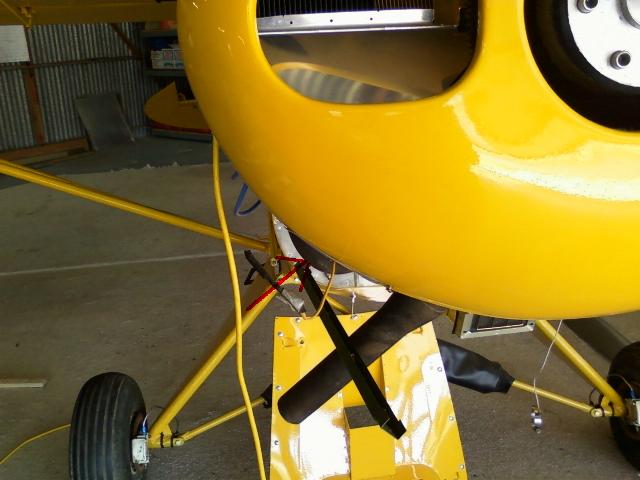
May 9, 2011 - The missing exhaust stub showed up today, so I put the
exhaust up and clamped the exhaust
stubs to the headers. I removed the exhaust as a single unit,
drilled this steel plate to make a welding jig, and
bolted the exhaust to it. I'll drop this off at the machine shop
tomorrow and have it cut down to fit.

May 12, 2011 - Freshly shortened exhaust back from the machine shop.
First test fit. The right side exhaust
stubs were shortened 1 3/8" and the left side stubs were shortened 1".
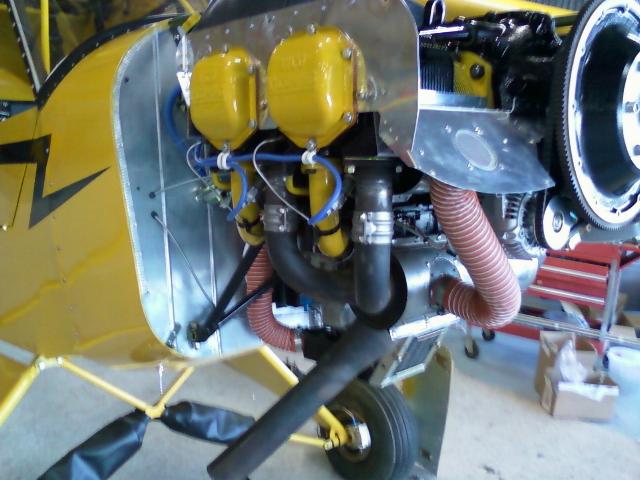
May 14, 2011 - The exhaust fits in there very nicely. There was a
lot of work that went on between the test
fit and this photo. The exhaust is close enough to the intake tubes
that I felt it was prudent to add heat shields
on a couple of the intake boots. I also rebuilt the heat
exchanger adding an overlap joint so it can be dismantled
for inspection without dropping the exhaust off the engine. Both
of the 3" inlet and outlet flanges on the heat
exchanger were replaced with 2" flanges. I cut the lower cowl to
fit over the exhaust stack, then slotted it towards
the back to allow me to move it far enough to install over the intake.
I also fabricated and painted a plug to fill the
cowl opening that's behind the exhaust stack.
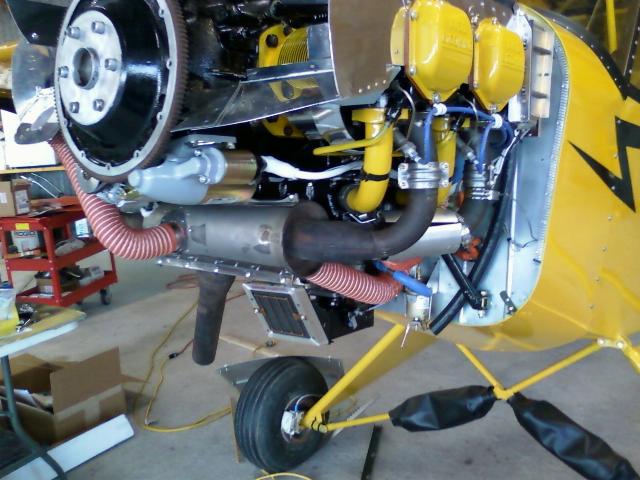
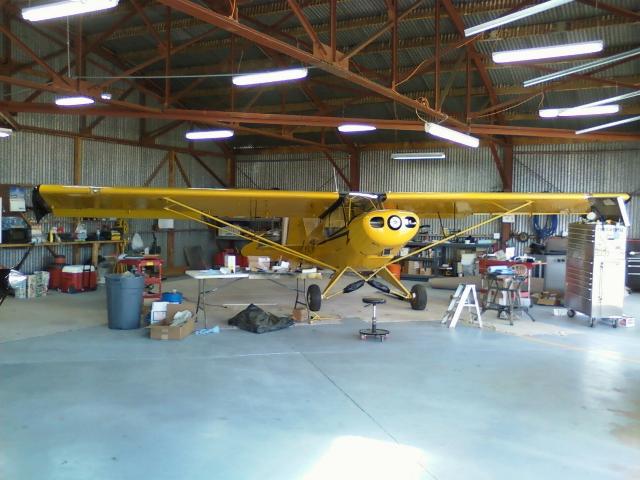
OK, the firewall forward is now completed. That's the end of this
page. There will be some additional follow
up on the Completed Aircraft
page.
Page 1 - The Cub
Project
Page 2 - Fabric
Page
3
- Firewall Forward
Page
4 - Firewall Forward (page 2)
Page
5 - O-320
Overhaul (for the Cub)
Page 6 -
Final Assembly (2010)
Page
7 - Final Assembly (2011 page 2)
Page
8 - Final Assembly (2011 page 3)
Page 9 - Completed
Aircraft
Page 10 - Later Updates and
Modifications
Page 11 - MOGAS vs
Composite Fuel Tanks
POH
for Scott Grizzly Cub N143W