Firewall Forward
Page 1 - The Cub
Project
Page 2 - Fabric
Page
3
- Firewall Forward
Page
4 - Firewall Forward (page 2)
Page
5 - O-320
Overhaul (for the Cub)
Page 6 -
Final Assembly (2010)
Page
7 - Final Assembly (2011 page 2)
Page
8 - Final Assembly (2011 page 3)
Page 9 - Completed
Aircraft
Page 10 - Later Updates and
Modifications
Page 11 - MOGAS vs
Composite Fuel Tanks
POH
for Scott Grizzly Cub N143W
Here's the engine. This is a Lycoming O-235-L2C (118 HP
@2800 RPM). It sat for a while before I
bought it and has some internal corrosion problems. I bought
this engine as a spare to rebuild for my Tomahawk,
but never needed to use it. I'll overhaul it and
mount it
on the Cub. I may rebuild it as a high compression
O-235-L2C-M, which would make it 125 HP @ 2800 RPM. The
upgrade requires different pistons, different
spark plugs for clearancing reasons, and the addition of an oil cooler.
OK, scratch that idea. I found an O-320 that I just couldn't pass
up.
I'll create an O-320 web page to show the
major overhaul.
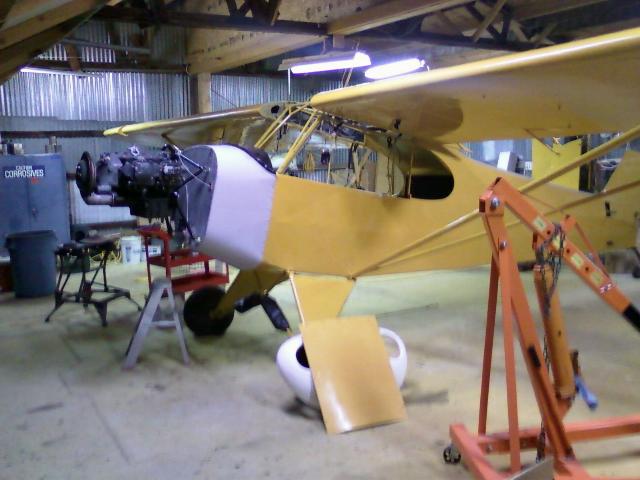
Oh, I wish I wish. Nope the engine is just on there so I can fit
up the cowling. The engine is still slated for
overhaul this
fall/winter. But it does look great having it on there for a
while!
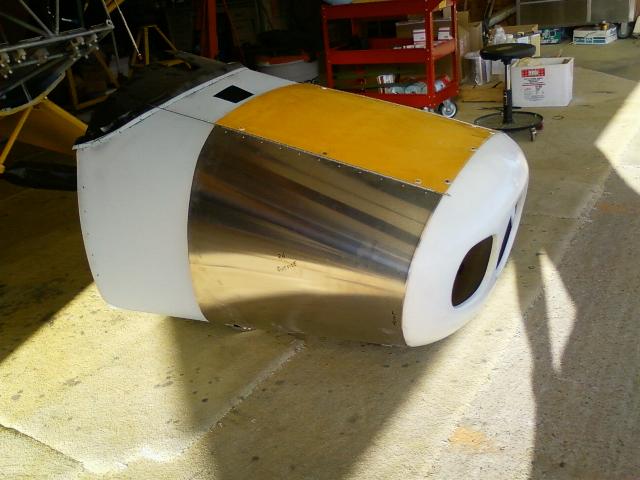
August 29, 2010 Ah. It's sprouted a nose! I have cowl
pieces, but no plans for a cowl. It's been interesting
as all the parts books show the parts I have, but the high dollar cowl
latches I bought from Wag Aero won't
work with the cowl configuration as shown in the SuperCub parts book.
However, by looking at lots of
other Cub projects on line, I was able to figure out how to configure
the lower braces to get everything to
fit properly. Thanks to everyone else that posts their pictures
to the web.
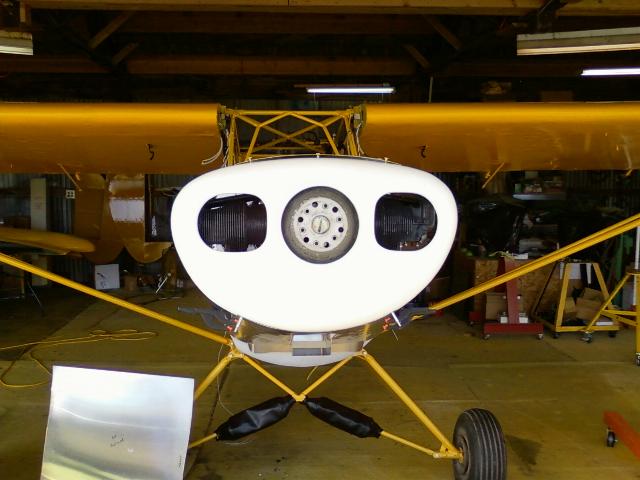
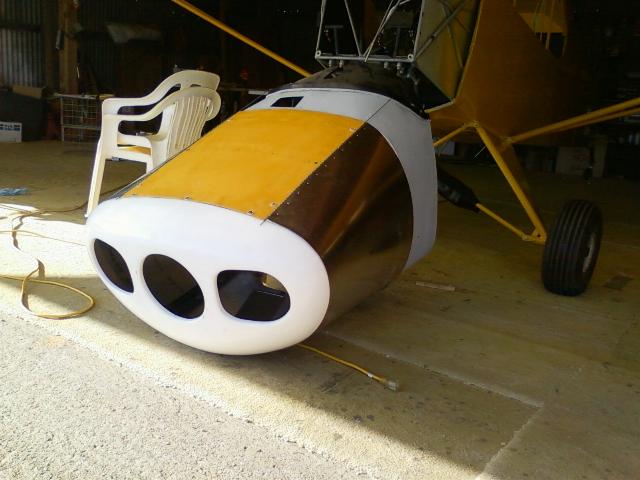
Nose bowl head on.
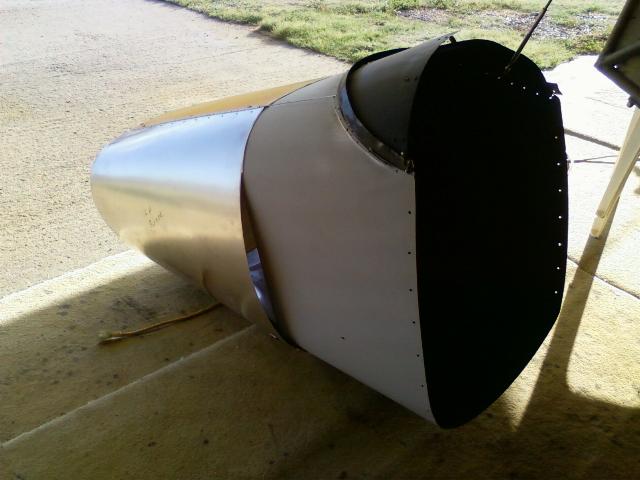
September 7, 2010 - I've finally got all the fasteners in
and the cowl fitted together. There photos are the
final product before I disassembled it to get ready for prime and
paint. Each cowl cheek still needs a small
stiffener installed, otherwise it's complete.

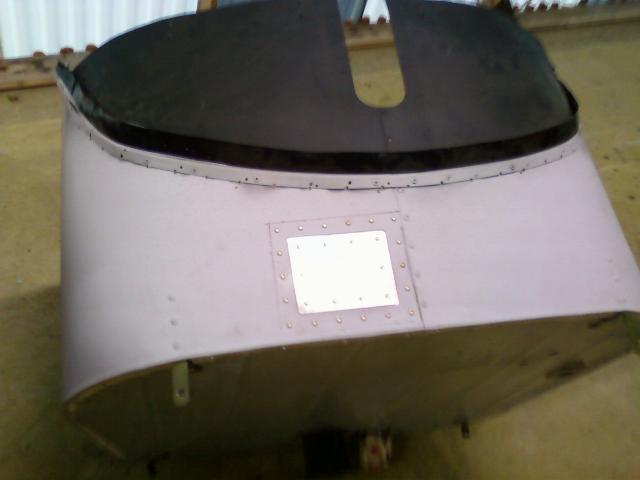
September 9, 2010 - Patch installed in the mystery hole in the top of
the boot cowl. I haven't a clue why that
hole is in there, but I
can't see any reason why I'm going to need it, so I patched it.
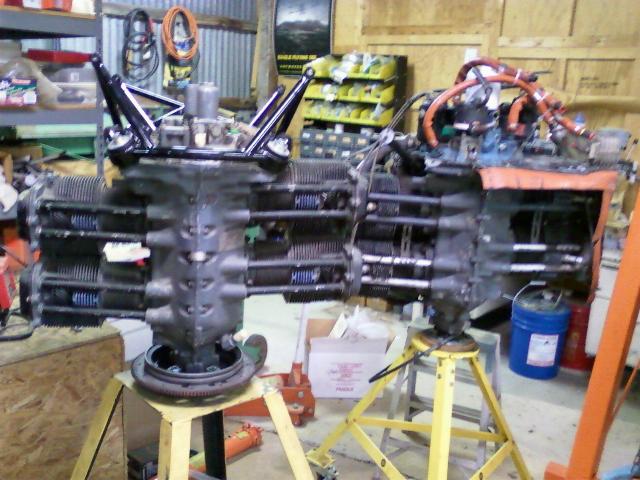
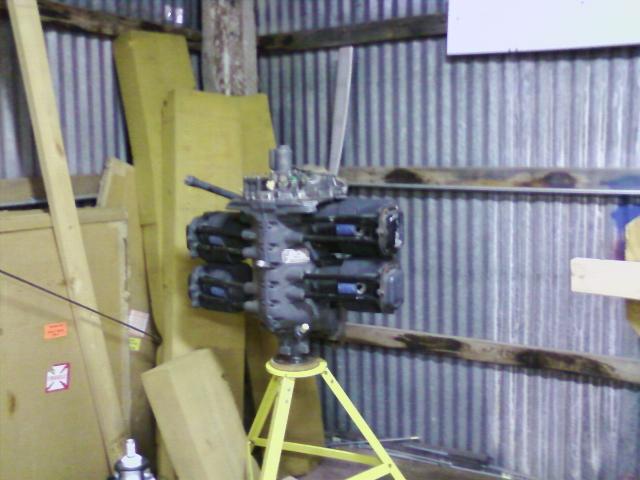
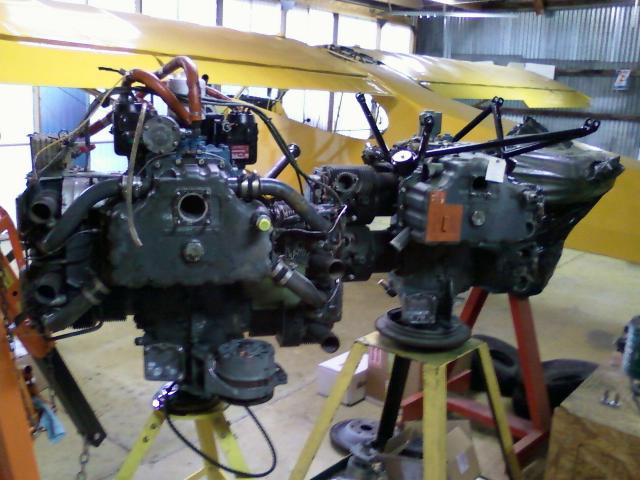
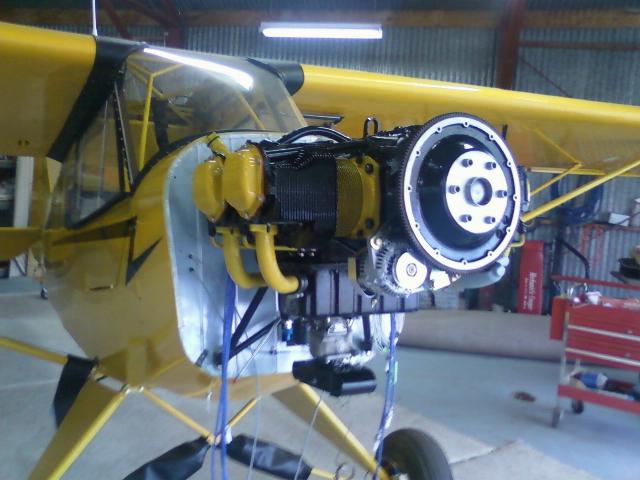
Hmm. Twins??? Twin engine Cub??? Nope. I found
a good buy on an O-320, so decided to go for the
bigger engine. That's the O-235 I was planning to use with the
mount still on it. Next to it with all the accessories
still mounted is the O-320. Right now, I'm inclined to major the
O-320 so I can start out with a fresh engine.

Feb 7, 2011 - I bought this prop on Barnstormers. It's a 74 x 58
Sensenich. It's the right diameter and should be
about right for pitch for a 160 HP O-320 on a Cub. The
engine is progressing, although there is nothing to show
via pictures. It's all written up on the O-320 overhaul page.
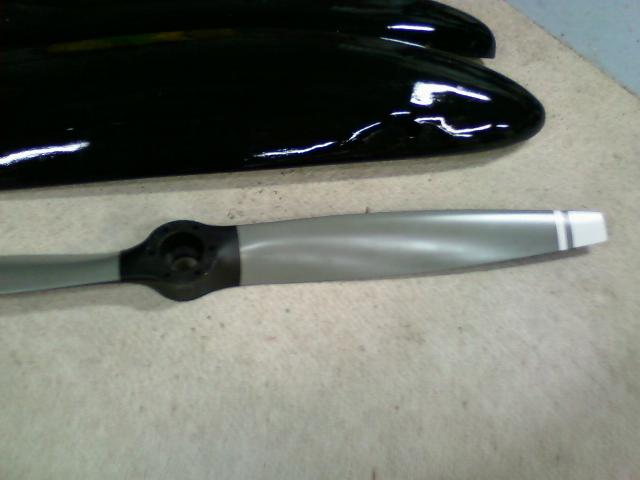
Feb 15, 2011 - The new prop arrived today. It's gorgeous despite
the beating it took with UPS.
March 11, 2011 - I have finally convinced myself that the engine mount
just isn't right. I found a knowledgeable
SuperCub owner at the Cactus Fly In last weekend who advised me that
the engine mount should have 4 degrees
of down thrust. Now I have something to measure to, so I took
some measurements on the high $$ mount I bought
from Wag Aero. It has 8 degrees of down thrust built into it.
That is HUGE! I did a calculation and found that it
would need 7/10" for a shim on the lower mounts to straighten the
engine out. There is no way that is going to work
with a dynafocal mount. So, now I need to cut that expensive
mount apart and rebuild it correctly. Yes, I am
bummed, and just a little bit peeved at Wag Aero. Of course I
bought this mount a year ago, so they aren't going
to want to talk to me about it now. :o(
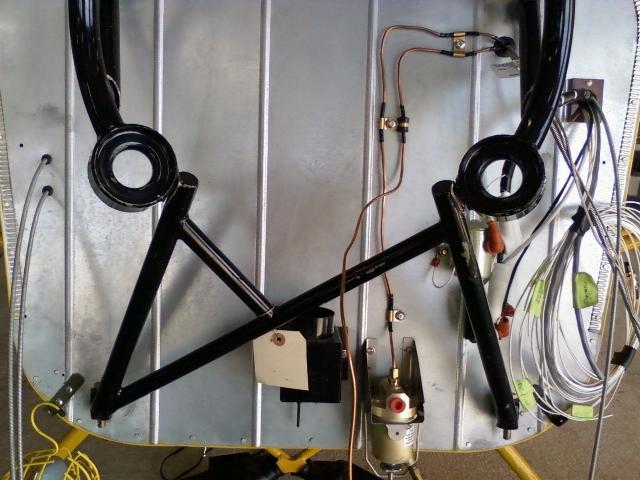
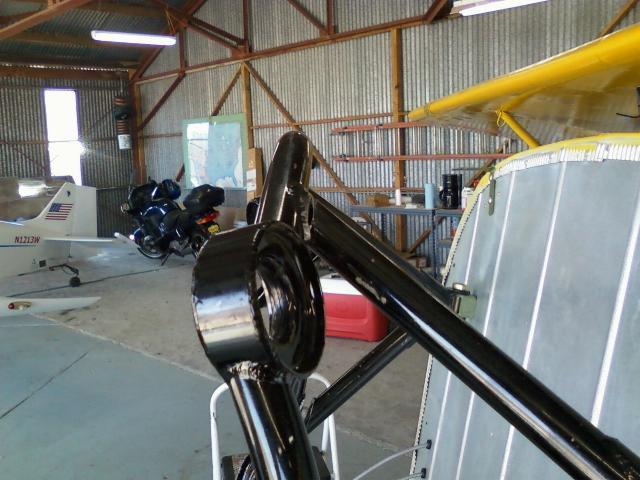
March 13, 2011 - I cut the engine mount apart so I could set the
downthrust correctly. Note that both braces
from the bottom for the fire wall are cut free from the dynafocal ring.
I don't have a picture here, but also had
to cut off the lower 3/4" cross brace and sleeved it with a piece of
7/8" tube.

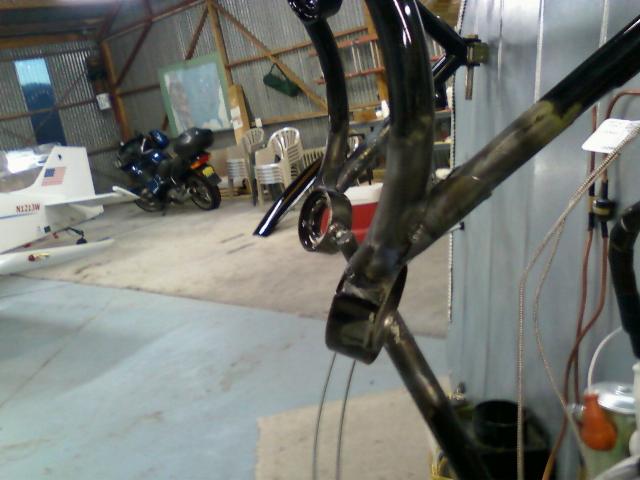
I also cut off the upper brace that connects to the lower part of the
ring.
I cut most of the way through the top brace, then bent the bottom of
the dynafocal ring out to raise the engine
4 degrees.
The mount is all tack welded back together. The 7/8" upper brace is now
sleeved with two halves of a 1" tube.
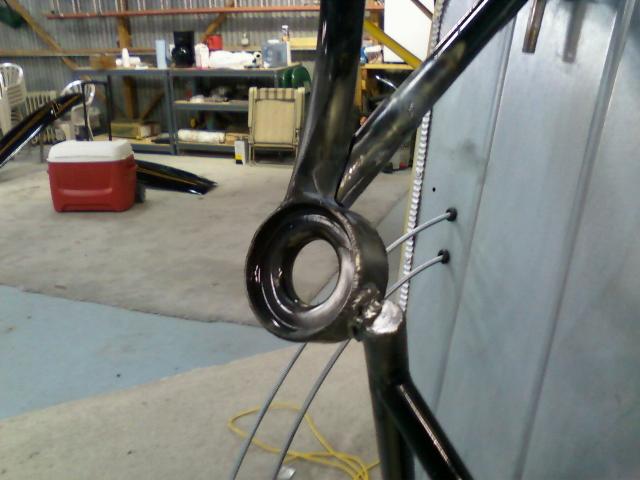
The bottom brace is tack welded back onto the ring.
I also sliced through most of the lower attach point. It is tack
welded back on, but will get a wrap around sleeve.
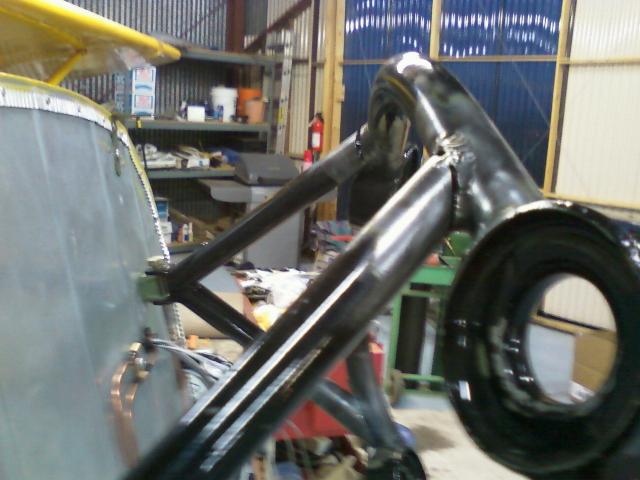
The top brace is tack welded at the top. It will also get a wrap
around sleeve.
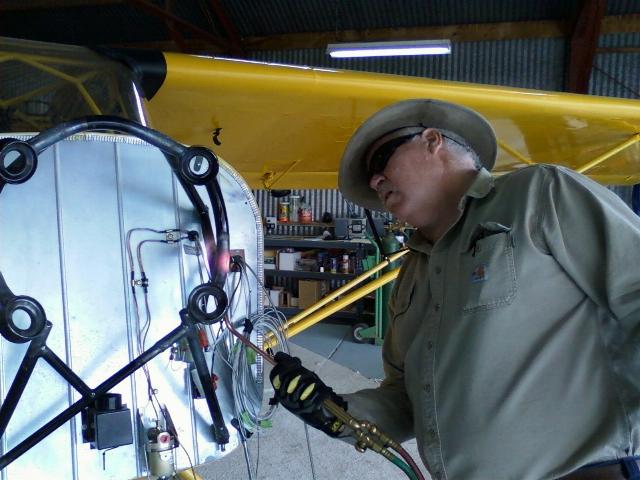
March 18, 2011 - Stress relieving the finish welded engine mount.
The mount was sliced and diced. I cut
it in 9 different places, then spent two evenings welding it back
together and adding doublers to some welds
that I thought might be vulnerable. I relieved it a couple of
times during the process to keep it close enough
to be able to force it over the mounting tabs. I heated and
relieved the mount at all of the welds. Once the
relieving was done, the mount easily slides into place and the bolts
drop in without pulling and forcing the mount.
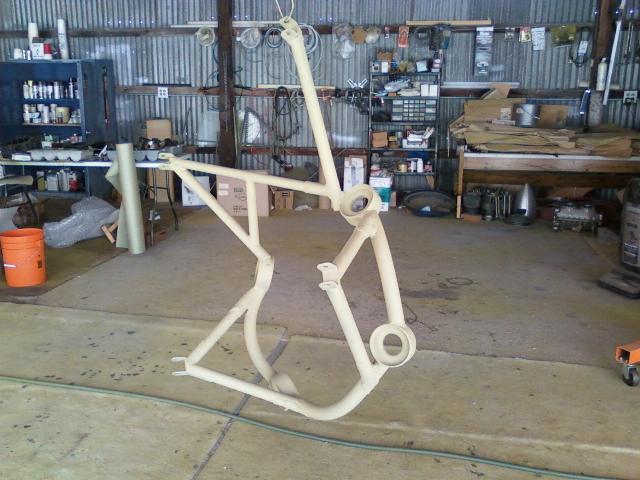
March 19, 2011 - Engine mount shot with primer.
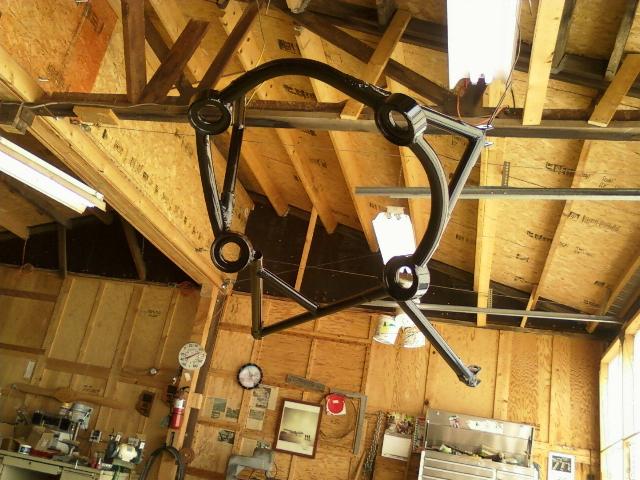
March 20, 2011 - Engine mount finished in black.
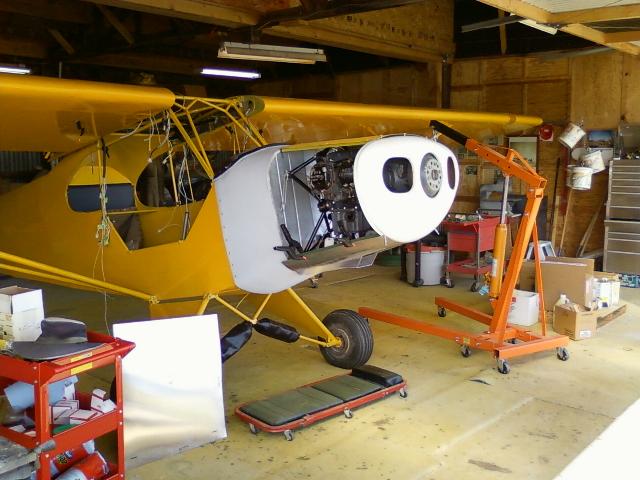
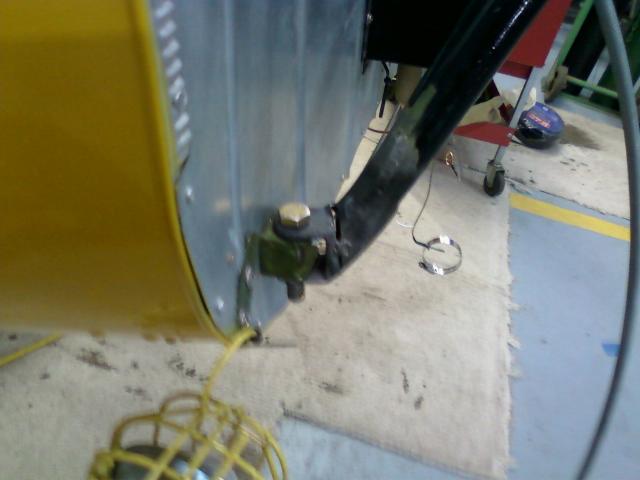
April 23, 2011 - Back to firewall forward work. The freshly
overhauled engine is hung on the plane.
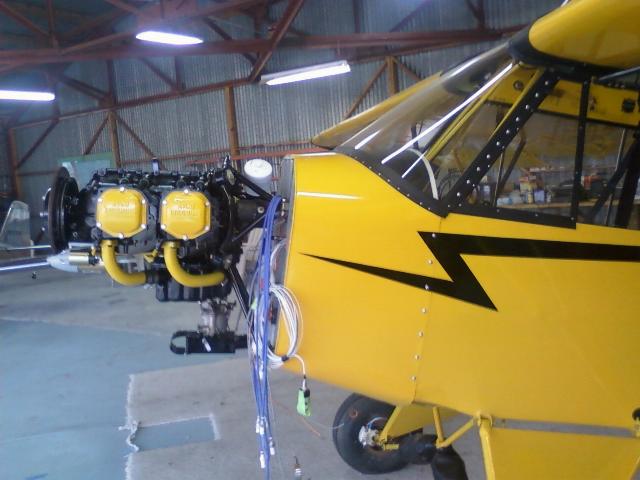
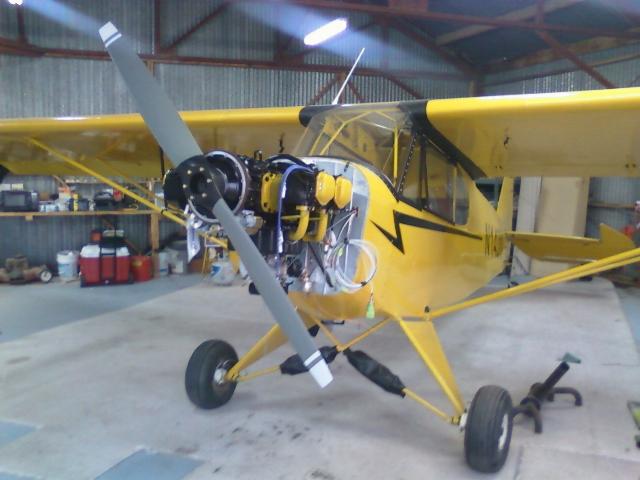
I added the prop just for show. I'm ready to go fly this!!!
Page 1 - The Cub
Project
Page 2 - Fabric
Page
3
- Firewall Forward
Page
4 - Firewall Forward (page 2)
Page
5 - O-320
Overhaul (for the Cub)
Page 6 -
Final Assembly (2010)
Page
7 - Final Assembly (2011 page 2)
Page
8 - Final Assembly (2011 page 3)
Page 9 - Completed
Aircraft
Page 10 - Later Updates and
Modifications
Page 11 - MOGAS vs
Composite Fuel Tanks
POH
for Scott Grizzly Cub N143W