2024 - 2025 Elevator Trim Redesign
Engine overhaul
Electronics/Electrical
Fuel System
Trim System
Fabric Recover
Item #1 from the rebuild page: The trim is inadequate.
It's barely adequate when I have a full tank and a passenger in
the front seat. Otherwise I run out of nose down trim. If I
take the front windscreen off, the plane wants to dive at the ground
even with full nose up trim. So, the spring biasing trim is going
to go away in favor of two Ray Allen trim servos; one mounted in either
elevator. The hinges are already there as it apparently had trim
tabs on it in the past, but they were removed for unknown reasons.
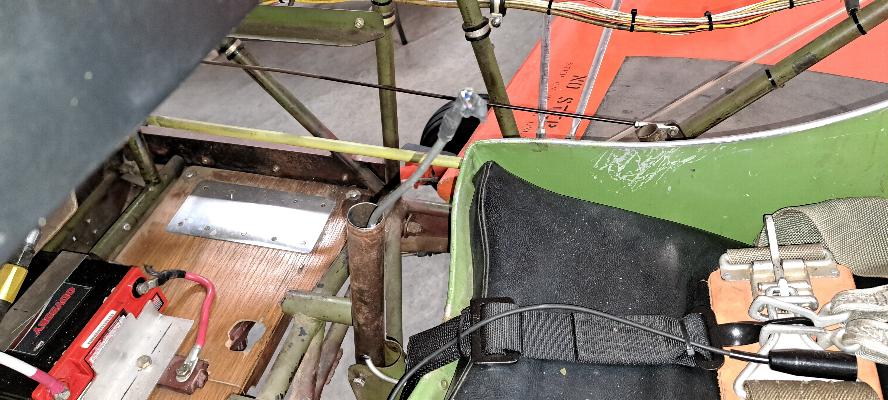
I see there is an abandoned bowden cable in the aft fuselage, so
I suspect that used to be the trim control.
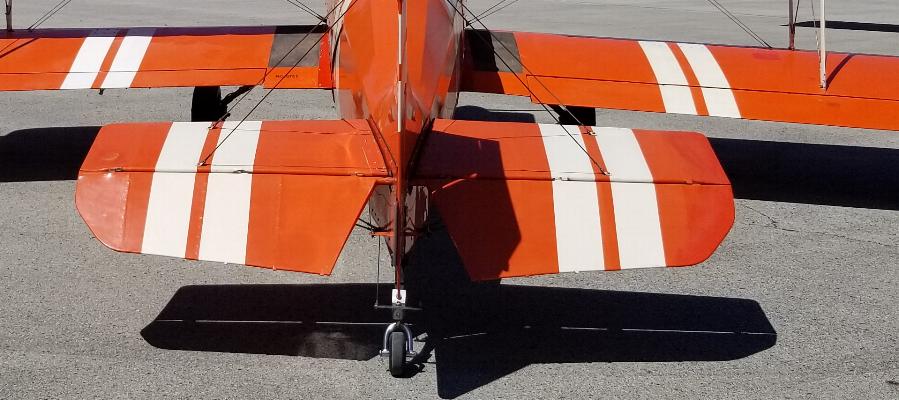
There are no tabs installed on the elevators, but notice the three
hinge points welded to the trailing edge of both elevators. I
plan to take advantage of those hinge points and will use them to mount new
trim tabs that will work in sync with each other.
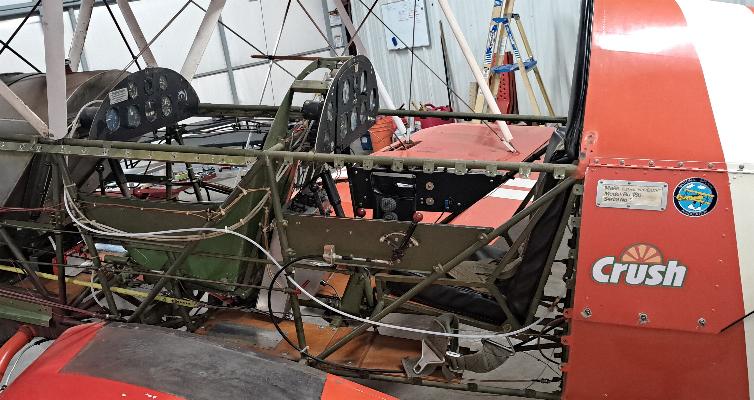
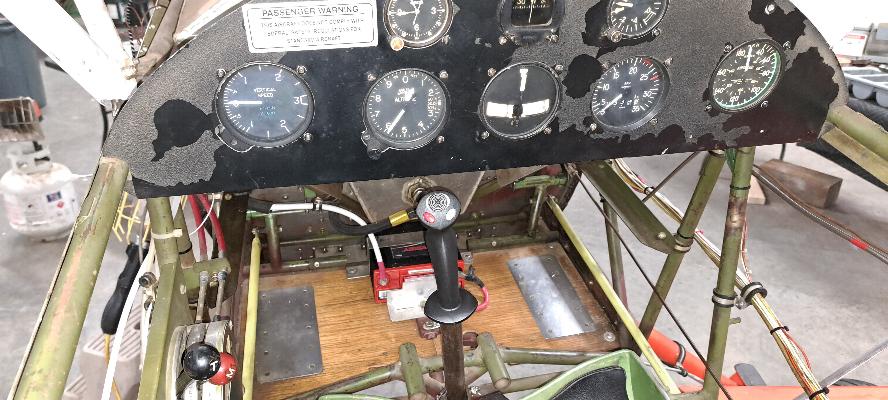
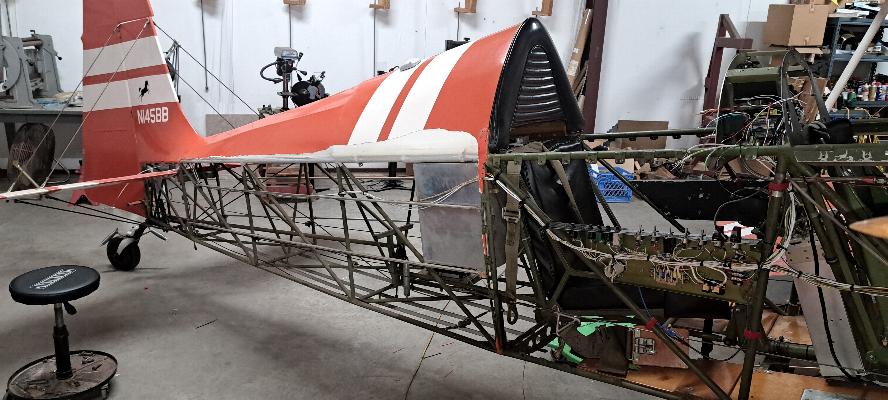
The old trim system. The handle on the left side of the rear
cockpit is the existing the trim system in the plane. It is a
push/pull bowden cable that pulled on a spring (in the photo
below) to bias the elevator nose down. There was no nose up trim.
By myself, depending on the fuel load, the plane wanted to fly at
about 80 - 85 mph. I could pull in some nose down trim, but it
was inadequate once I had burned off half of the 20 gallon fuel tank.
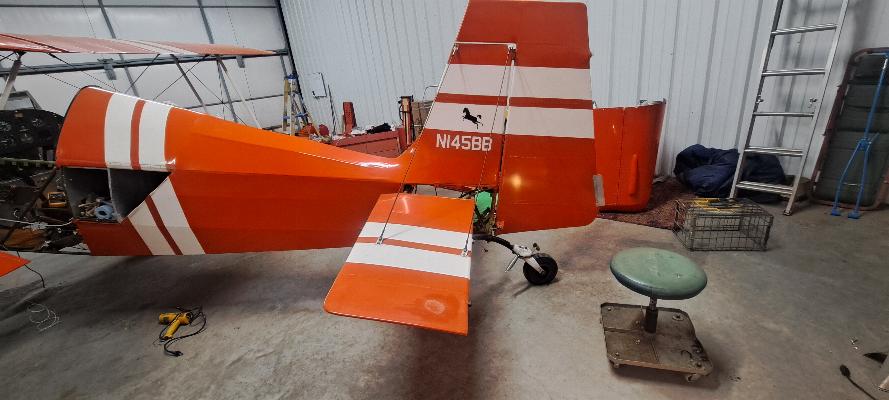
Additionally, I have quarter turn fasteners to remove the front
windscreen and an aluminum cockpit cover for the front cockpit so I can
fly it with a slick front cockpit. When I tried the slick front
cockpit configuration, the plane just wanted to dive at the ground with
no ability to trim it nose up. This spring bias trim system has
now been removed from the aircraft.

12/19/2024 - The
project to redesign the elevator trim. It currently has a
lever in the rear cockpit that pulls on a spring to bias the elevator
nose down. There is no nose up trim as the plane wants to fly
almost down to approach speed hands off. If I remove the front wind screen,
the plane wants to dive at the ground. With no nose up trim available, I
can't fly it slick with the front windscreen off and the front cockpit cover
on. I'm adding an
adjustable trim tab to each elevator. Above, I have the elevators
removed, and below I have the outer edges of the trim tabs welded
together. I'll add the bellcrank and internal structure after I
cut the elevators open and figure out where and how to mount the trim
servos.

12/20/2024 - Today's the day to get after the trim modifications.
I stripped the fabric from the left elevator, so orientation
wise, we are looking at the top of the left elevator in the photo above, and the bottom below. The Ray Allen
trim servo is in the bottom left of the corner of the top photo and gets mounted into the elevator from the bottom. .
First thing was to weld in a brace and frame to mount the trim servo.
Just the two sides would be enough to hold the servo. The
complete picture frame to go around the servo is to give me a place to
attach the fabric around the hole. The outer face of the servo
will be exposed on the bottom side of the elevator.
Turned over right side up so we are looking at the top of the elevator.
This part of the servo will be under the fabric.

Working from the bottom side of the elevator again. Inner
framework is welded into the trim tab and the bellcrank arm has been
fabricated and welded to the tab. The bellcrank is two pieces of
.032 4130 steel welded together to make it .064" thick. I cut
them out with my hand held band saw, then welded them together before
welding the bellcrank to the trim tab.
Almost completed assembly. I still need to add nut plates to the
mounting frame for the servo and customize a piece of 10-32 threaded
rod to go to the trim tab for control. I also plan to duplicate
this same structure and trim tab on the other elevator and will use
dual trim tabs.
12/21/2024 - Rinse and repeat from yesterday. Fabricated the same
servo mount and trim tab structure for the right elevator.
12/23/2024 - I have the Ray Allen trim servo attached to the mounting
frame with a cleco clamp. Rather than drilling and installing nut
plates, since this is mounted into 4130 steel plate, I decided to
thread the plate with a 6-32 tap and that seems to be a firm mount.
I fabricated the linkage from the servo to the trim tab with 10-32
Stainless threaded rod. Ray Allen sends #8 threaded rod in the
kit, but it was too short to meet my needs and with the longer reach, I
wanted a bit stiffer linkage. I drilled the clevises from #8 to
#10 sized and tapped them with a 10-32 tap. I did the same with
the trim on my SuperCub when I built it and it has served me well for
the last 10 years. This is full nose up trim and the photo below
is full nose down trim. I only took photos of one elevator as the
other looks just like it; only a mirror image. Those that look
closely will notice the trim tab is not straight. These things
warp and bend like mad while torch welding. A bit of gentle
persuasion with a plenishing hammer on the anvil squared it up.

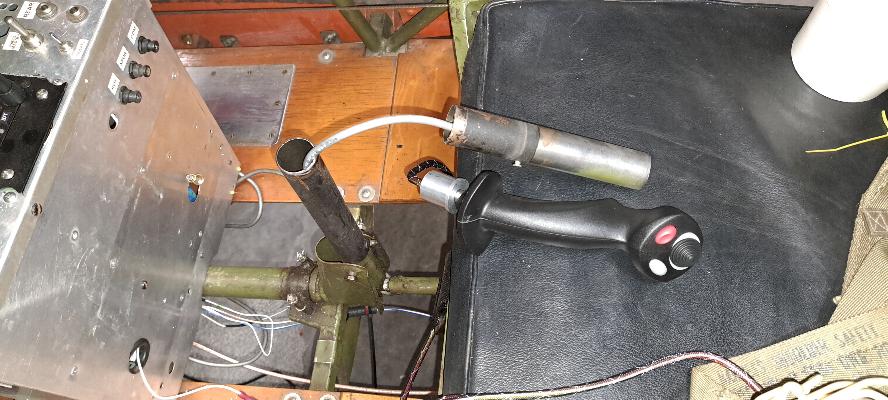
Time to install the new stick handles to include the trim control.
As always, I get ahead of myself and forget to take pictures, so
at this point I have already trimmed the plastic bicycle grip handle
off the stick. I needed to sort out the wiring to the switch in
the stick as this plane has a switch activated intercom as well as the
PTT in the same switch. Just toggle it the other way. It
had some strange wiring in the way the switch was wired, but I figured
it out and will be ready to splice it to the wiring from the new stick
handle.
I cut the top of the stick off with a pipe cutter. That makes for a nice even cut.
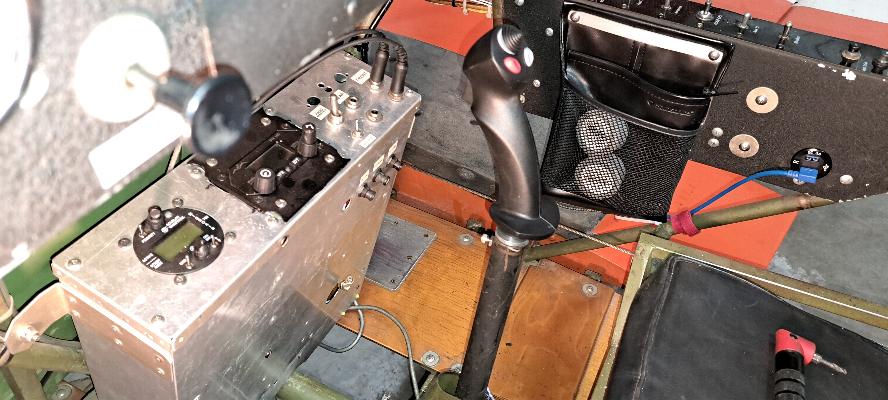
The bushing on the bottom of the stick goes into the pipe, then you
match drill a hole in the front of the existing stick to bolt it in.
Once that is fitted to the stick, I also drilled a divot into the
front of the stick shaft for the set screw in the front to seat into,
firmly locking the stick into place.
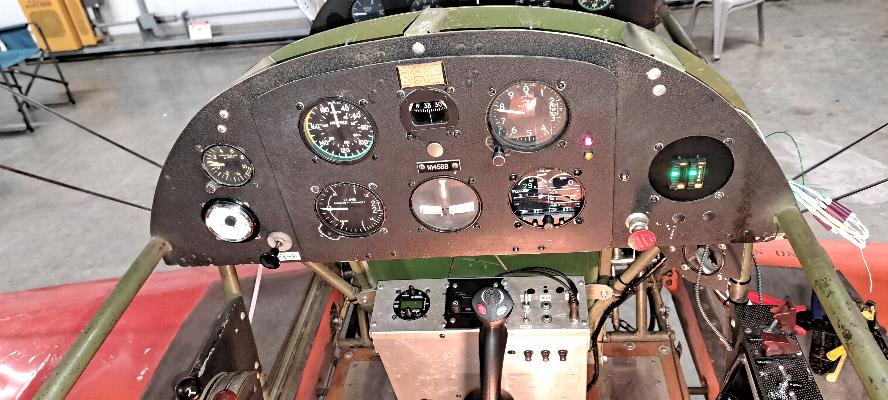
Same treatment for the front cockpit as well. I thought the front
stick was wired for intercom only even though it had been labeled for
both Intercom and PTT. Nope. Most of the wires connected to
the switch were broken. I guess I'll wire it correctly to give
the front seat access to the radio as well. The red button on the
left with be the PTT for the radio and the gray button on the right
will be the intercom. The round button in the center will trim
nose down when pushed forward and nose up when pulled back. There
are additional buttons on the stick, but they will be unused.
I really should do something with the paint on this front instrument panel. That is UGLY!

12/24/2024 -Christmas Eve... Today's goal was to wire in the
switches for the new stick grips. The switches on the stick
control elevator trim, radio transmit, and intercom transmit and all
are active from either seat. I decided to add a terminal block
under the right rear floorboard along with the relay deck for the
trim servos that came with the stick grips to enable the trim servos to
be controlled from either seat. You can see the relay deck just
under the wiring connected to the terminal block. I still need to
pull a ground wire, +12V wire, and the two servo leads to complete this
part of the installation. I also need to wire in the trim
indicators in the instrument panel. I failed to take a photo, but
today I also fabricated a new panel mount for the trim indicators and
painted it black. It will show up in the next round of wiring
when I install the indicators. I'm waiting for some mini-Molex
connectors to arrive to complete the connections, although I can pull
the wiring to the tail now. The connectors should arrive on
Friday.
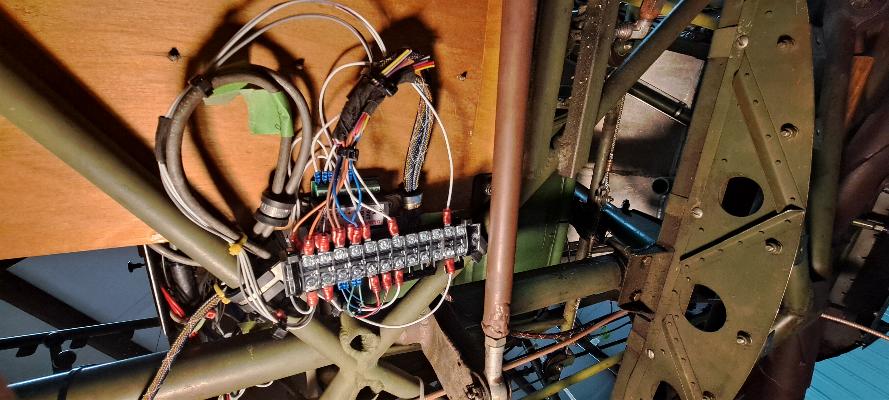
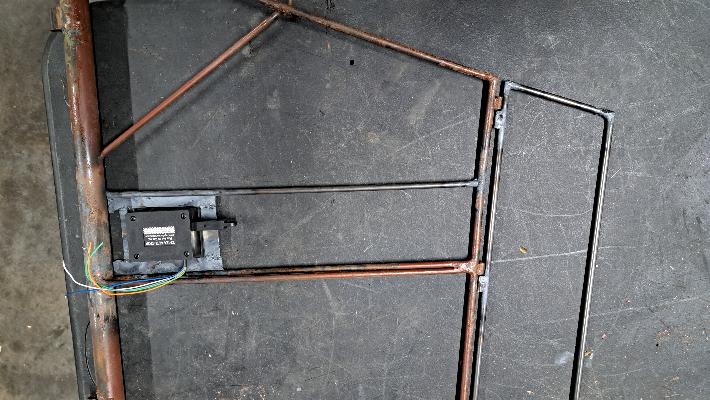
12/26/2024 -
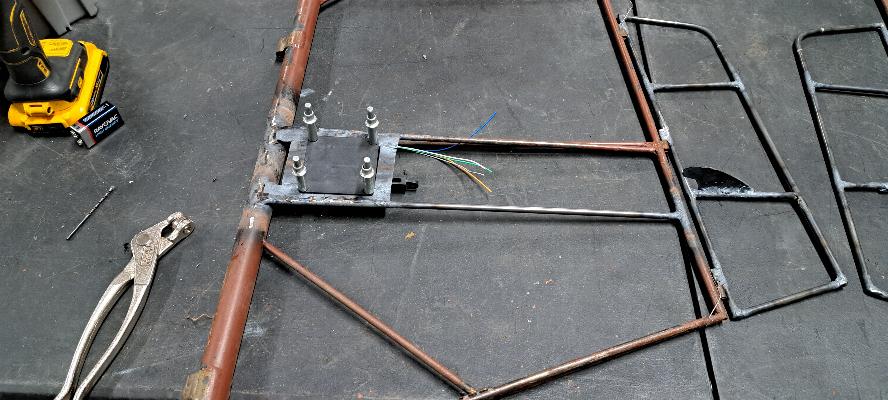
The terminal block under the floorboard is completed.

I needed to gain access to the aft fuselage to route the
wiring for the trim servos. I am waiting for some components to
arrive to complete the wiring, so I'll do some more disassembly and
strip some fabric.

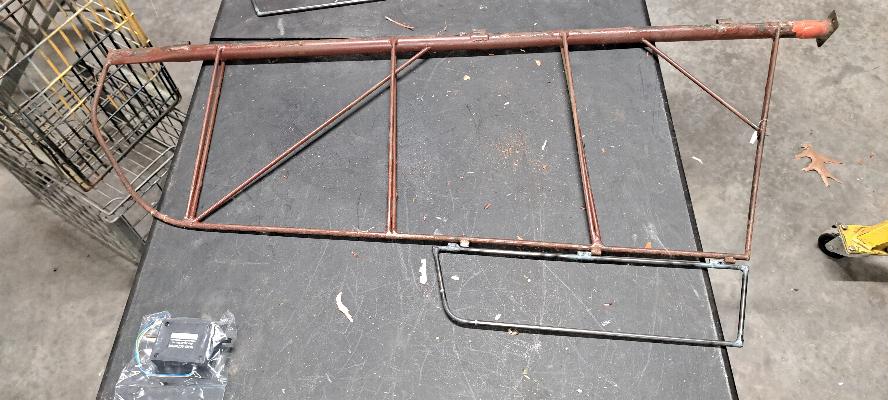
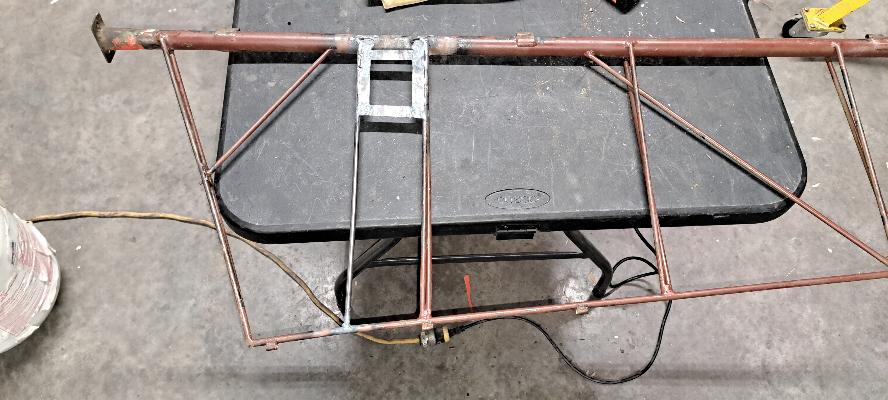
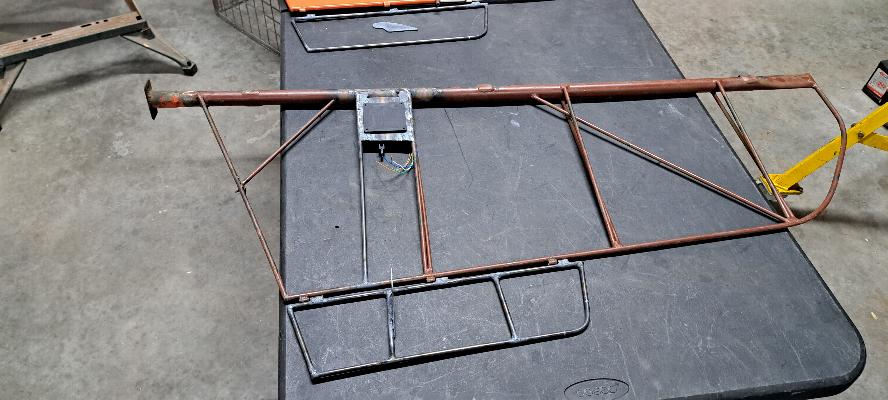
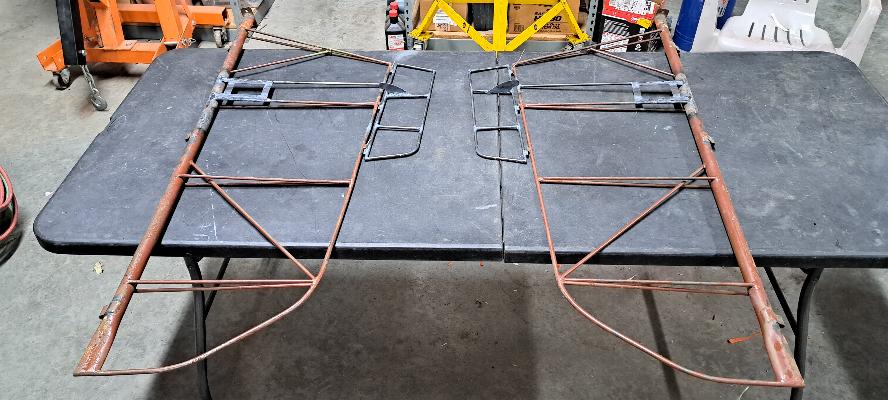
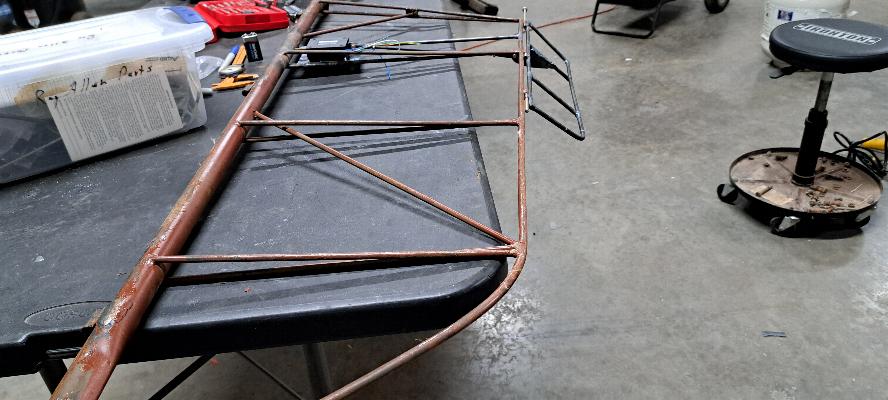
Tail braces are hanging loose and labeled.
Horizontal stabs removed.
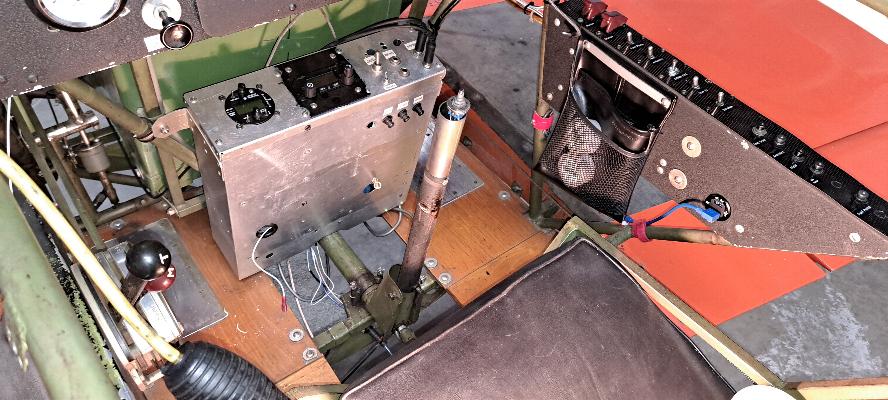
12/29/2024 - The connectors I've been waiting on arrived in
yesterdays mail. The new trim system is now completed and
functional. Note the trim indicators lit up on the right side of
the panel. Trim is actuated by pushing fore and aft on the button
at the top center of the stick. Both trim tabs are actuated with
the same button and run in sync with each other. If, for some
reason, they get out of sync, I can simply run the trim to the end of
the travel until both servos register at full travel, then when they go
the other way, they will be in sync again. The control works from
either
seat, but the indicators are only in the rear seat.