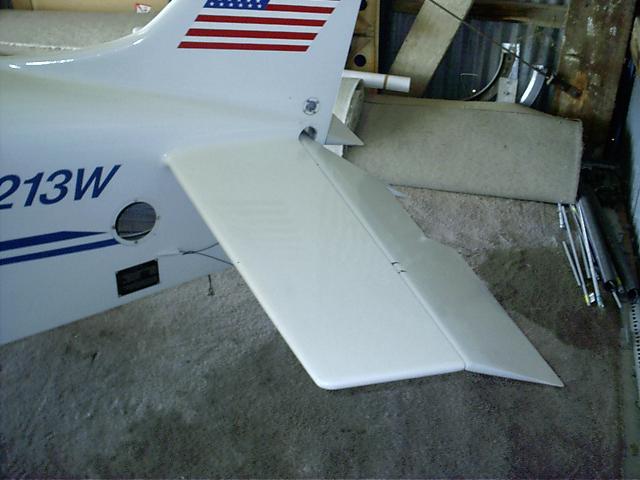
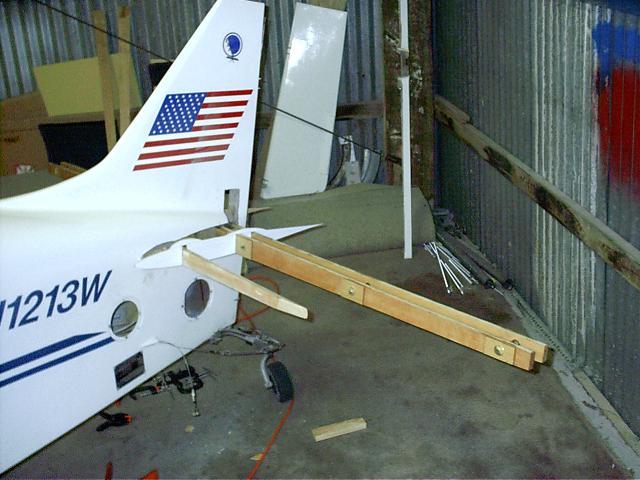
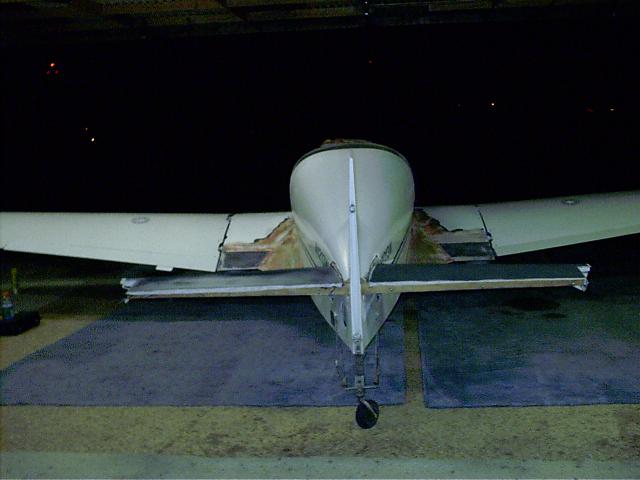
Original stock KR-2 tail.
The issues I wanted to fix on the tail are documented on the page in this link. I'll start this page with a couple of photos of the old
tail. It wasn't so bad, just a too small for the task.
Original stock KR-2 tail.
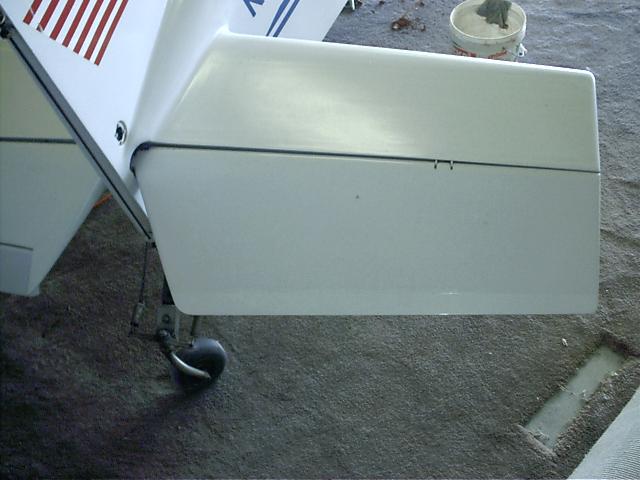
Second
photo of original tail.
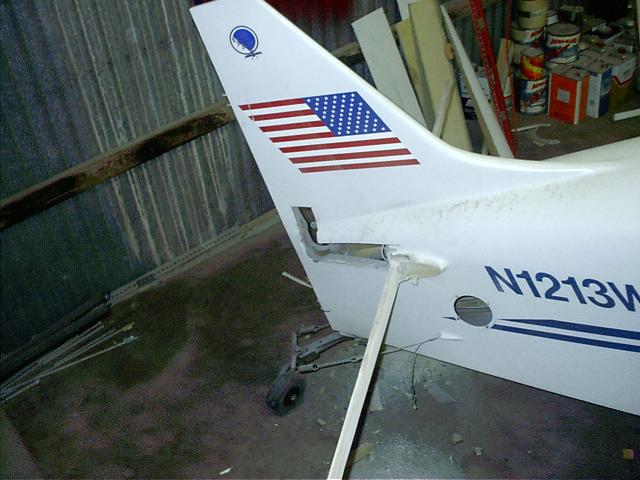
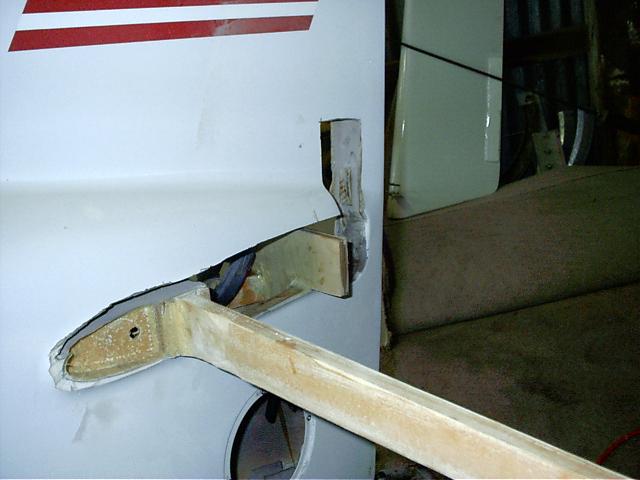
Here's what was left after an
evening with the die grinder. I was able to pull the rear spar out, but
cracked the attach plate in the process. I ended up cutting the front spar
down to 18" as the new spar was going to be bonded to it.
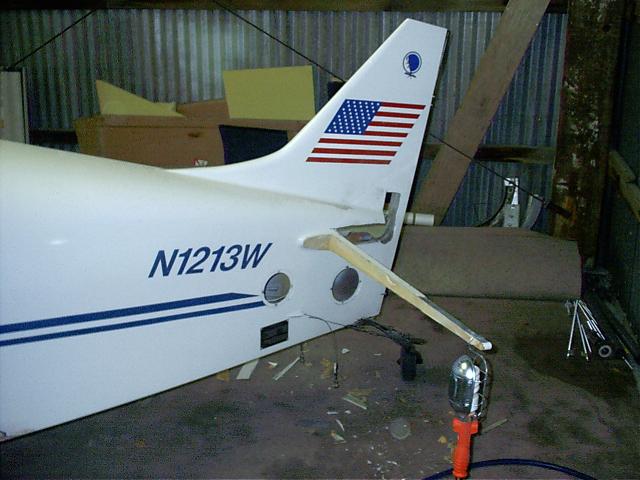
The new rear spar attach plate bonded in place with
T-88.
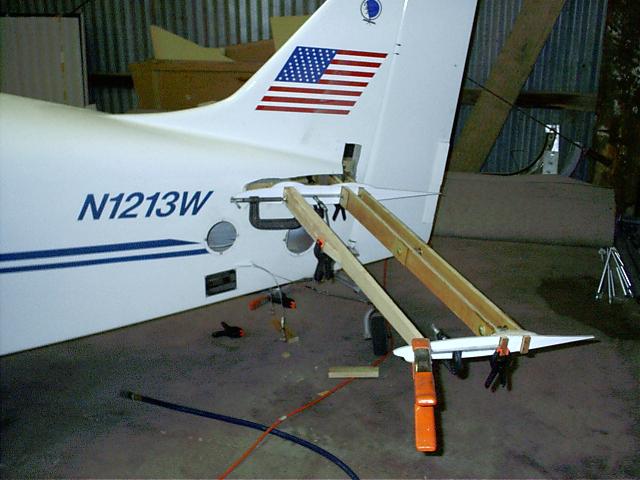
The new rear spar and elevator spar assemblies in place.
The hinges between these spars are rod end
bearings.
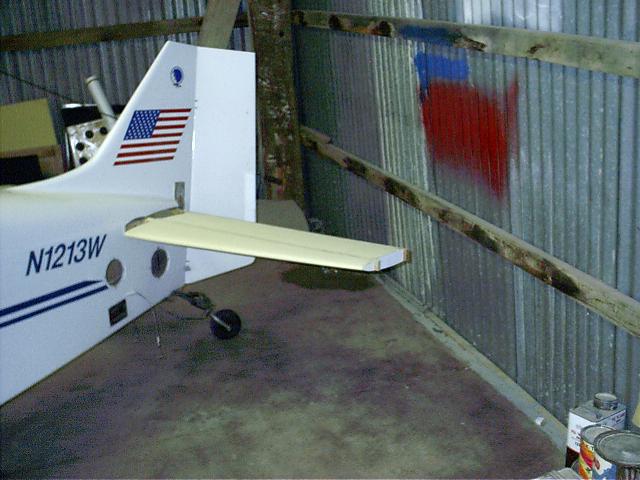
The new
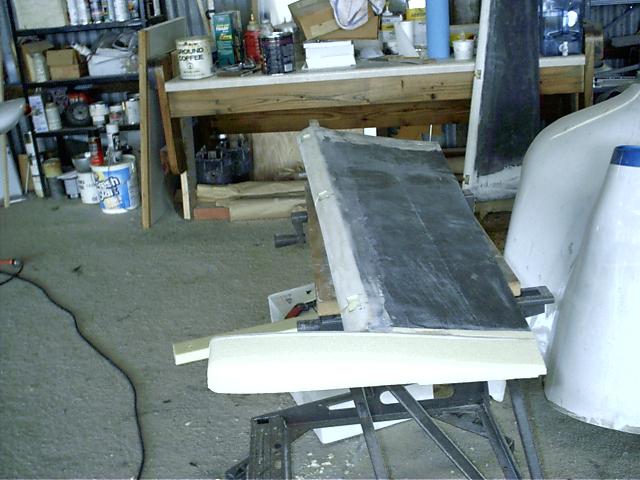
tail after shaping the foam. Here's where things started getting a
little difficult. How to lay up the bottom of this? Inevitably,
gravity will win which would make sticking a micro slurry and carbon fibre
on the bottom of this tail very difficult.

My
solution was to lay up the CF on a waxed formica bench with peel
ply on the top. I micro-slurried the peel plied side, then stuck it to the
bottom of the wing and wrapped it with plastic wrap. While this
method worked, it didn't work particularly well as it squeezed some wrinkles
into the finish of the CF.
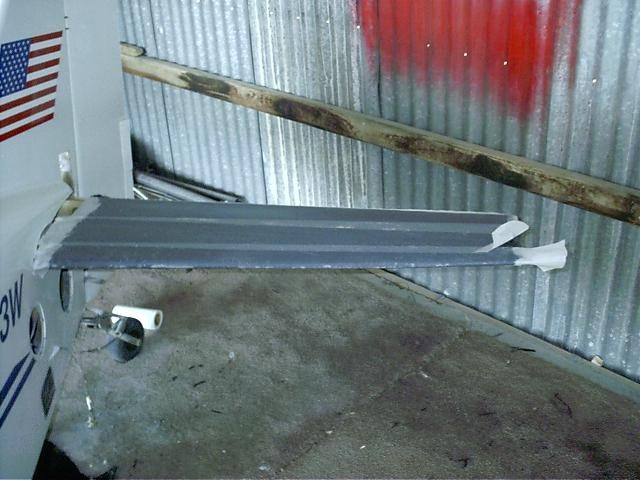
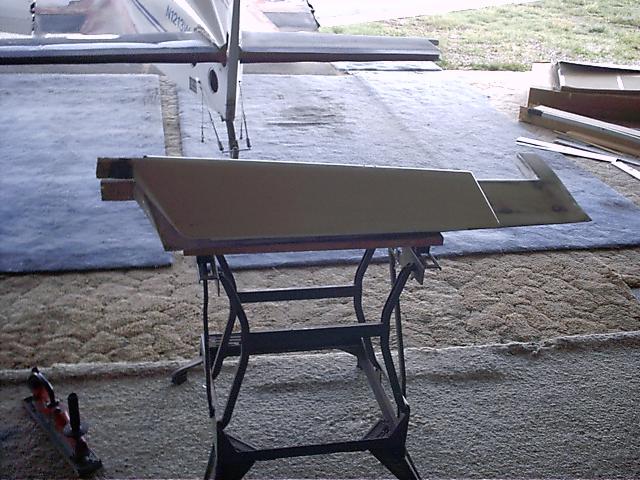
New
horizontal stab laid up in carbon fibre, the covered with peel ply (6" dacron
tape).
Photo
of new horizontal stab laid up in CF with dacron peel
ply.
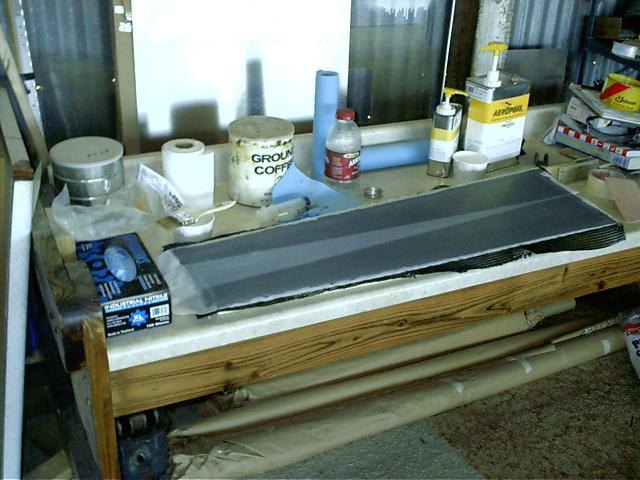
Laying
up half of the new elevator. Peel ply (6" dacron tape) over carbon fibre,
over micro slurry, over urethane foam.
Leading edge shaped
and laid up with fiber glass. The tip rib is glued on and foam shaped to
create the end of the
elevator.
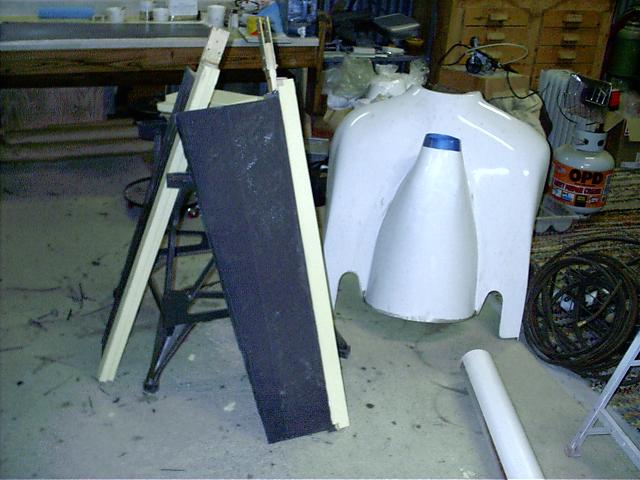
One of the
original elevators from the 6' span laid over top of the new elevator with an 8'
span.