FABRICATING A NEW SPINNER
After completing my KR, I tried various types of spinners on it, but
always had problems with the spinners or back plates cracking.
Several years ago, I finally landed on the AC-1 Spinner kit from
Aircraft Spruce. The last one I cut was nicely centered and
turned true. I was really pleased with it. Unfortunately,
after several hundred hours of service, this spring it also cracked.
It seems that no matter how I cut these spinners, I can't help
but
leave a significant stress riser where I cut out for the blades, and
eventually
they all fail. I really didn't want to have to cut another
spinner, and try to drill the holes to fit the existing nut plates on
my bulkheads, so decided to pull a mold of my damaged spinner, then lay
up a new composite spinner. If this one fails, I'll have the mold
so I can make another. As soon as I said I was going to pull a
mold, I started getting requests to fabricate spinners. So, I
decided to try to make the plug with dimples for where the screw holes
should be in my spinner, and an etch line where the prop blade cutouts
belong in my installation, but make them shallow enough that I can make
a generic spinner
that anyone can custom cut for their prop and bulkheads.
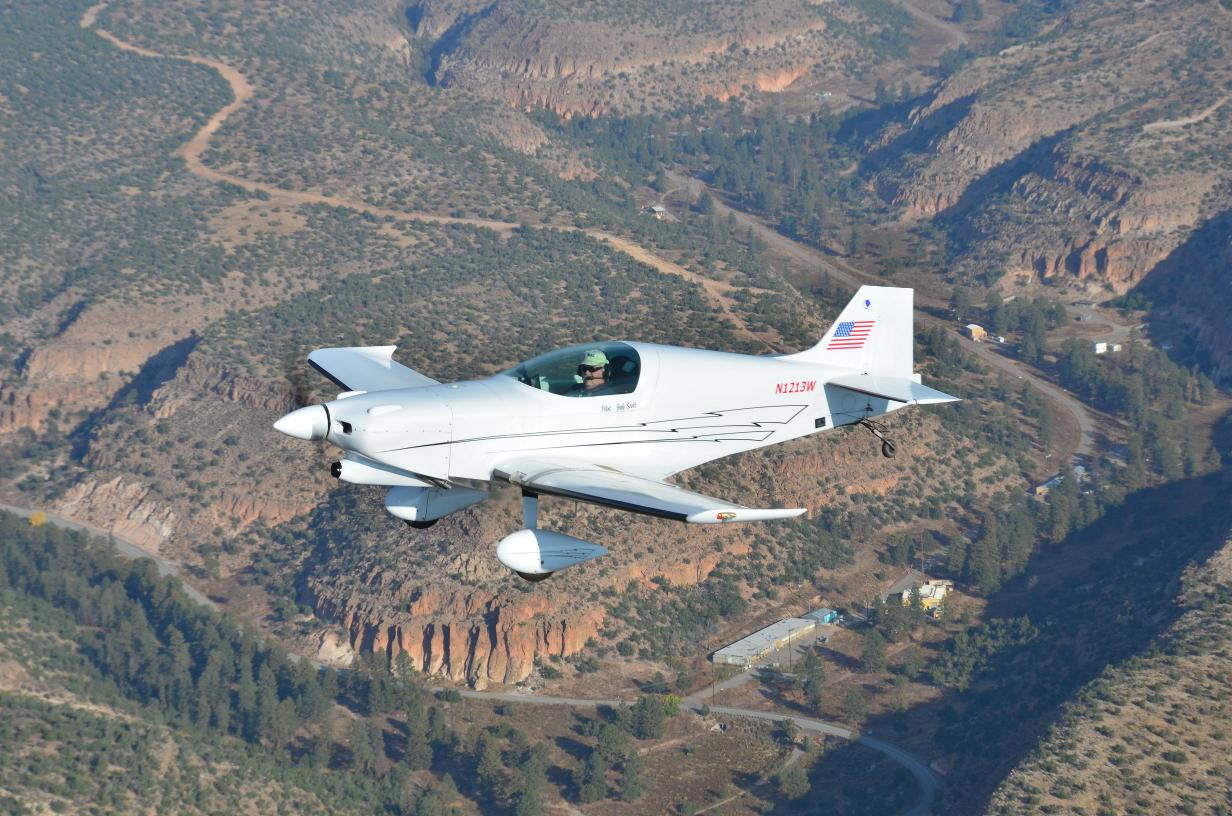
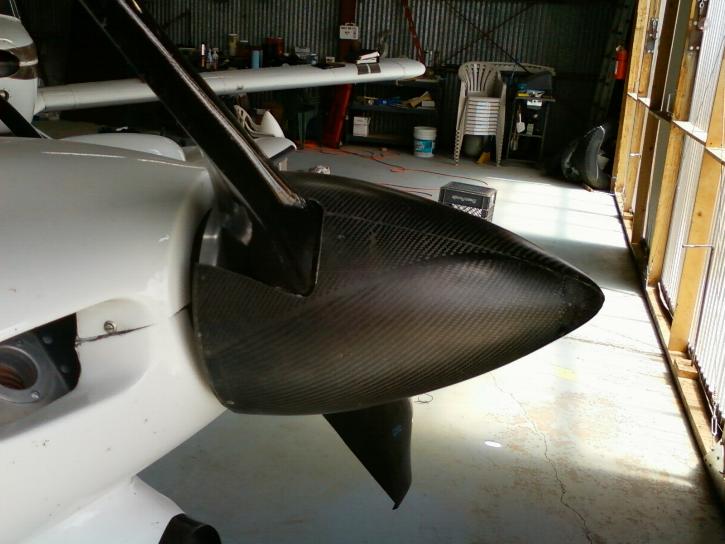
Old spinner in flight before it cracked.
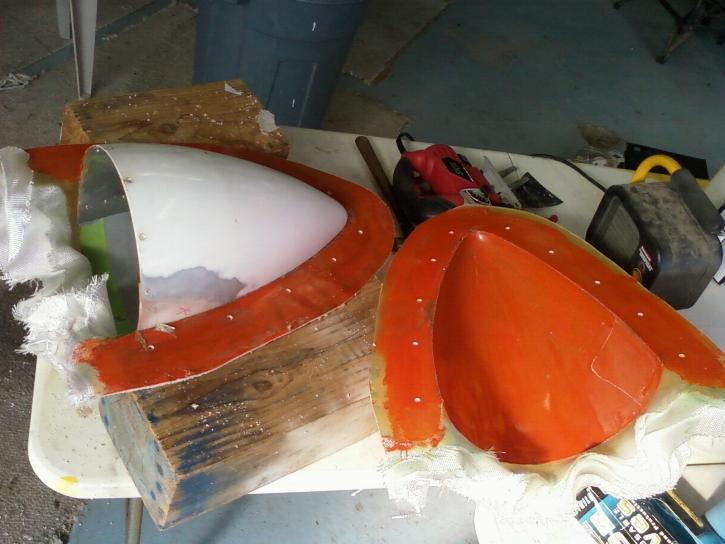
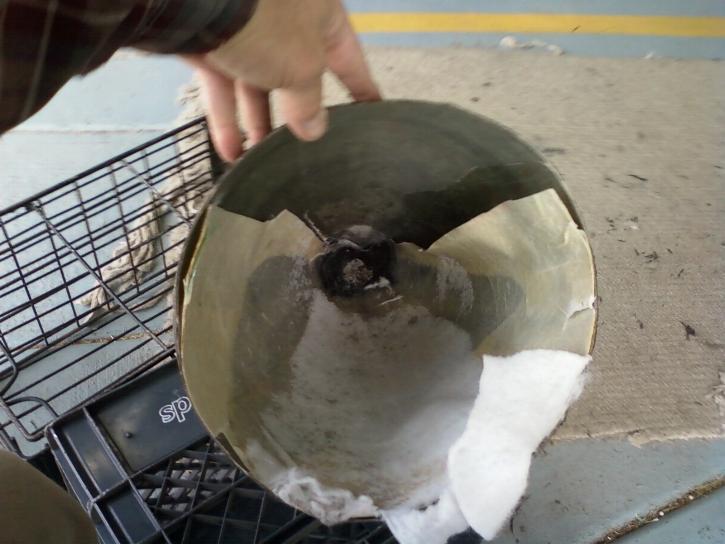
Making a damaged spinner
into a usable plug
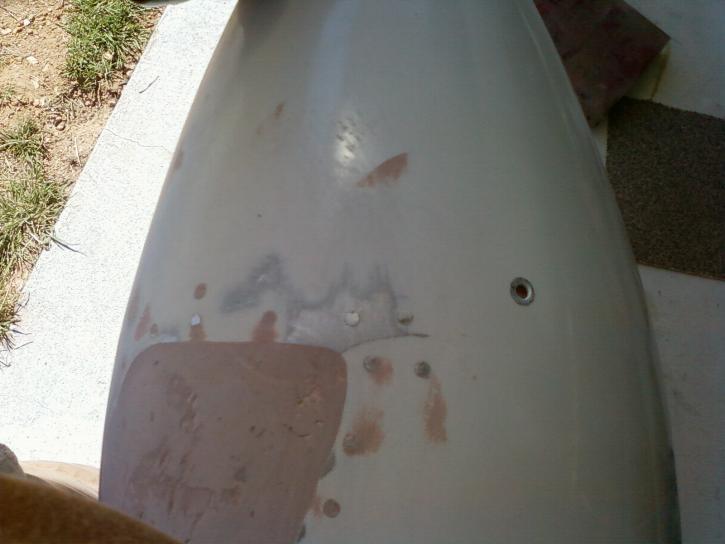
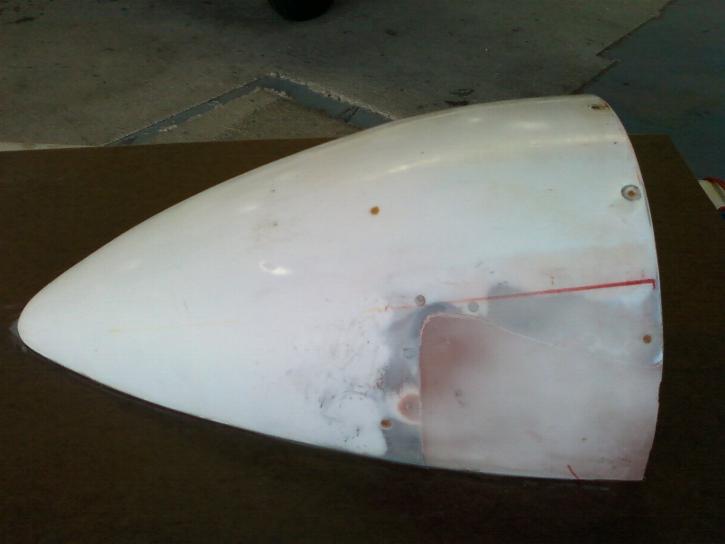
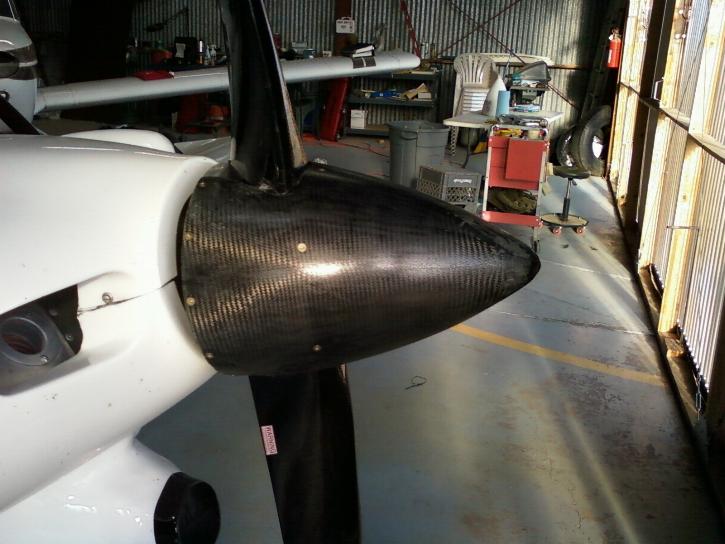
I forgot to take a photo before I patched it, but the crack is obvious
in this photo. I flush riveted a doubler on behind the
crack, and
riveted a plate in behind the prop blade cut out. A couple of
passes of Bondo to fill the blade cut out and a final
coat of microspheres with West
Systems epoxy, and it was ready to use as a plug for the mold.
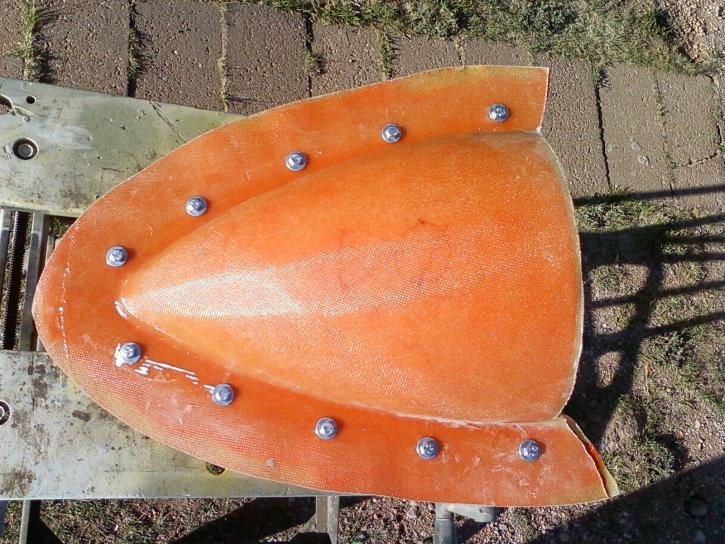
Notice that all of the screw holes have been filled. Each one was
dimpled with a countersink bit so they can be easily located
in the new
part for drilling to fit my bulkheads. If the dimples are too
deep, I'll just file them down in the mold.
Fabricating a mold
Bottom side of the masonite:
It took a couple of tries to get it right, but I cut a piece of
masonite to fit the spinner. I used a couple of dabs of hot glue
front and back to hold the spinner into the masonite, then filled and
sealed the seam between the plug and the masonite with
modeling clay. I probably should have put another dab of hot glue
towards the middle of the spinner to keep the masonite
from moving so much. I was expecting to have problems getting the
hot glue off the spinner. As it turns out, the glue was
brittle and popped right off.
Top side of masonite after trimming the modeling clay flush.
The top of the masonite and the plug have been waxed and sprayed with
Poly Vinyl Alcohol (PVA) to help release from
the glass mold. I found the PVA to be easy to spray
with my mini-touch up gun if I thinned it about 30% with denatured
alcohol. To avoid runs and sags, give it some cure
time before spraying more.
A note on waxes: When doing commercial work, I always used
Meguires Maximum Mold Release Wax. which is a lot like
a hardened car wax with lots of carnuba. Wax on, get a hazy
finish, then buff it off. For my home work like this, I switched
to Johnsons Floor paste wax. It is a much softer, almost oily
wax. I simply coat with wax one time and rub it in until it's
thin
and smooth. I don't
buff it. I just let it dry for a few minutes, then coat with PVA.
I found that the Johnsons wax and PVA
releases much better than the commercial mold release wax.
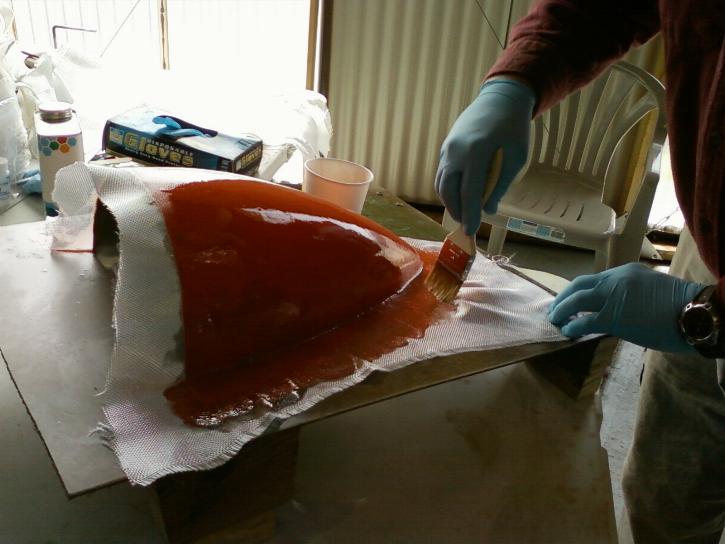
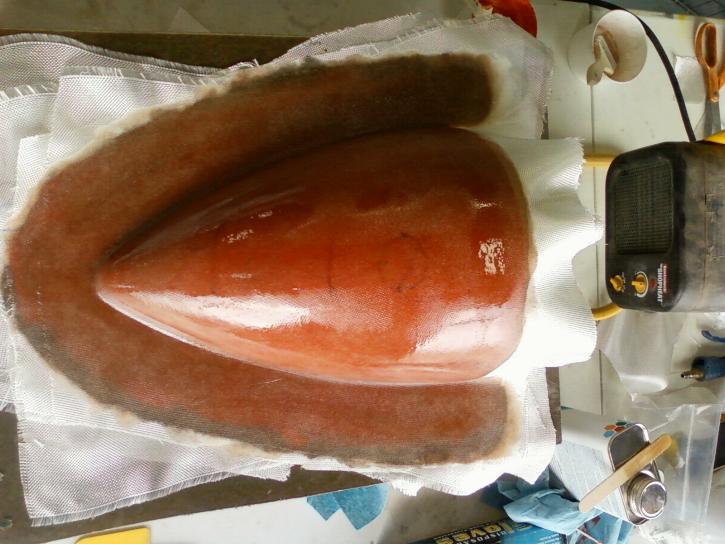
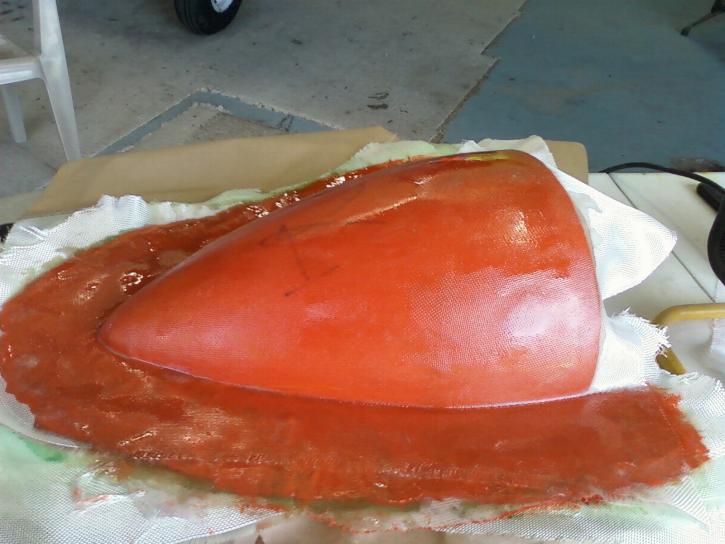
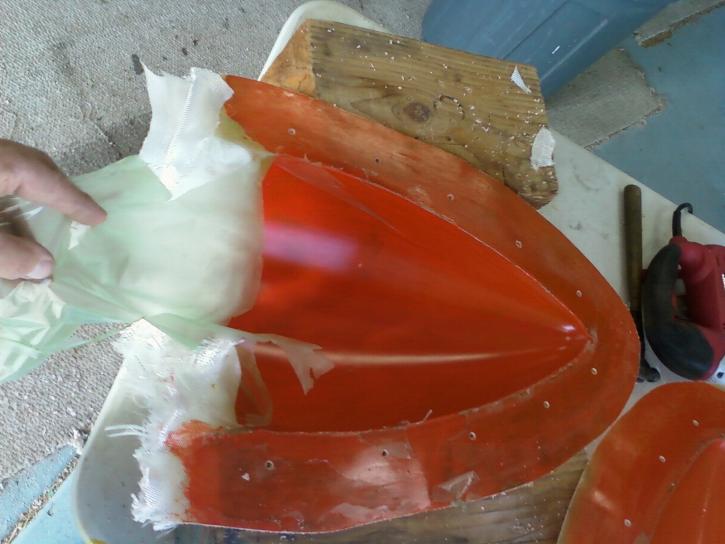
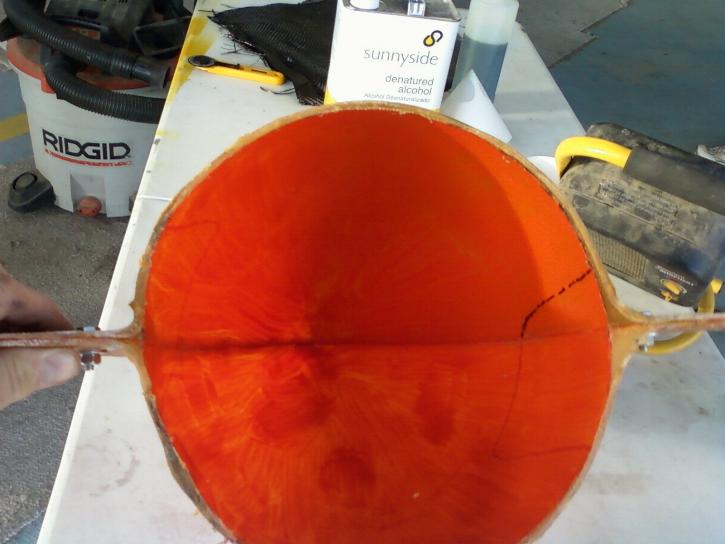
I painted the part and the masonite with an orange polyester tooling
gelcoat to pick up the surface, then laid up the first coat
of glass on
top. I forgot to shoot a photo of the gelcoat only, but did get a
photo of gelcoat only on the second half farther
below on this page. Here
I'm laying up the first laminate of glass with Aeropoxy resin.
Note how the color comes through
as the cloth wets out. The first lay up is the toughest as the
gelcoat is partially set so the cloth won't move around much.
You have to get it right when you lay it down.
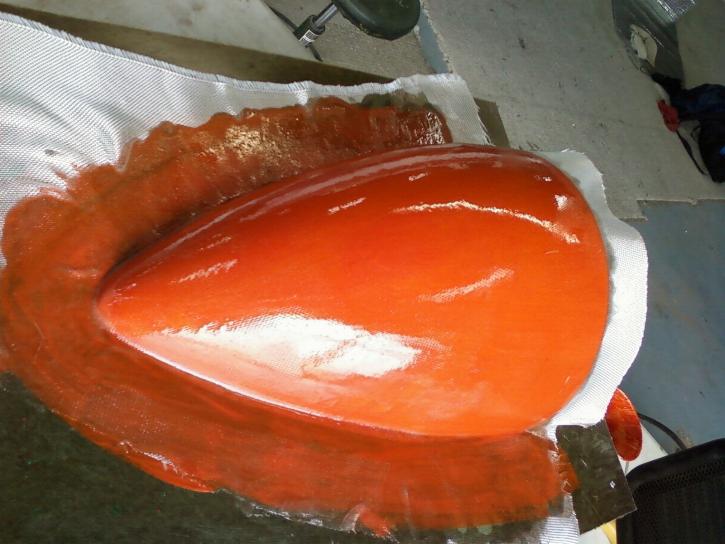
First lay up is on, with 9 more to go, along with putting a few
scraps of extra glass in for filler as well.
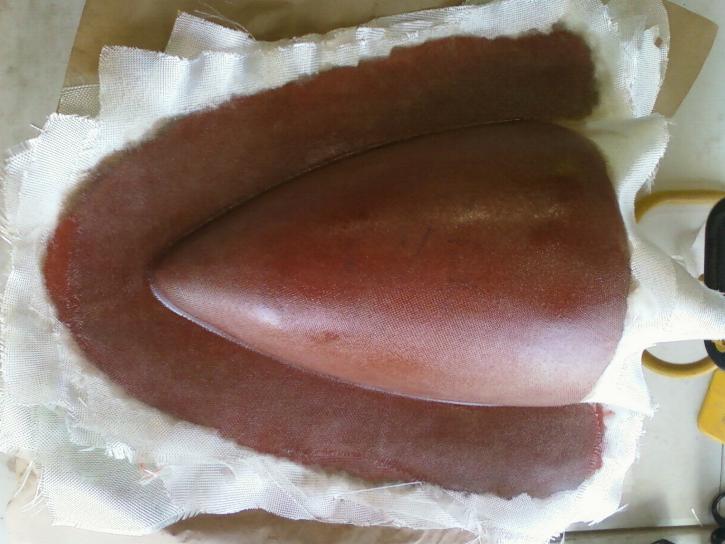
OK, we're up to 10 laminates. Note that I often times write the
number on the cloth before laying it up. It helps me keep
from
forgetting how many I've done. I have since read someone else's
blog recommending 14 laminates of tooling glass.
10 lay ups of 6 oz glass turned out to be plenty stiff enough.
Notice the heater that
will be running on low for the overnight
cure. It's spring time with overnight lows in the 30s, meaning
the hangar is also cold.
This is the next day after an overnight cure. Notice how the
resin flowed down and pooled at the bottom on the outside
of the mold. If this was a part,
that would be a problem. But since it's only the outside of a
mold, excess resin isn't terribly
important.
I flipped the plug/mold over and popped the masonite off. You can
see the remains of the modeling clay left on the plug.
You can
also see at the lower left where the resin ran down from the corner
across the back of
the plug. That run had to
be scraped off, then wet sanded smooth.
The mold is now supported by some blocks underneath. Here I've
waxed the mold face and the plug. I'll also spray it
with PVA
before I start laying up the other half of the mold.

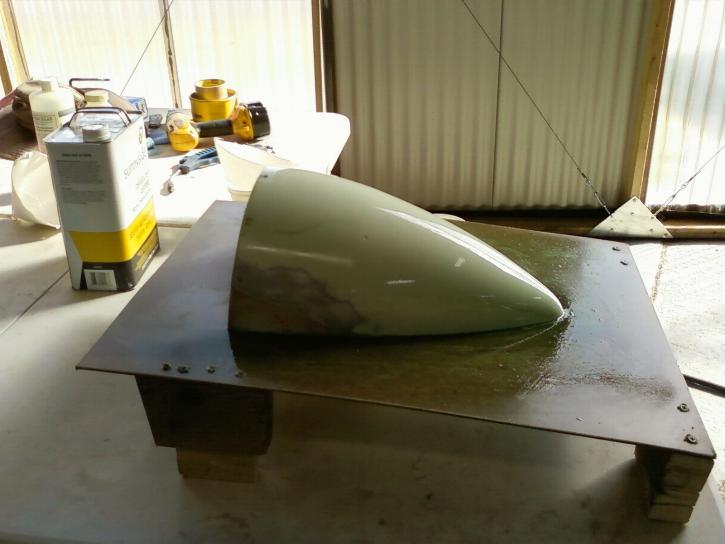
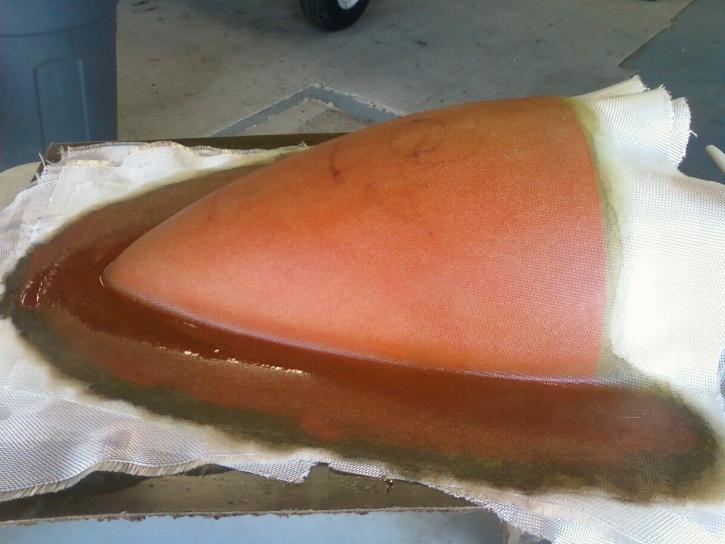
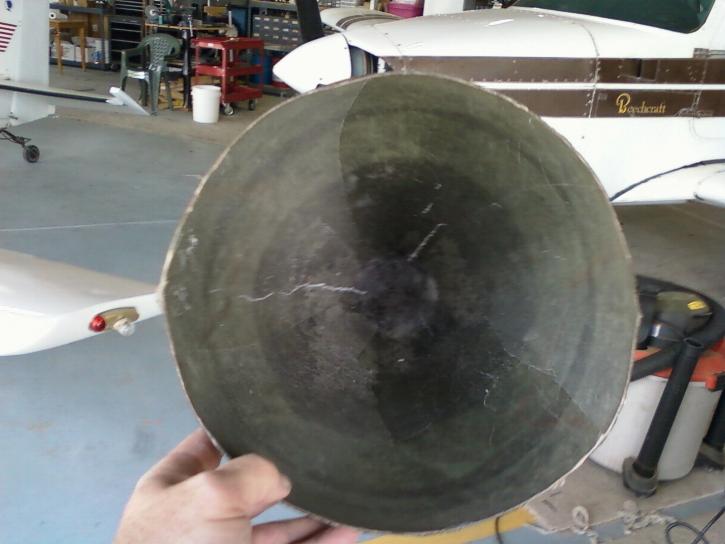
I brush coated the mold and second side of the plug with a coat
of orange tooling
gelcoat. I let the gelcoat cure until it's
really tacky before I
start laminating the glass onto it. If I was doing this again, I
would let the gelcoat cure, then paint on
a second layer of gelcoat before glassing. But this worked pretty
well as
it is.
First lay up over the gelcoat. The first coat is the toughest as
the gelcoat is very tacky so the cloth won't move around. You
need to get it right as you lay it on.
I had some extra lay ups of glass cut, so this side of the mold got 12
lay ups. Hope it's stiff enough. :o) Notice how each
progressive lay up makes the color darker. Now it's left to cure
for the night again.
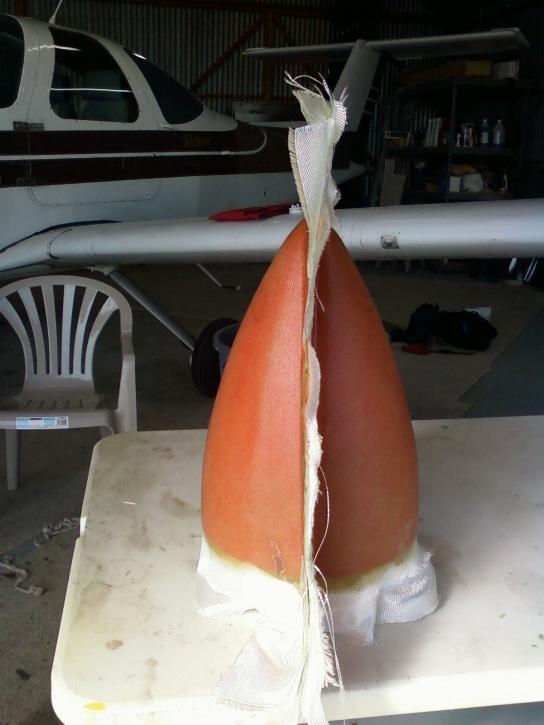
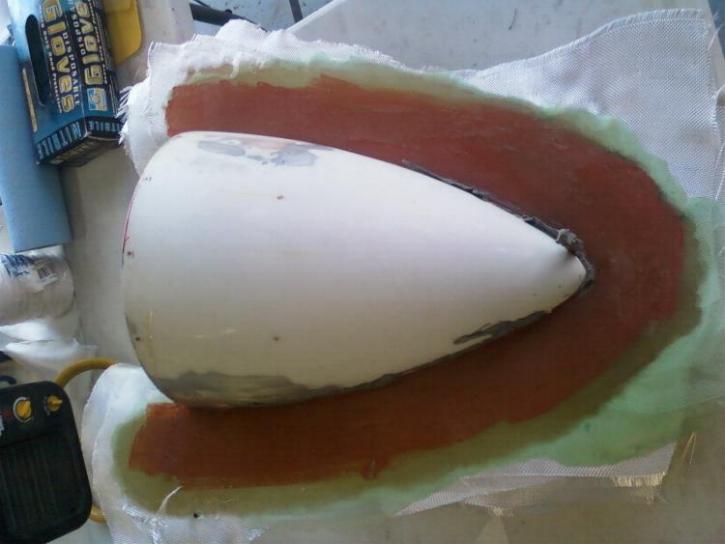
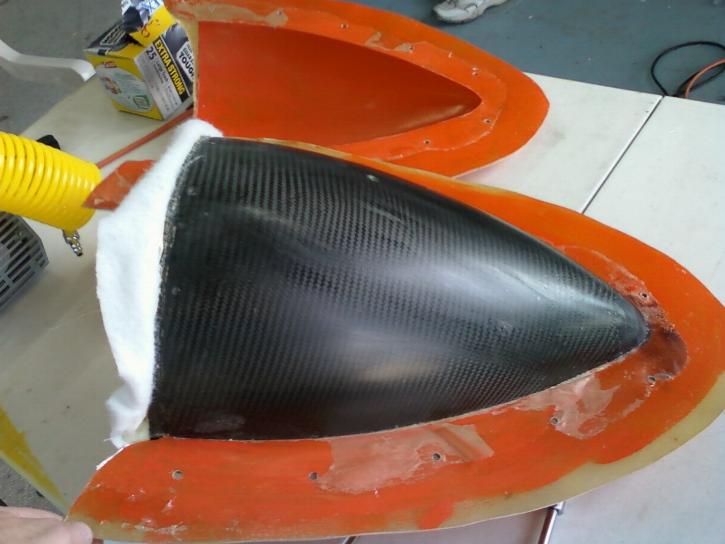
Both sides are cured, so it's time to pull the mold off the plug.
I drilled 10 1/4" holes around the perimeter of the mold to index it
back together again for molding parts, then started
cutting away the excess material with a sabre saw.

The sides are cleaned up and the indexing holes are drilled, so it's
time to pry the two halves apart.
A small wooden wedge was driven into a back corner and one half easily
popped
right off. The second side required no
effort at all to pull the plug from the mold. Notice in the part
on the
right the etch line for the blade cut out in the spinner.
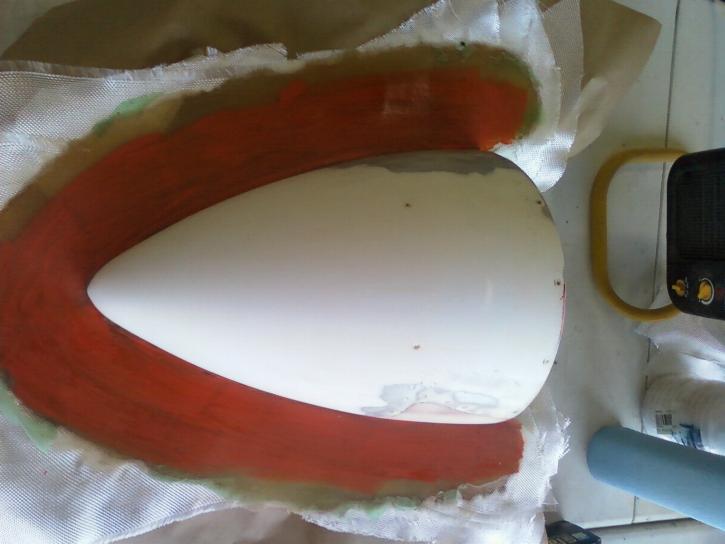
I used my engraving tool to etch a cut line into the plug, so the
subsequent
parts will have an etch line for me to follow to
make the cuts for the prop blades. If I use a different prop,
these
are only etch lines and can be easily filled. The same is
true for the dimples for the screw holes, which are also visible in the
mold.
Peeling the PVA remnants out of the mold. I also scrubbed it with
soap and water as PVA is water soluble.

The two halves set up to dry after washing.
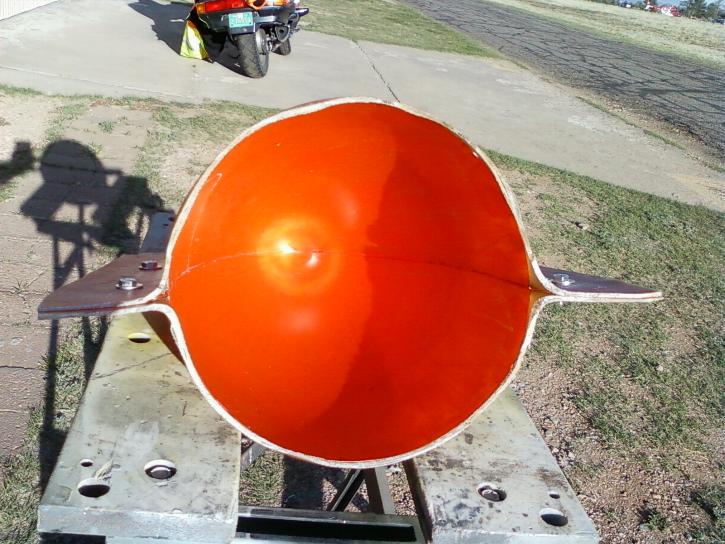
Bolted back together. There is a small bit of seam that I'll fill
with putty when I lay up a part. It's still likely to leave a
tiny
bit of resin flashing at the part line that will have to be sanded off
the part. You'll notice from this rear view that the mold
doesn't appear to be round. W'hat you are seeing is the small
amount of material that was overhanging the back edge of
the plug. I may trim it off a bit more, but it's really not a
part of the actual part to be made in this mold, so shouldn't matter
much with the part vacuum bagged inside.
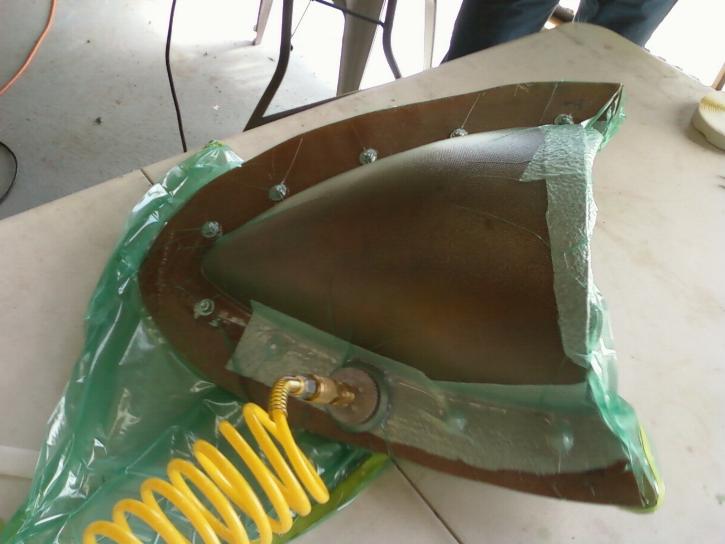
Outside of the mold with the bolts in place. I hope to lay up my
first new spinner in it this weekend.
Fabricating and vacuum
bagging the part
Mold halves have been waxed and sprayed with PVA. I used a
Sharpie to mark the prop blade cut outs. (Marking with
red and black sharpie was kind of dumb since I used carbon fiber.
Would have been better to have used a silver Sharpie.)
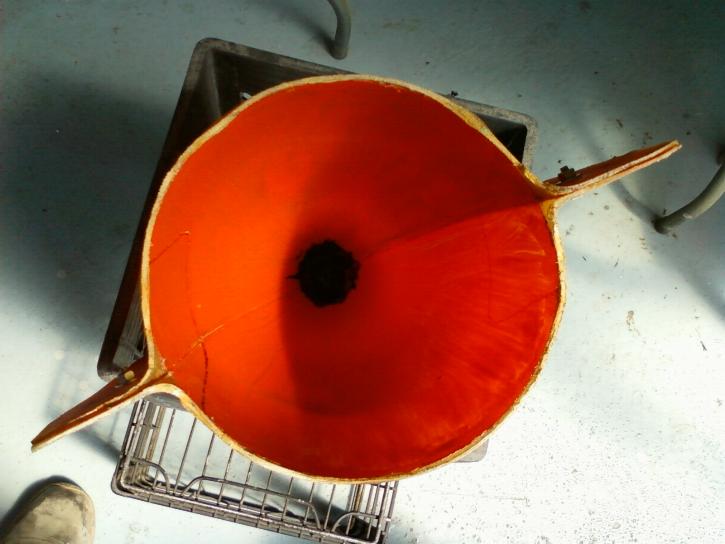
I filled the point of the nose with milled fibers and aeropoxy dyed
black. This should feather in with the carbon fiber when
I lay it in. If I do this again, I would add the black dyed
milled fibers after the layup of carbon fiber.
One lay up of carbon fiber all the way around and a lay up of 6 oz
tooling glass. The black from the carbon fiber comes
through as soon as the glass wets out.
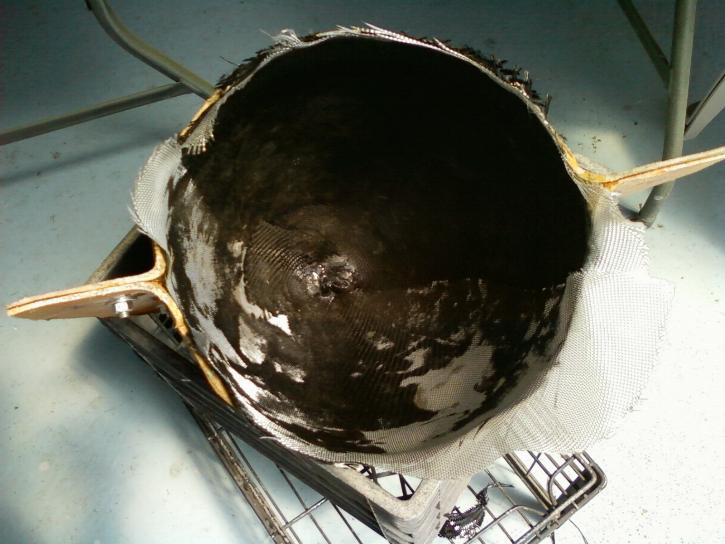
1 lay up of carbon fiber and 4 lay ups of glass. I also added
some heavier glass around the trailing edge and 4" in to
re-enforce the area where the screws mount the spinner to the
bulkheads. I put a layer of peel play over this then
covered with a breather cloth to give the excess resin someplace to go.
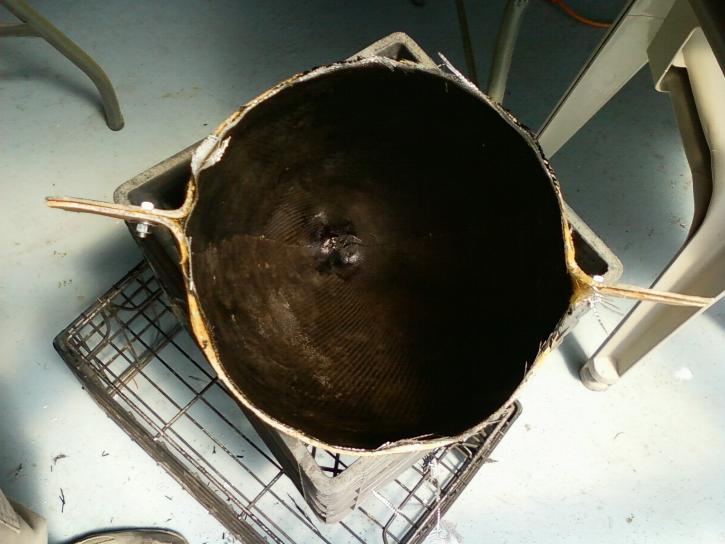
Vacuum bagged with Stretchelon 200 and fiber breather. Notice the
breather runs down the side to the vacuum port.

Notice that the breather has saturated where there was only one ply.
I should have used 2 layers of breather. As the resin
moved, even the doubled up breather was soaking up a lot of resin.
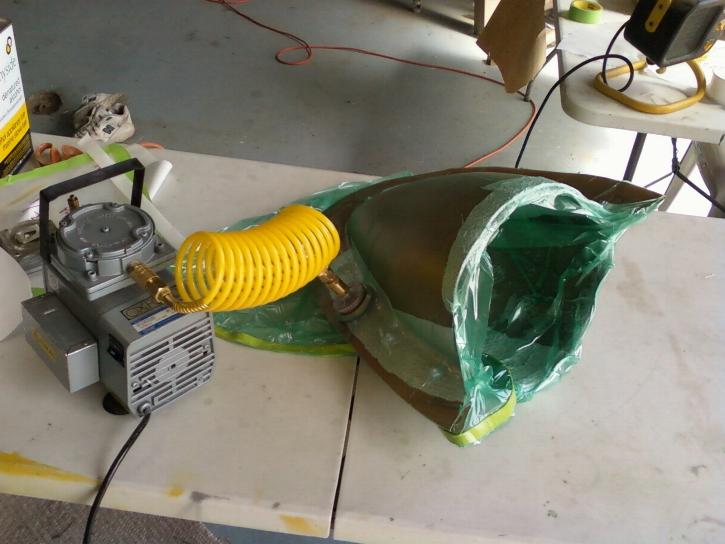
The whole setup. The heater on the other table was set on low to
blow into the mold to help it to cure. It's springtime here,
so the overnight temps are in the 30s and it's only in the 50's today.
Demolding and fitting the part
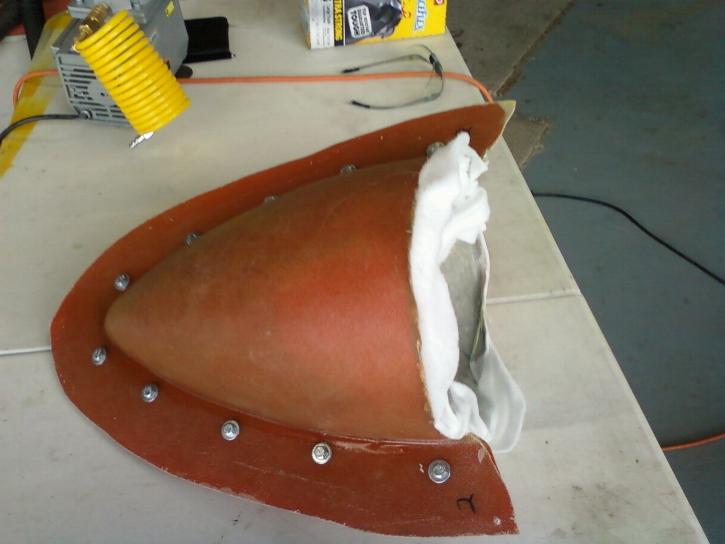
Next morning, I removed the bag, then unbolt the two halves of the mold.
The two halves pulled apart relatively easy.
One half off.

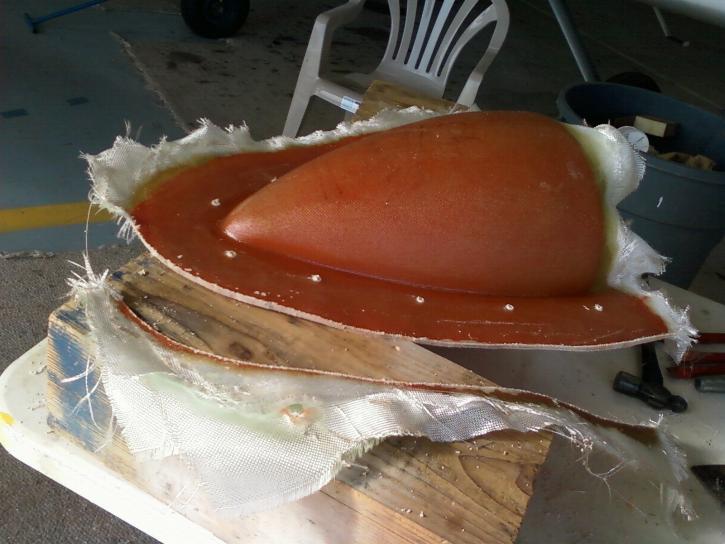
Then lift the new spinner out of the other half of the mold. Note
the cutout line for the prop blade in the new part and
indentations for the screw holes.
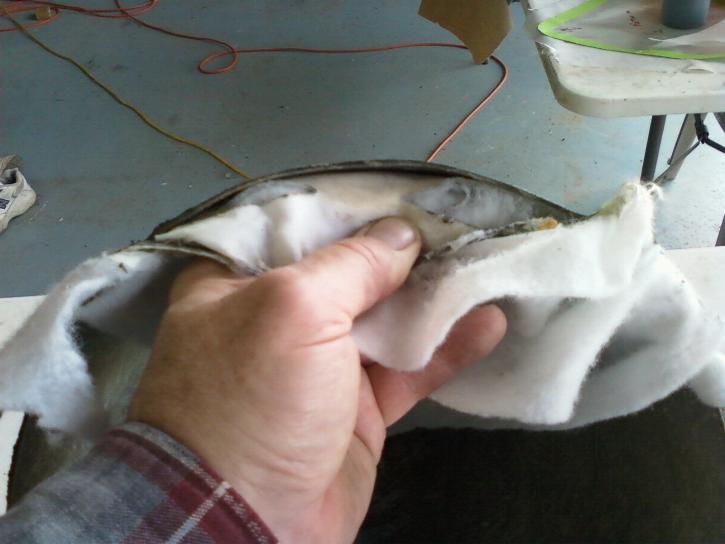
I should have had the peel ply extend a bit over the back edge of the
mold. As it was, the breather cloth was almost fully
saturated with resin and it stuck to the part just beyond the peel ply.
That made it pretty tough to get the peel ply and
breather out of the part.
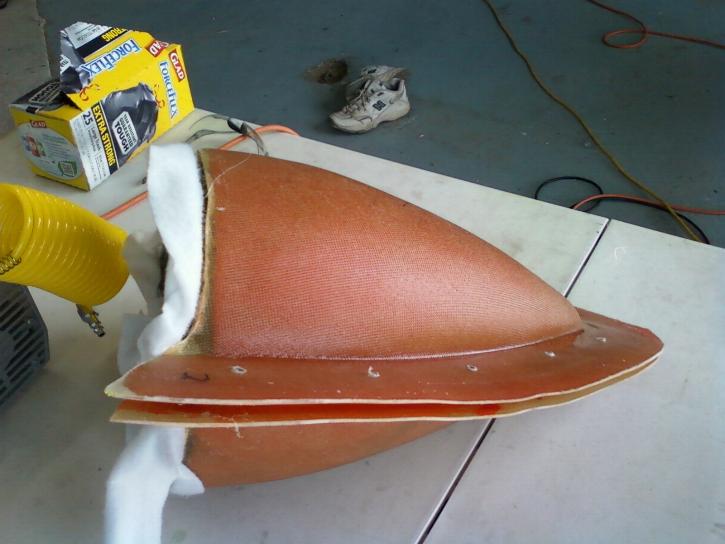
The solution was to cut the excess off the back end of the part so the
polyfill breather was disconnected from the part, then
work my way under the peel ply and start peeling it out.
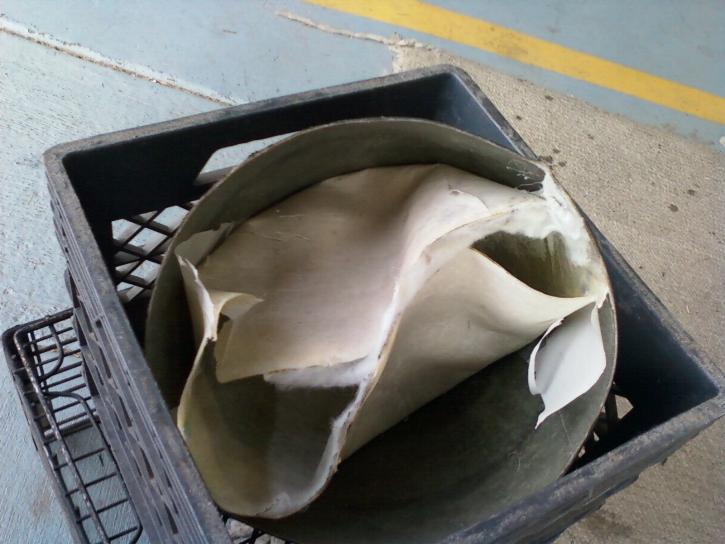
You can see that I took a pair of tin snips and cut the peel ply and
polyfill into sections so I can pull it out in sections. This
is hard work and pretty tough on the hands.
One section out. You can see where I have the peel ply pulled
loose along the edges.
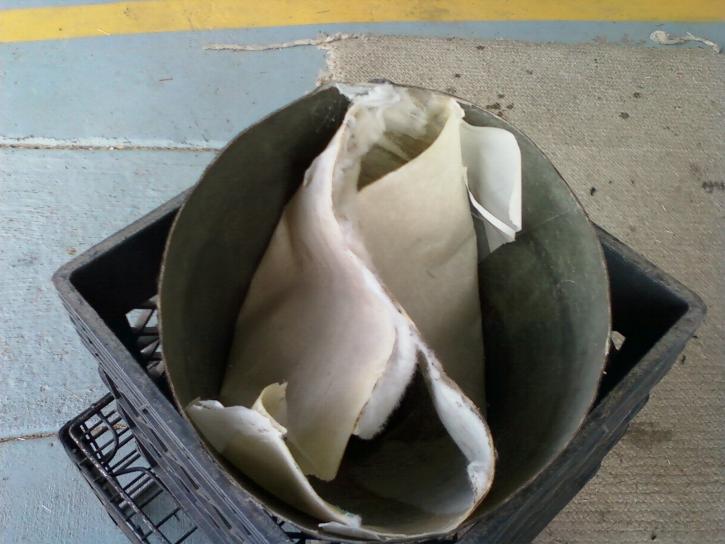
Finally! The peel ply and breather are out. I should have
used more breather to soak up more resin, and it would have
helped if I would have had a perforated bleeder between the peel ply
and breather. But it did finally come out.
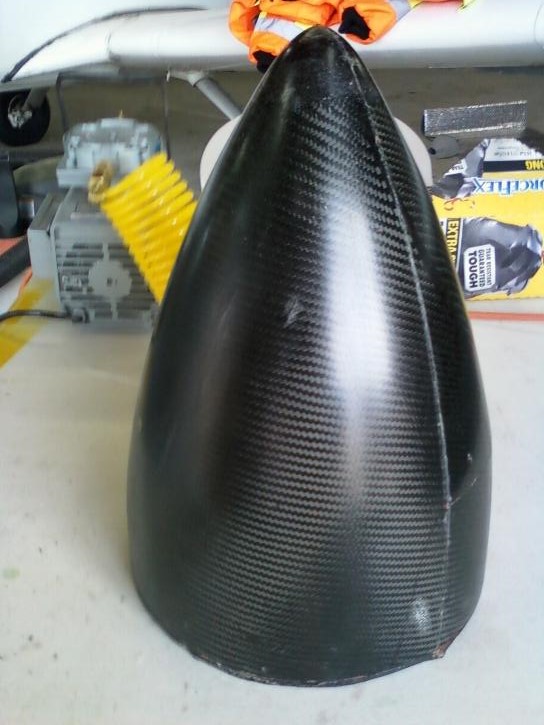
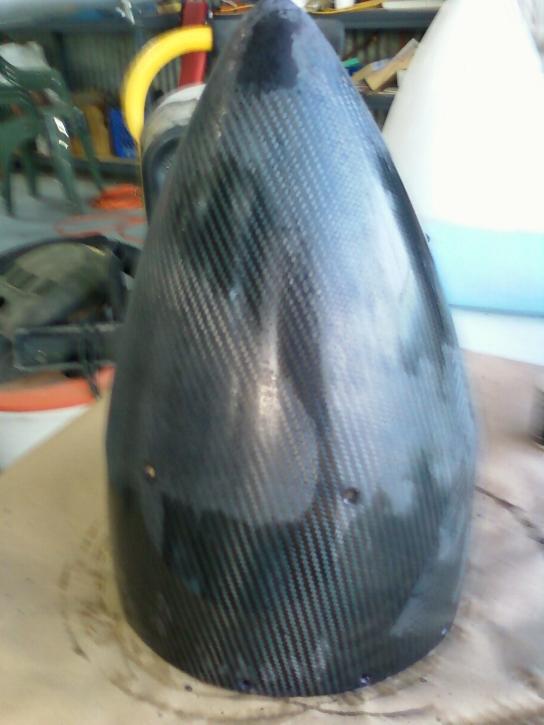
Not a bad looking part for right out of the mold. I didn't use
modeling clay along the part line, so I have some flash at
the mold part line tat needs to be sanded.
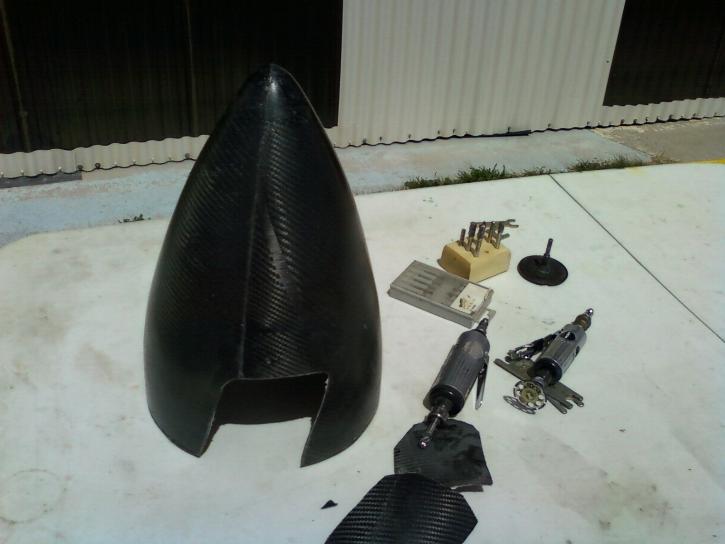
I used my 1/4" and 1/8" die grinders to cut and trim the part to the
dimensions and cut outs of the original part.
Hmm. Looks pretty good on there. The hazy finish is the
mold release (PVA) that hasn't been scrubbed off yet.
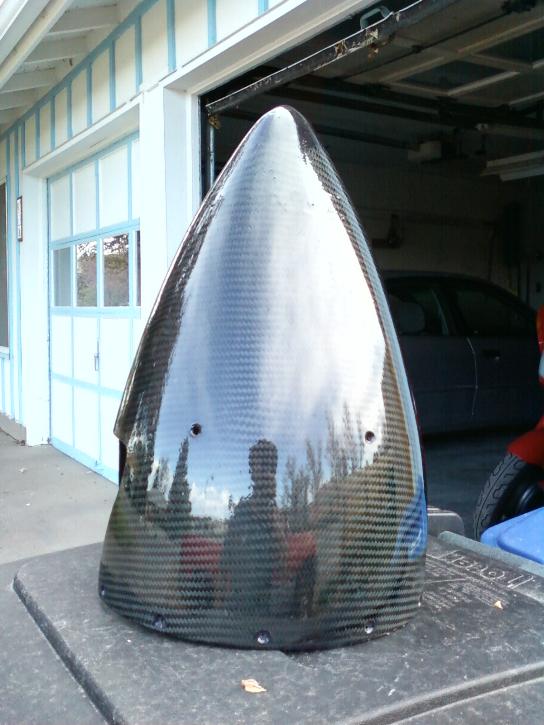
After a couple of hours of scrubbing off mold release and drilling and
countersinking the screw holes, there is an airworthy
spinner. There is still quite a bit of finish work to do, but it
can be flown in it's current form. This spinner is constructed
with 1 lay up of 5.8 oz Carbon Fiber and 4 lay ups of 6 oz
fiberglass, plus 2 reinforcing rings of 8oz cloth to back up the
mounting screws, but it still weights roughly 1/4 of what the aluminum
spinner weighs.
Finish work:
First I took a fine brush and sealed all of the cut edges of the prop
blade cutouts and the back edge of the spinner with
Aeropoxy. Not much to photograph, so I didn't. BTW,
Aeropoxy is my choice of resin to use for this type of lay up,
but it could be done just as well with West, EZ Poxy, VinyEster or even
PolyEster resins.
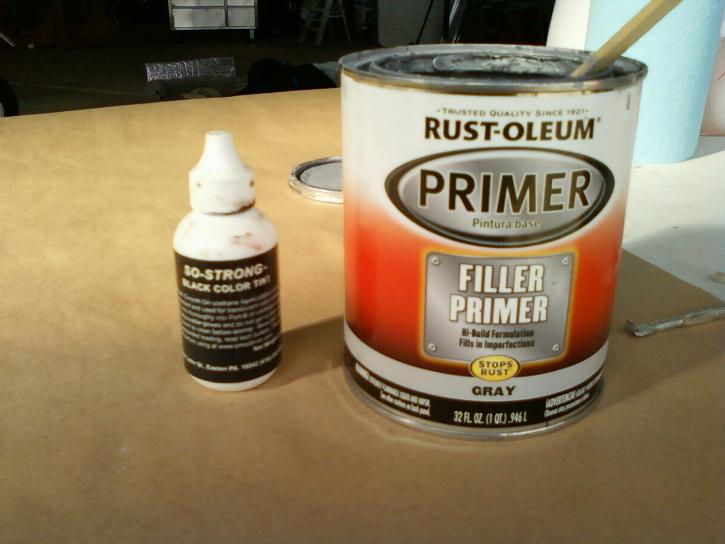
I use a high fill primer to fill pinholes in the surface. Since I
don't want a bunch of gray in my black Carbon Fiber, I mixed
some black dye with the primer.
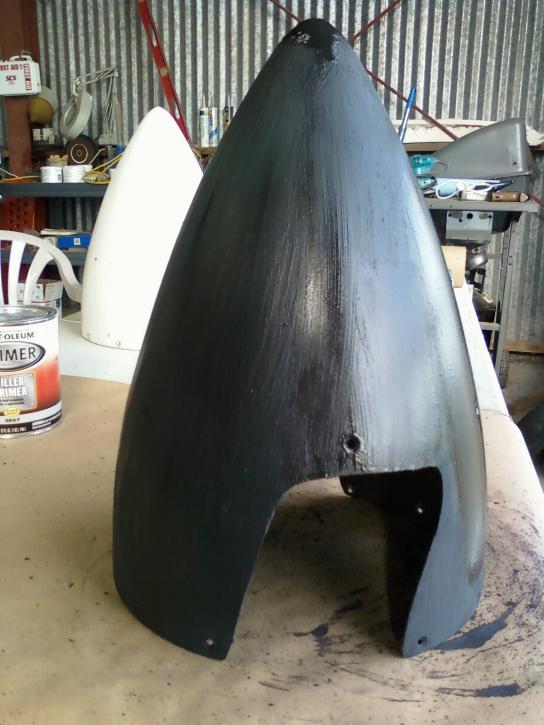
I paint the composite surface with a brush and continue painting the
heavy primer on until it's
almost a sludge consistency. Then I squeegee it in and paint on a
bit more. That usually fills
all of the pinholes with one or two applications on either glass or
carbon fiber. I only did one
pass of pinhole filling and it shows in the final finish. On
glass, I would have shot it with a rattle
can of gray primer as that will show any remaining pinholes before
sanding the gray back off.
I should have done the same with the CF as all the cheap primer gets
sanded off anyway.
After allowing it to dry for a few minutes, I wet sand it with 320 wet.
You can see how dull
it is in the spots that are dry.
First coat of clear coat. I used 2K Glamour High-Gloss Clearcoat
from TCP Global. This
is a true 2 part PolyUrethane with a pin in the bottom of the can to
puncture the membrane
between the two parts. Not cheap at $32 per rattle can and once
it's mixed, the can is only
good for 48 hours. Make sure you have fresh air and a good
organic respirator as this has
isocyanates in it!
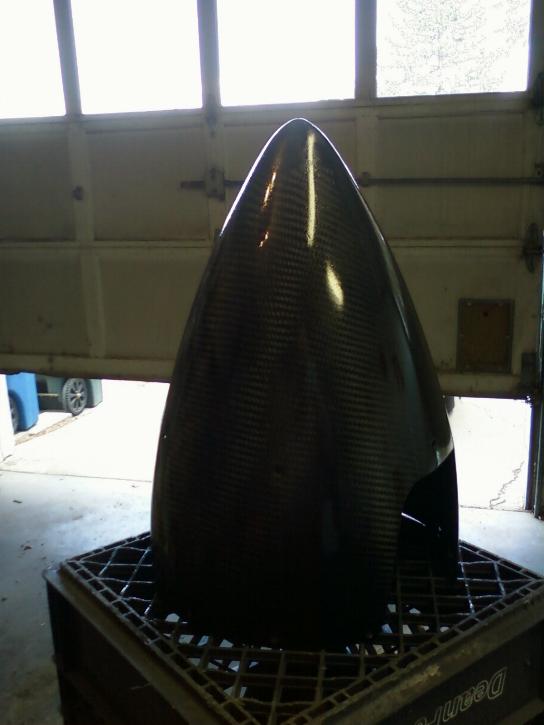
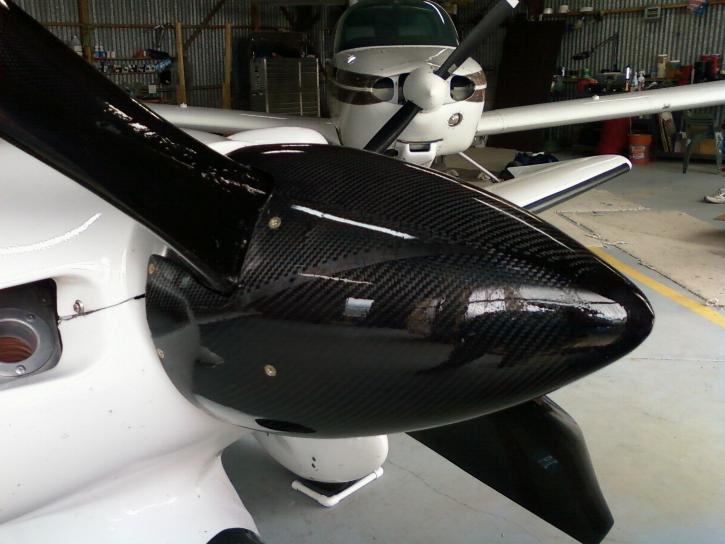
Looking pretty good after 5 coats of clear coat. I should have
quit here, but decided to shoot
one more coat. You can see a few imperfections at the nose of the
spinner, so I tried to spray
a bit heavier on the next coat and generated a few sags that will have
to be polished out.
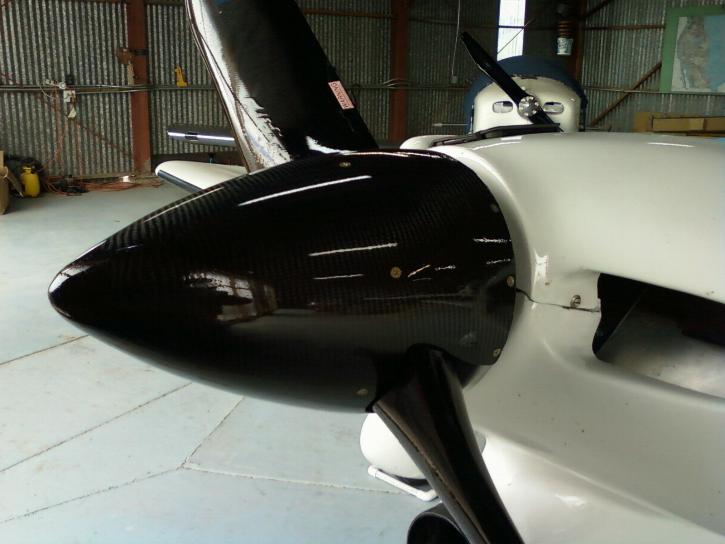
After a day to cure, it is gorgeous. But I do still need to
polish out the sags towards the
nose of the spinner.
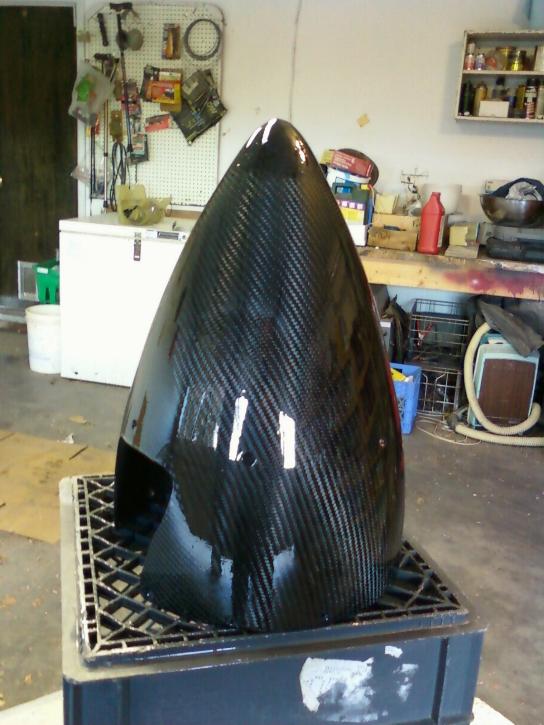
Next day: I sanded out the sags/runs with 400 wet, 800 wet,
and 1500 wet. Of course that
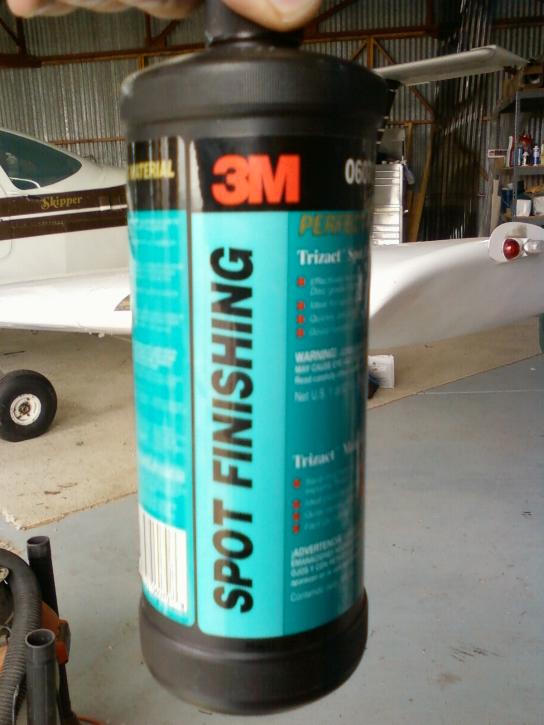
still left the spinner very hazy. I bought a bottle of 3000
grit 3M spot finishing polish. This
stuff is the real deal and it's not cheap. I used a foam
polishing pad on my air drill with the
pressure turned down to ~40 psi to keep the speed slow. A little
spot finisher on the foam
pad, then polish away for about 5 - 10 minutes and it's done. The
runs and sags are gone
and I ended up with a gorgeous finish.
It's not perfect. Nothing is. But I'm pretty happy with the
final results.
Send comments to jscott.planes "at" gmx.com